Vario 1/3rd scale 300C Electric
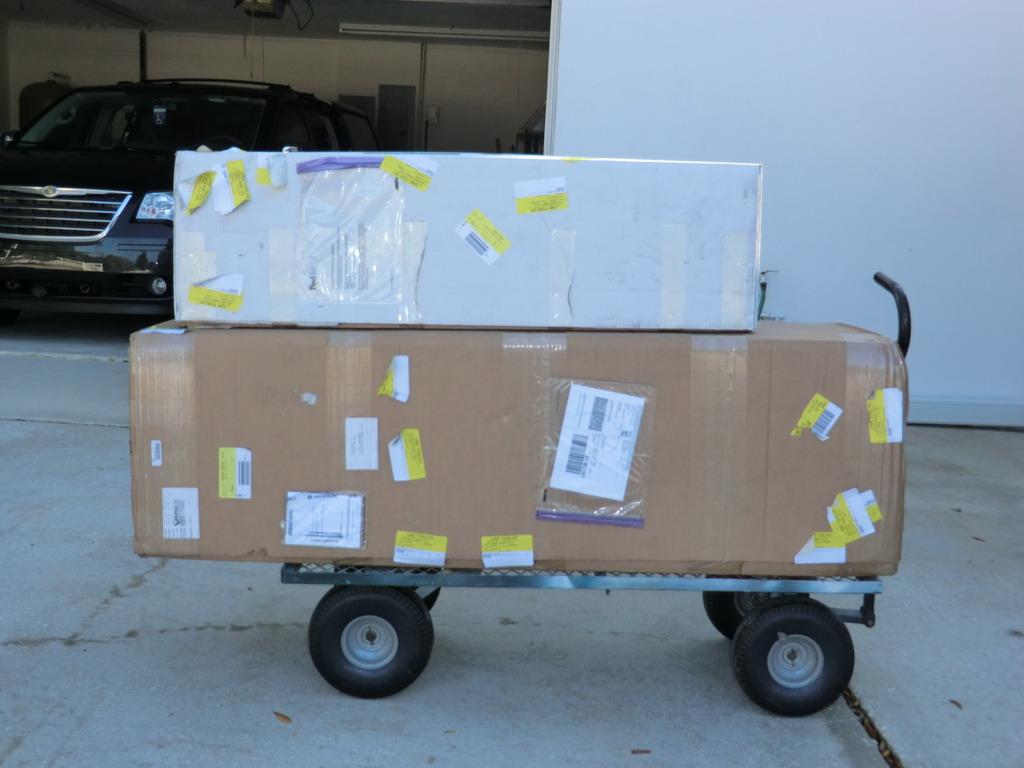
After a long wait I received a call from Mr Fedex this morning telling me he had a package for me which needed a signature. This is what I call a helicopter kit.
I started opening boxes to check everything was safe and found this. Darrell is not going to be the only guy in town with a big electric heli. I wonder if it will fit in my Trex 500?
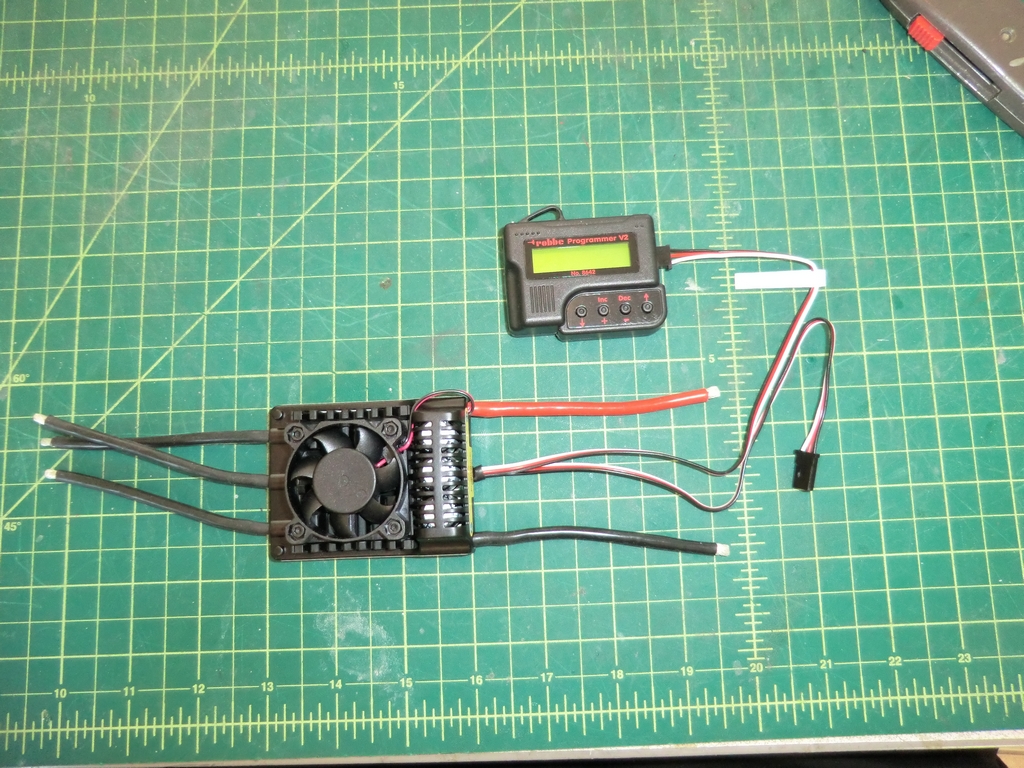
A new ESC and programmer which is very interesting. It's a Roxxy device now being marketed by Robbe.
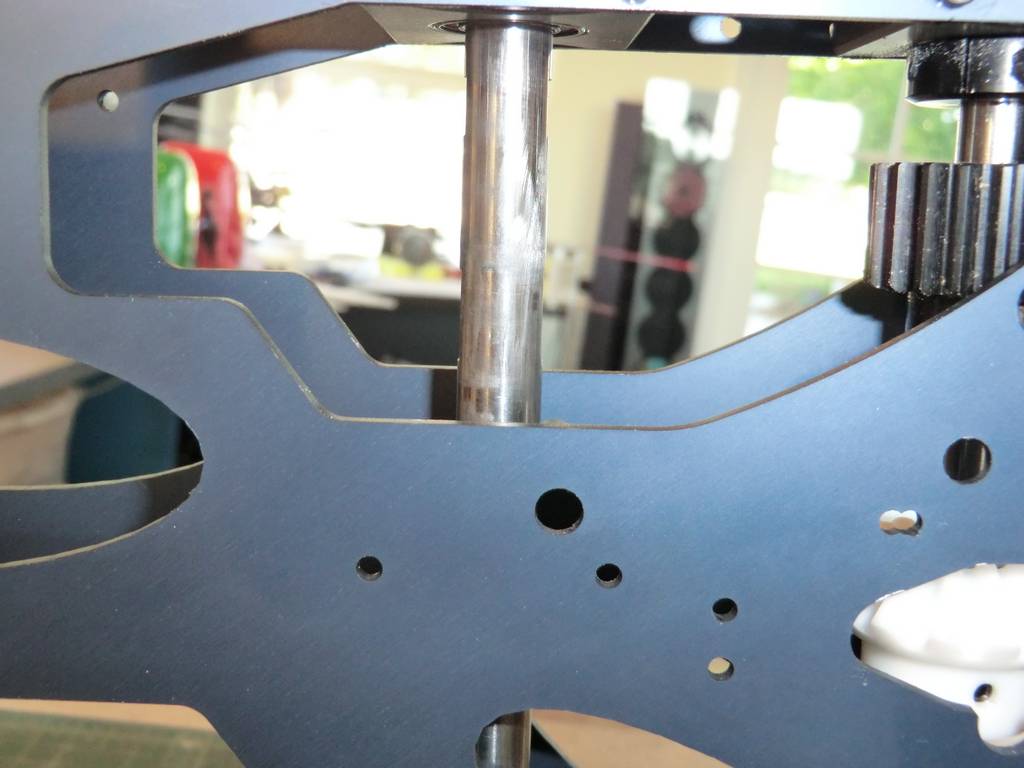
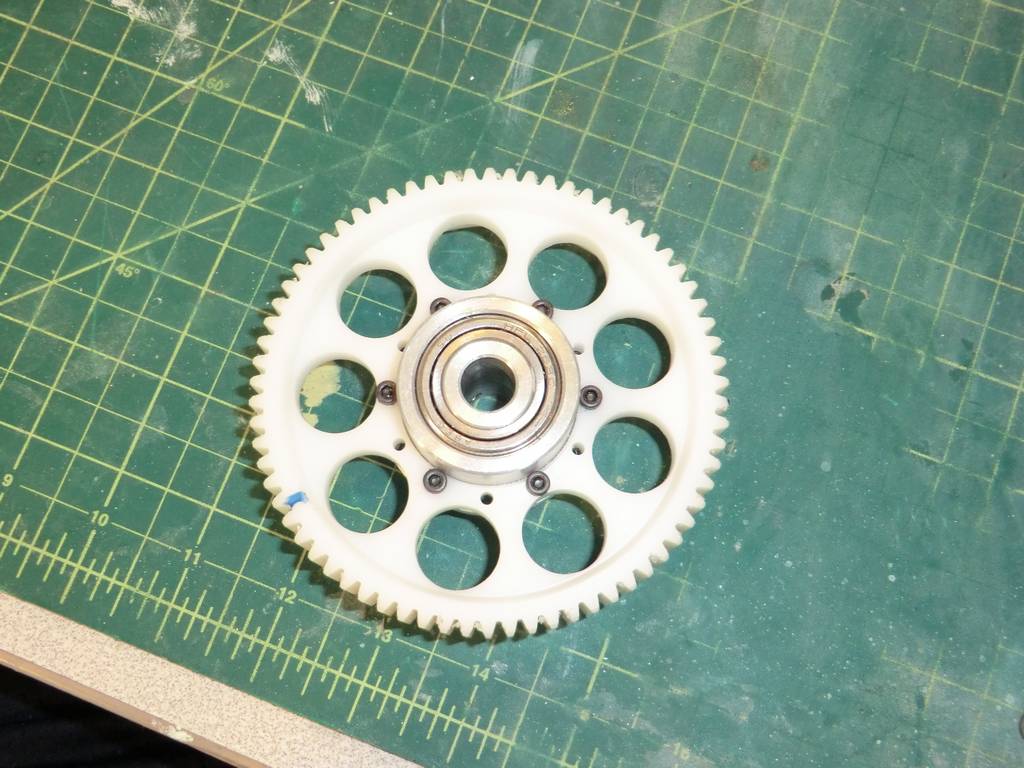
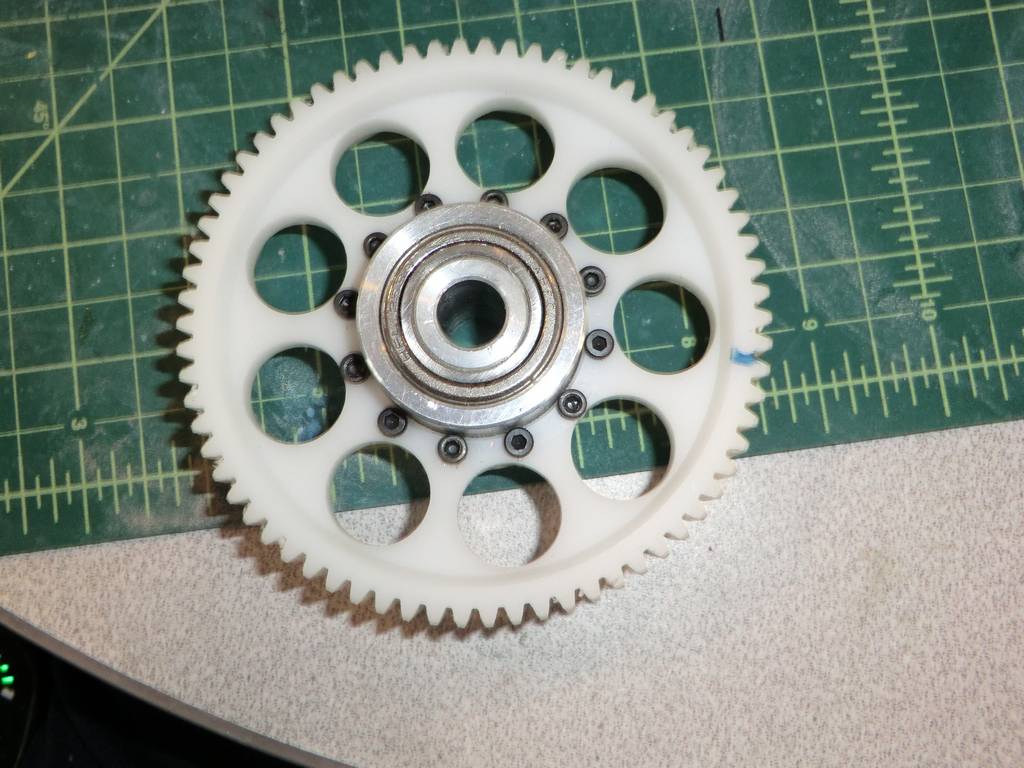
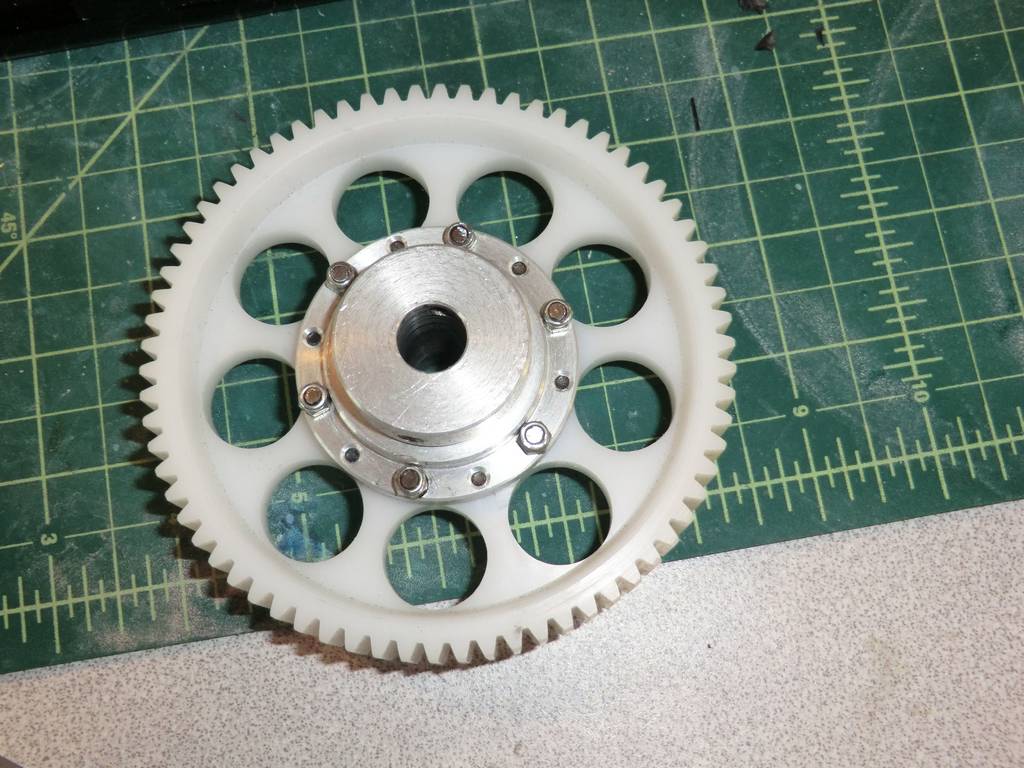
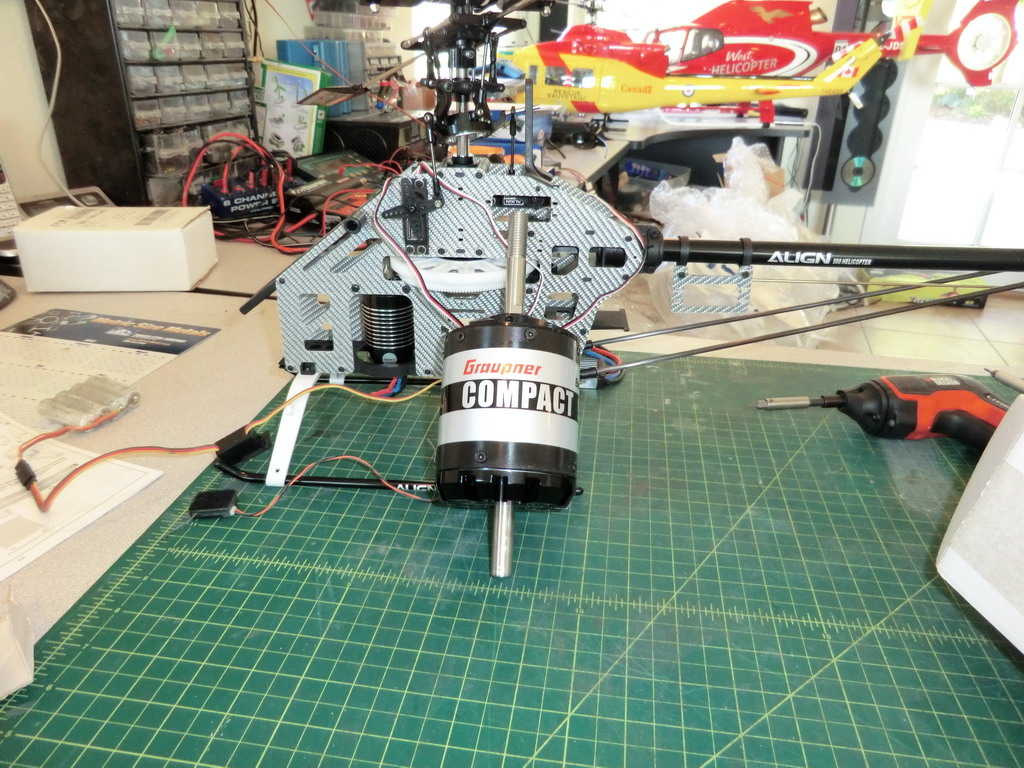
Thats a mainshaft!
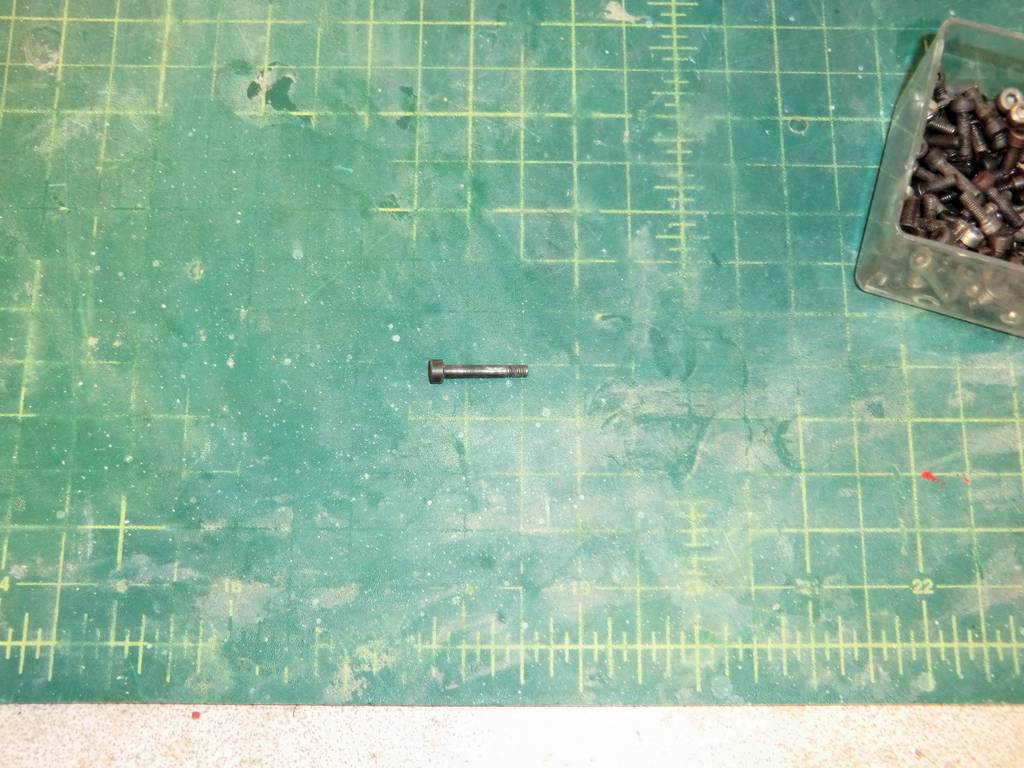
Here is is with all the parts needed on it, and bag #1 is empty, very satisfying for an hours work. I just don't understand why I have to machine a flat on it as there are several already. Surely they could have put one more?
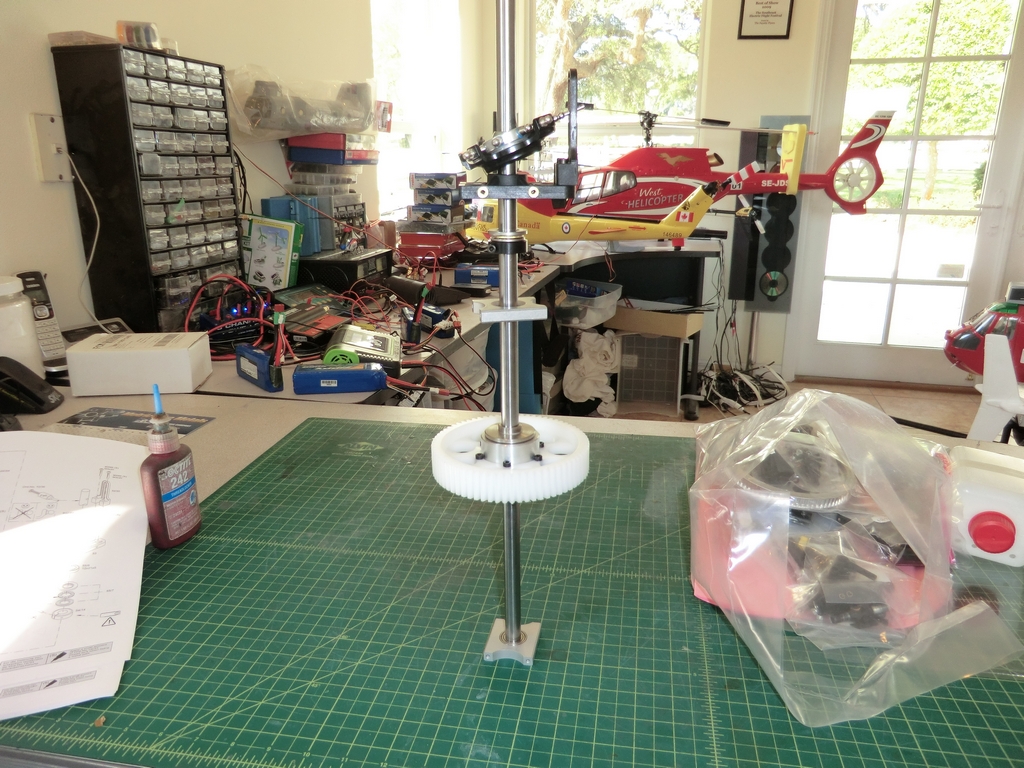
One of the peculiarities of Vario's instructions is the total lack of words, which can get confusing. The drawing shows this collar in particular and draws attention to it with a triangle and an exclamation point. Then then part they supply is backwards and the screw is on the other side.
Thinking about it and studying the next few pages made me realize that the problem was not the screw, but the flange which needs to be on the bottom, not to make it run on a bearing, but to ensure the thrust bearing above it has a flat surface to run on.
The rest of this assembly is pure Vario gasser so I wont do a full build up until we get to the electrics bit.
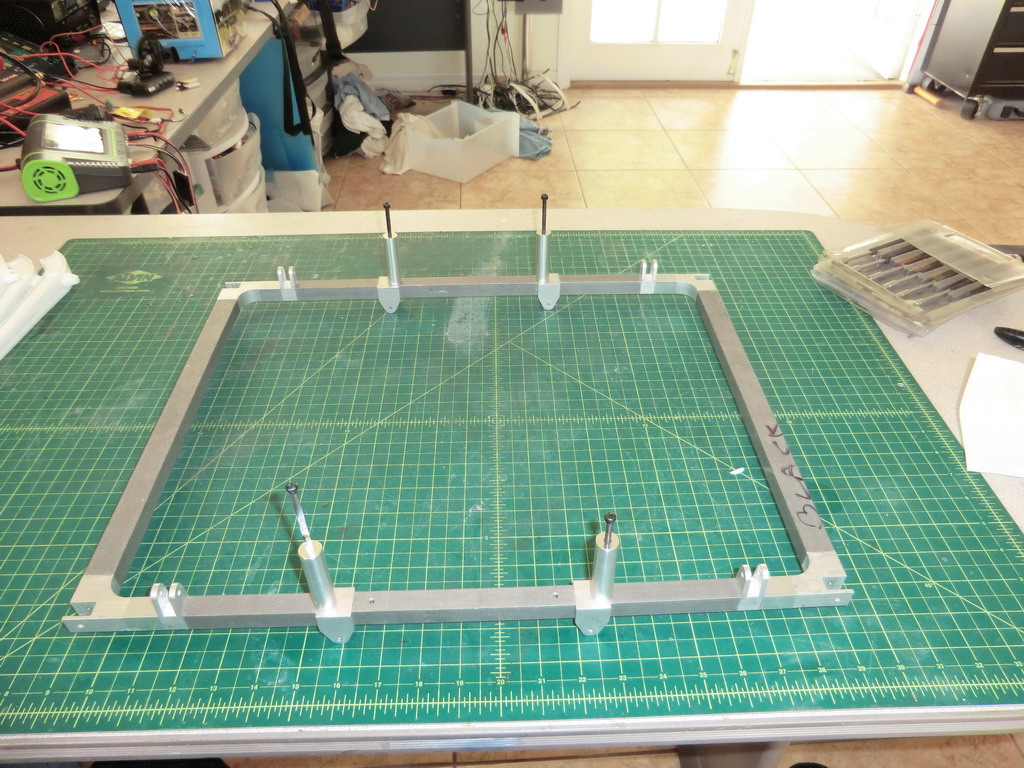
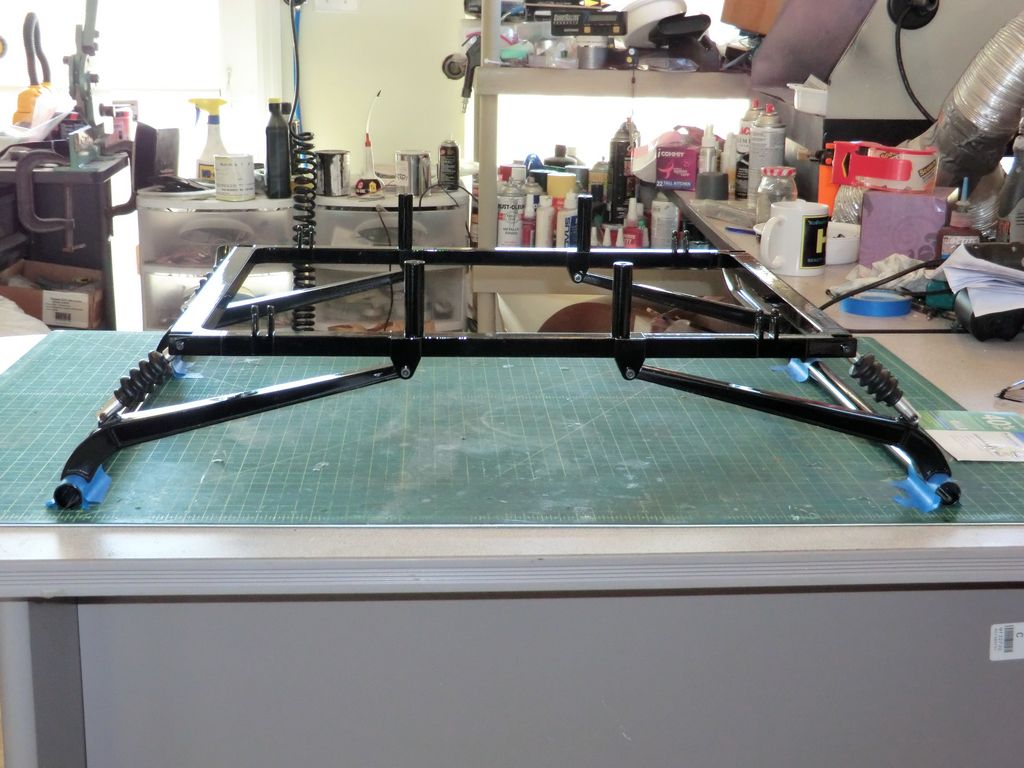
Meanwhile, I have been assembling the rest of the model. The first part is the landing gear which is glued together from lots of parts. I used JB Weld as I wanted to powder coat it and JB Weld is the only epoxy i know of which will take high temperatures. As it happens, I had to assemble the frame with the aid of a 2 lb dead blow hammer.
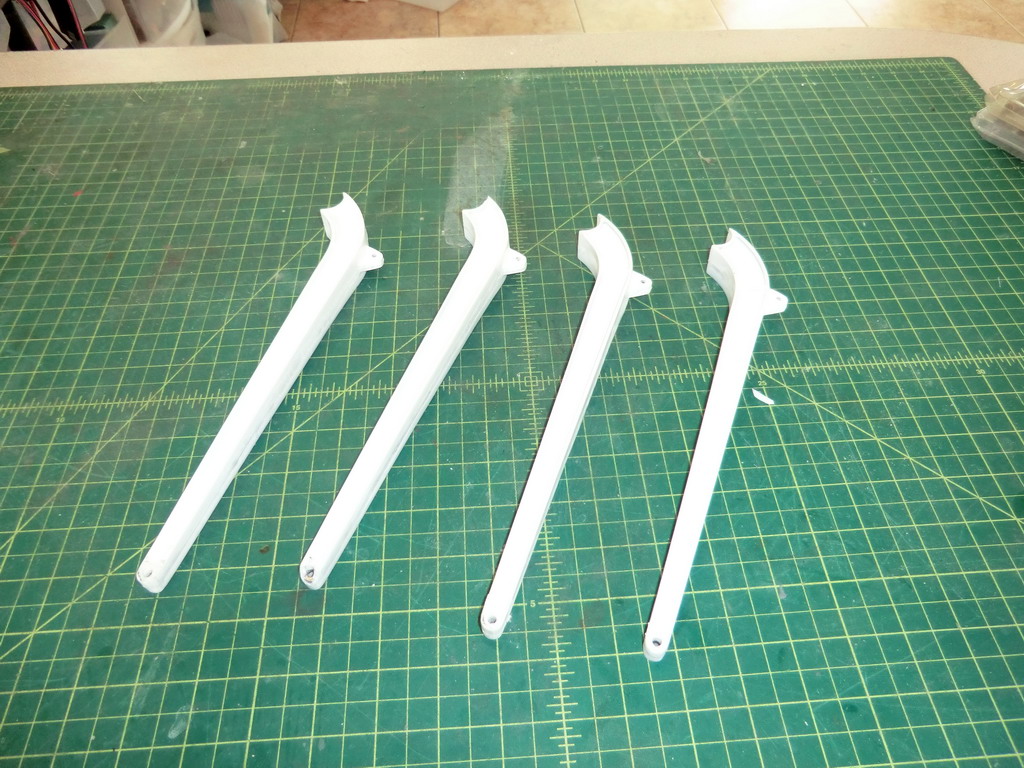
These beams support the skids and are made of resin with an aluminum core. They are very brittle and I had to do some repairs to them with hysol and micro balloons. They are due for a coat of black paint and a clear coat
This is the final assembly after paint and powder. The beams are glued to the skids and the masking tape serves to stop the glue going onto the powder if it runs and also to hold the skids in place. Actually it was also a good marker for when I had to grind the powder away to get a good key for the glue.
Other glass fiber pieces have been sanded, filled and primed. These are the fuel and the drip trays
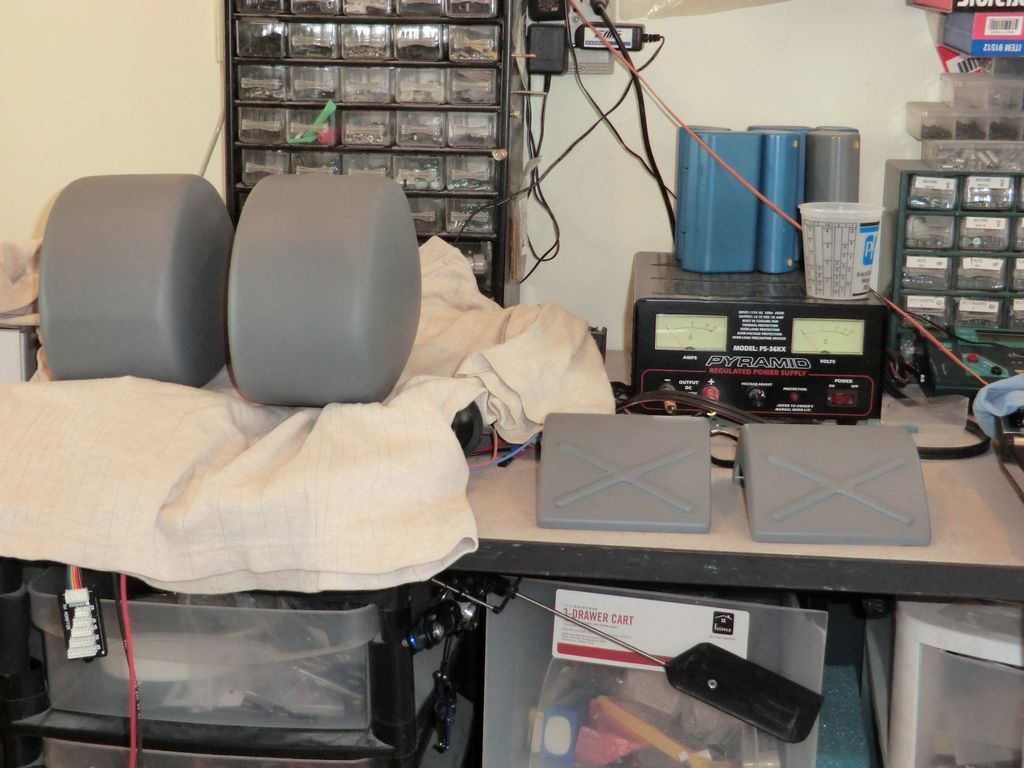
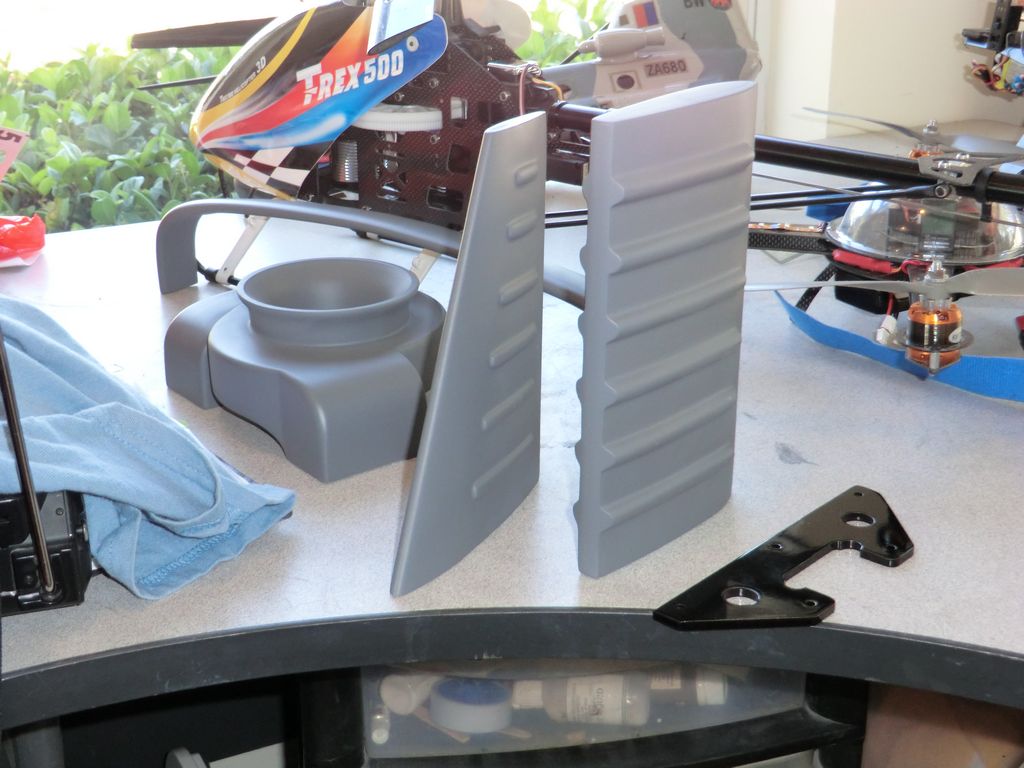
Fins, engine cover, airfoil and a metal bracket which was powder coated
I also powder coated all the struts white while I had the oven on and the machine set up.
Main tail boom support struts and the tail boom cover drying
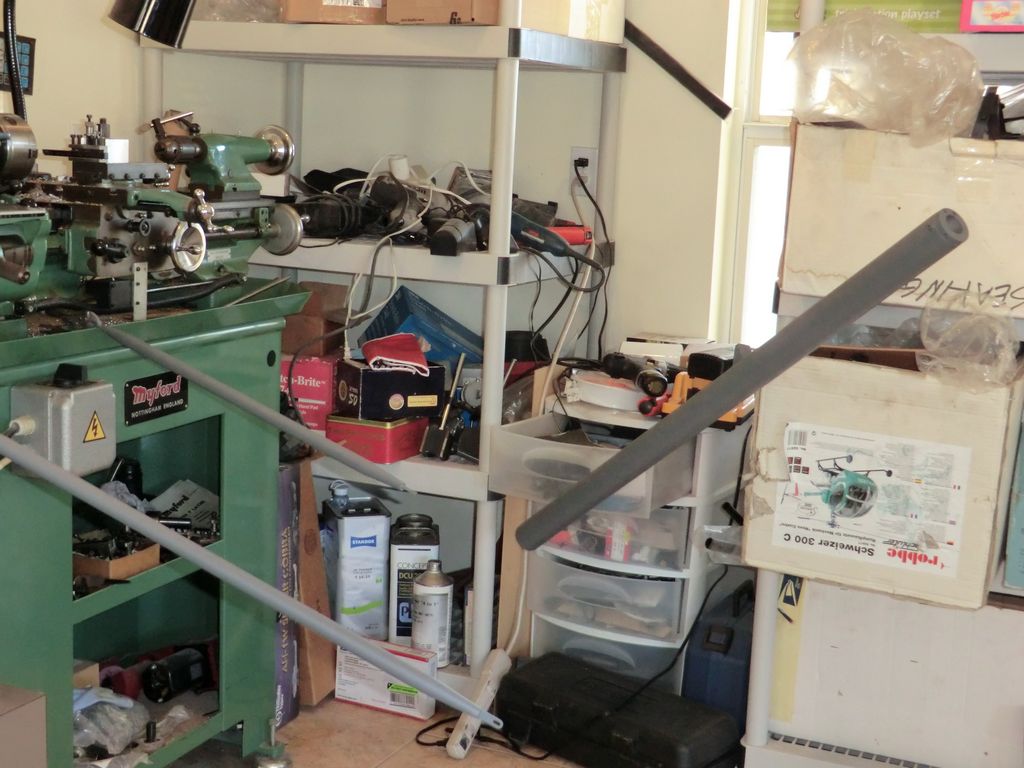
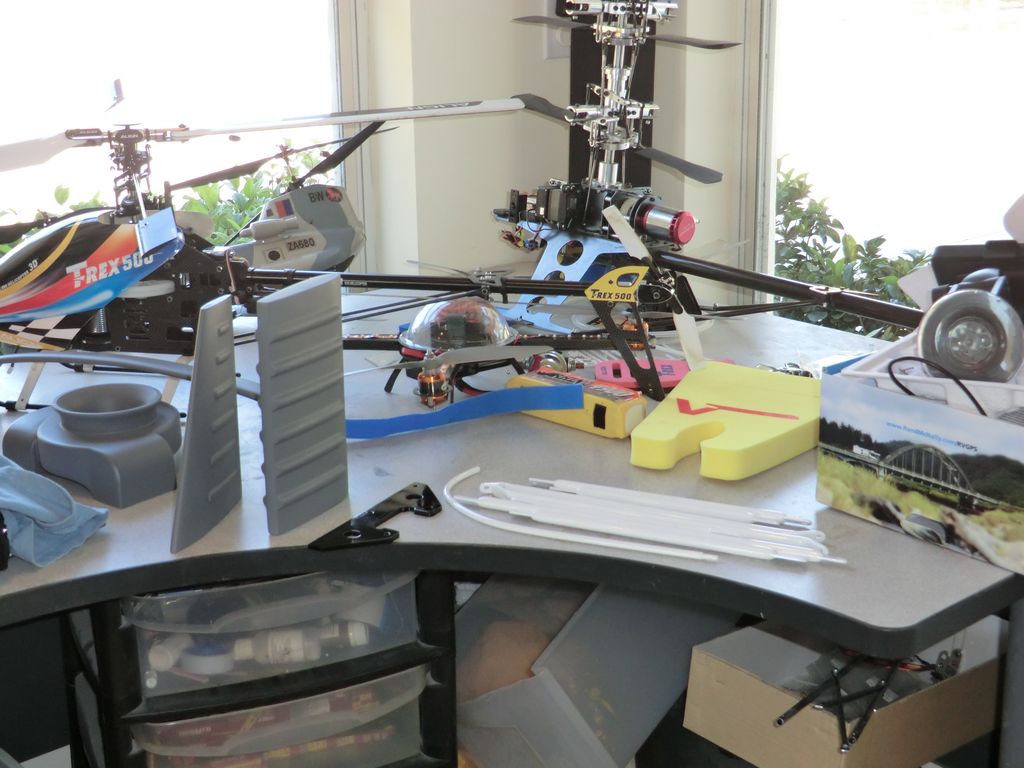
And the tail boom assembly all finished
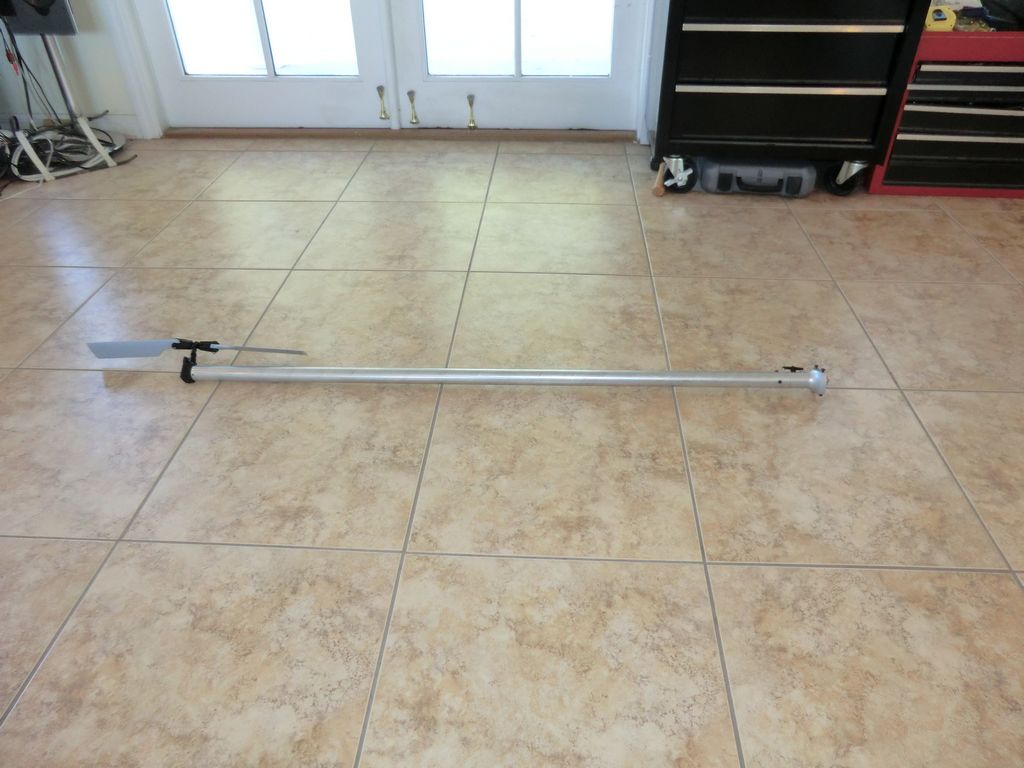
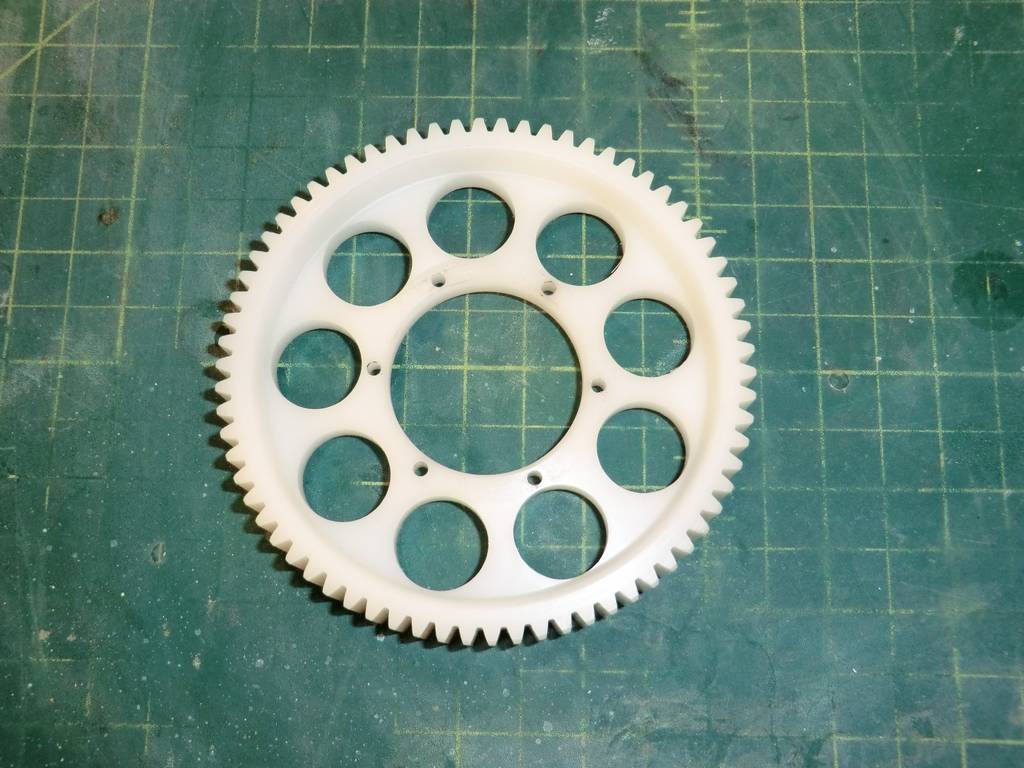
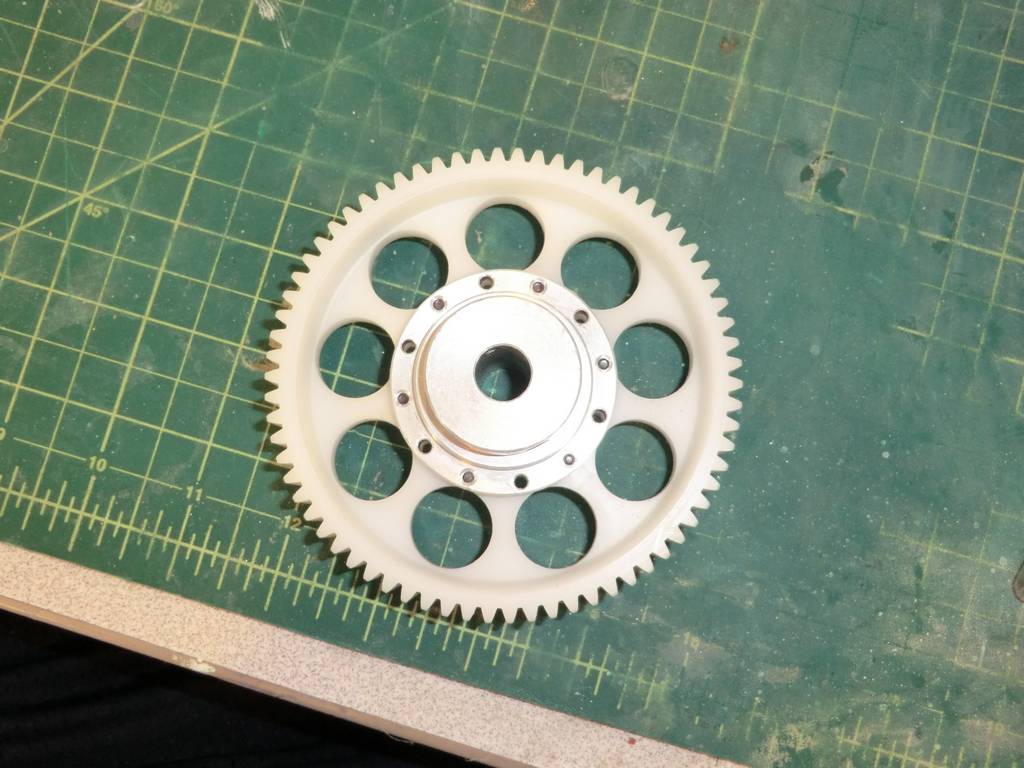
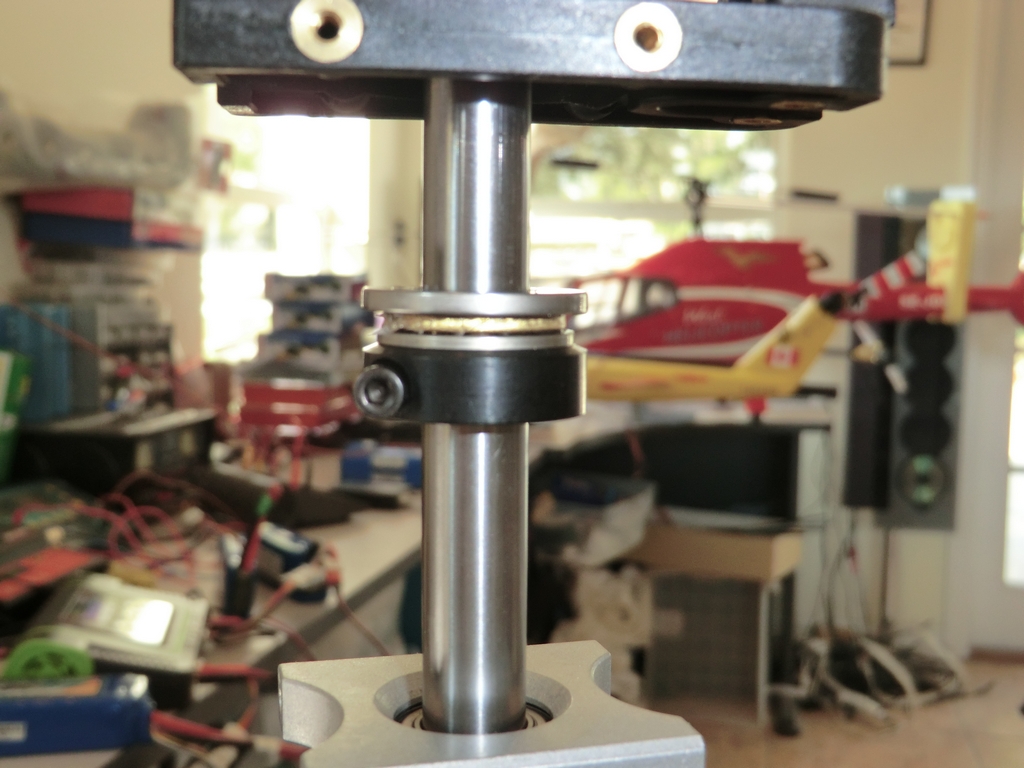
On to the main gear. When I pulled the old one out, I pulled the mainshaft out and took Sandy Jaffe's advice and machined a second flat on the other side of the mainshaft for the set screw to bite into. He said he had terrible trouble getting the auto hub off when he needed to as the set screw on the unmachined surface had marked it so badly it galled the aluminum auto hub and it had to be removed with a large hammer.