After a long hiatus due to a broken arm, I have finally got back onto the Alouette3. Earlier on I had a problem with the left hand sliding door. It was the wrong shape. I sent pictures to Vario via Joe and they checked and all the doors they had were wrong, so they started to make another tool. Eventually a new door arrived but I was in no condition to use it so I left it. First job when I got back into it was to fit the new door. Guess what! It was the same as the old door. Meanwhile Vario had been sold and so I sent pictures to the new owners. The new owenrs wife told me to suck it up and sand it so it fitted! Great customer support. So I got the filler out and modified the edge which closed. It looks a little odd, but what else can I do?
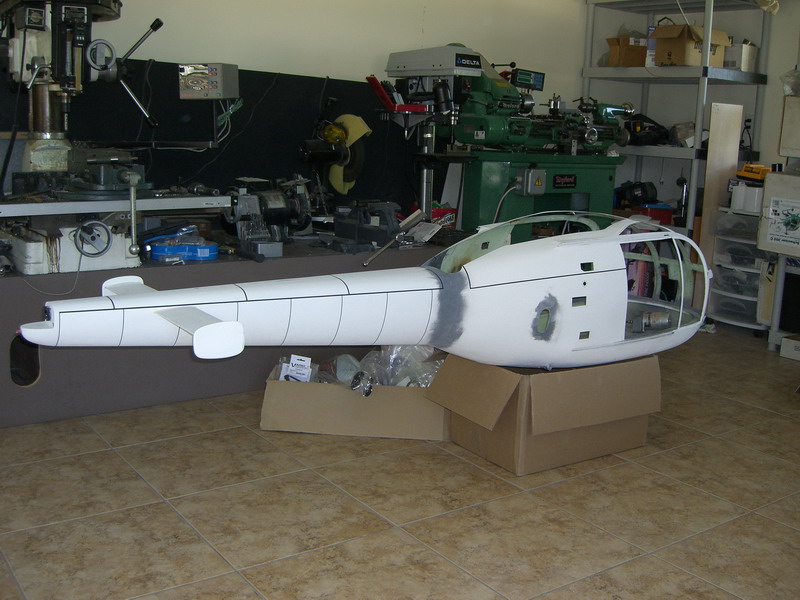
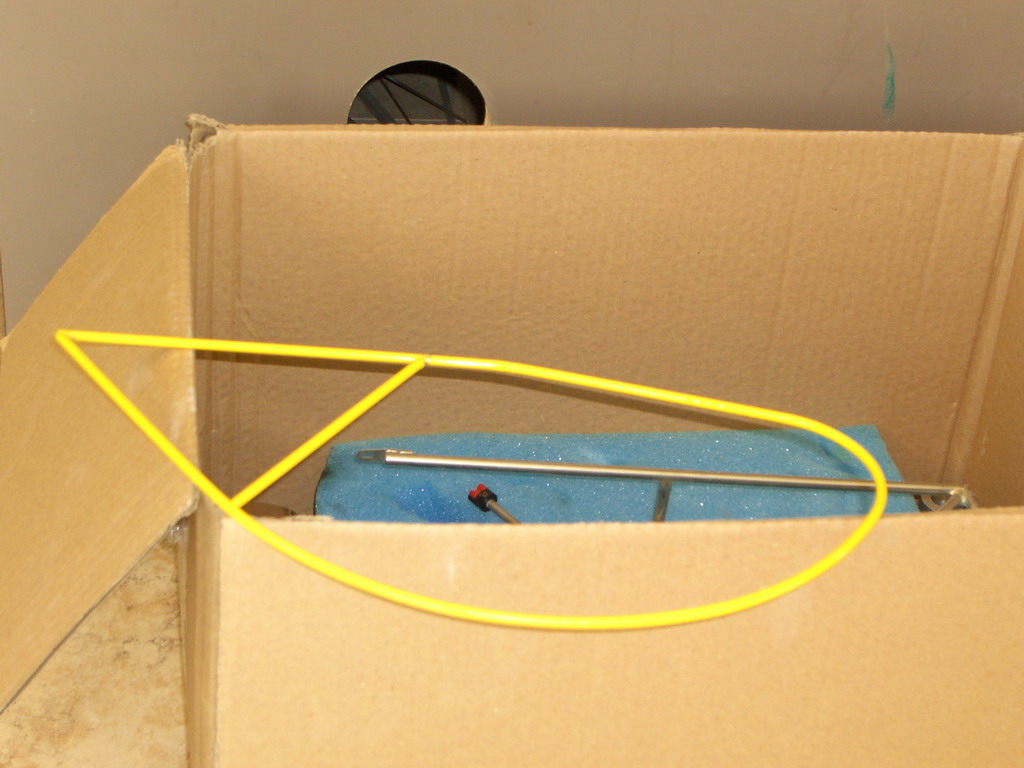
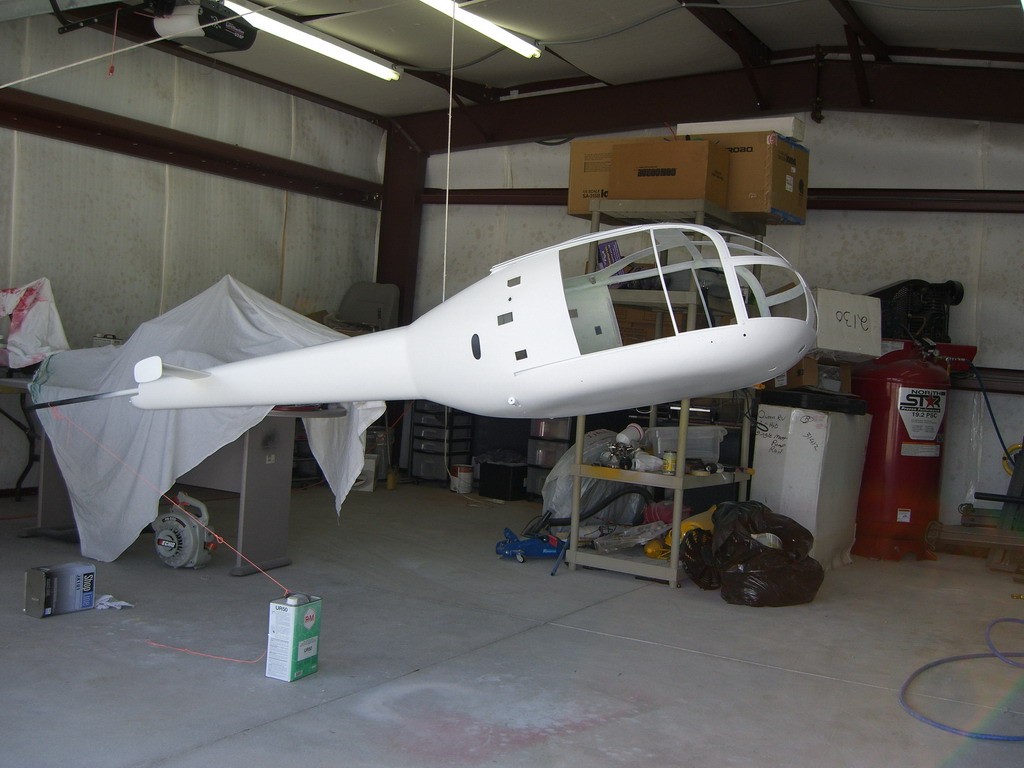
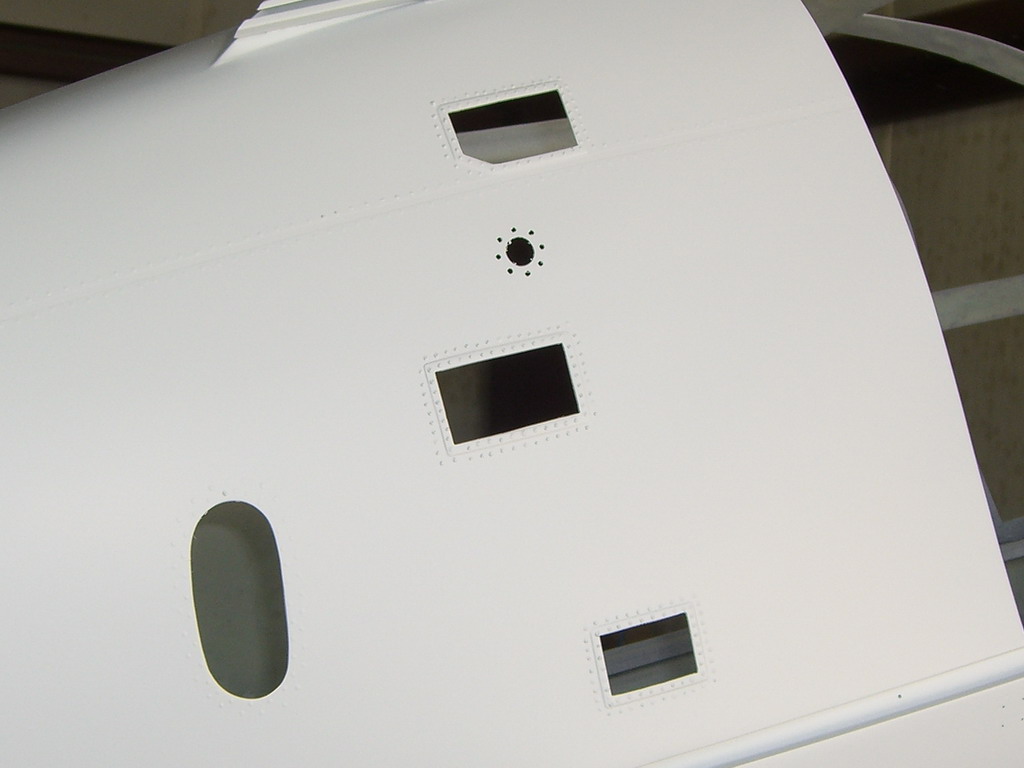
Once the doors were fitted it waas time to turn to the fuse and get that finished. There wasn't much to do but a heck of a lot of sanding was required before I could prime it. I wanted the panels in the tailboom to show so I masked the opening ones off with 1/8" tape and the fixed panels with 1/16" tape.
Then I tried using 2 part primer for the first time. It takes some getting used to but I made a passable job of getting a coat on. Then I peeled the tapes off.
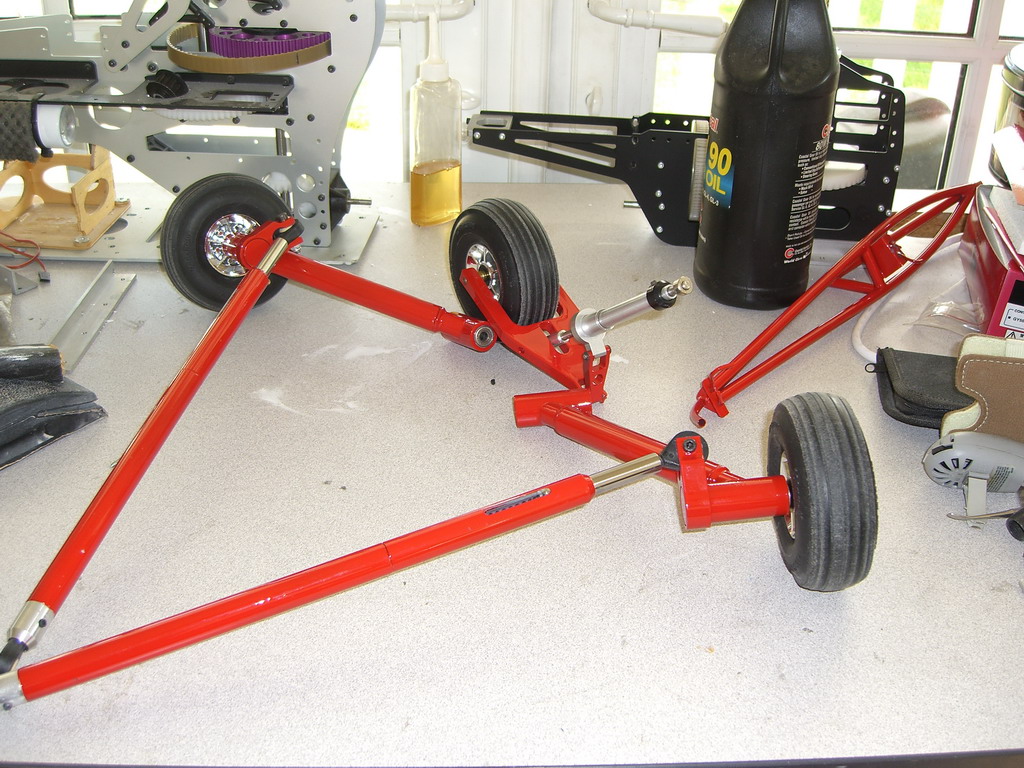
I had been doing a few small jobs while I waited for my arm to fully heal. The landing gear and winch boom were painted and clear coated
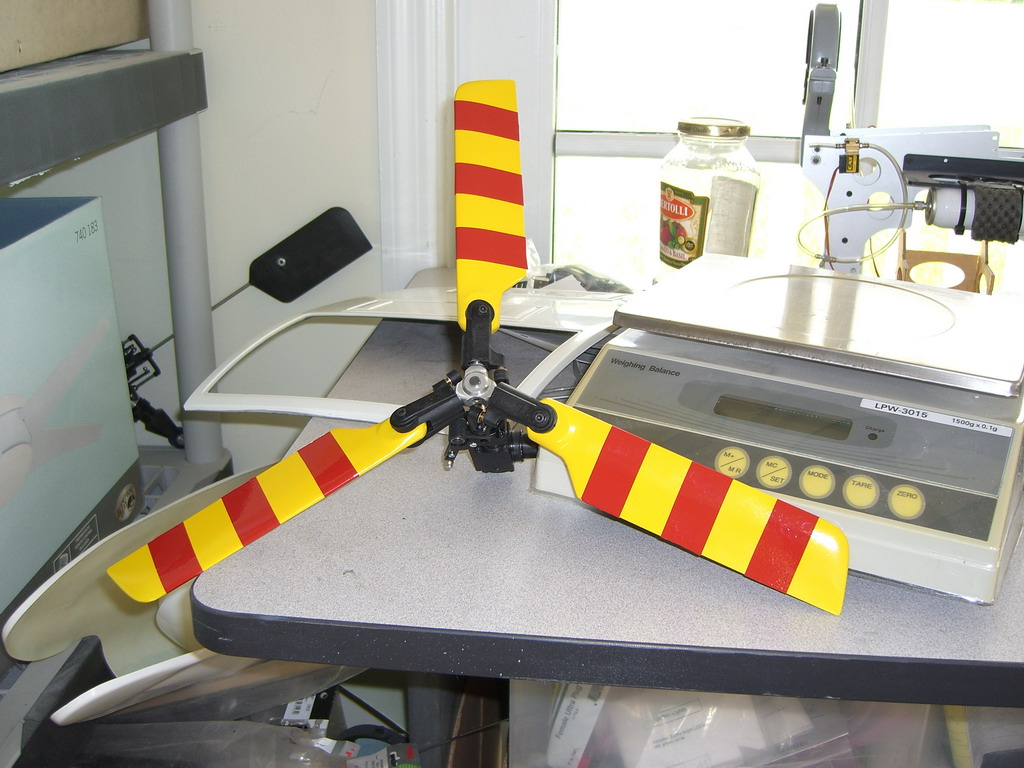
The tail rotor blades were painted and balanced
And the tail rotor guard was powder coated. A long time since I had done any of that. I had forgotten how hot a job it is when the outside temperature is in the 90's and you are doing it in a metal garage.
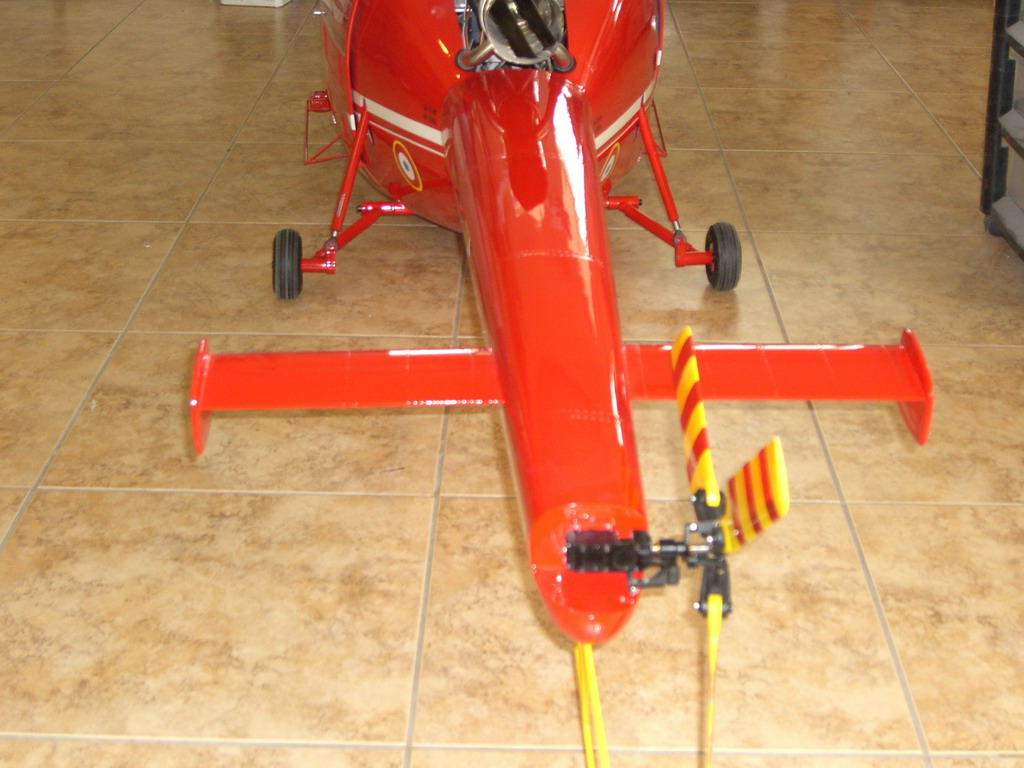
I have decided to sand off the locating lugs on the tail guard as if there is even the slightest sideways movement it will tear a big hole in the fuse and the way this thing wants to take off and land, I think it will be tail down a lot due to the thrust of the turbine. I would rather replace a set of tail blades that fill holes in the fuse and repaint it.
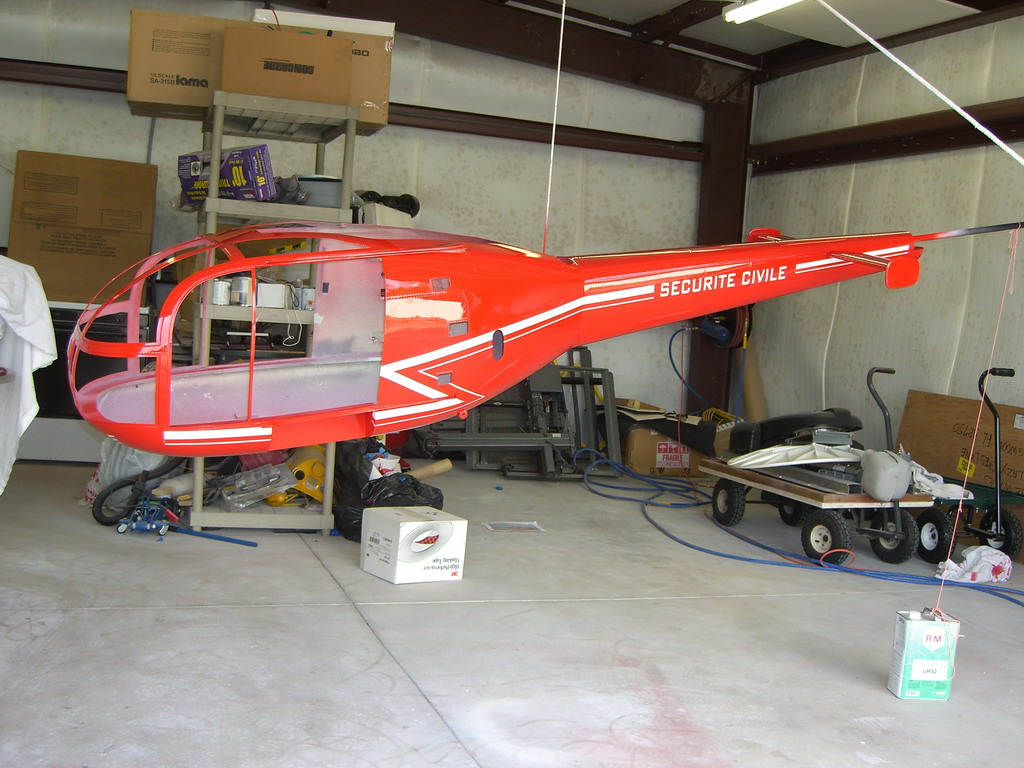
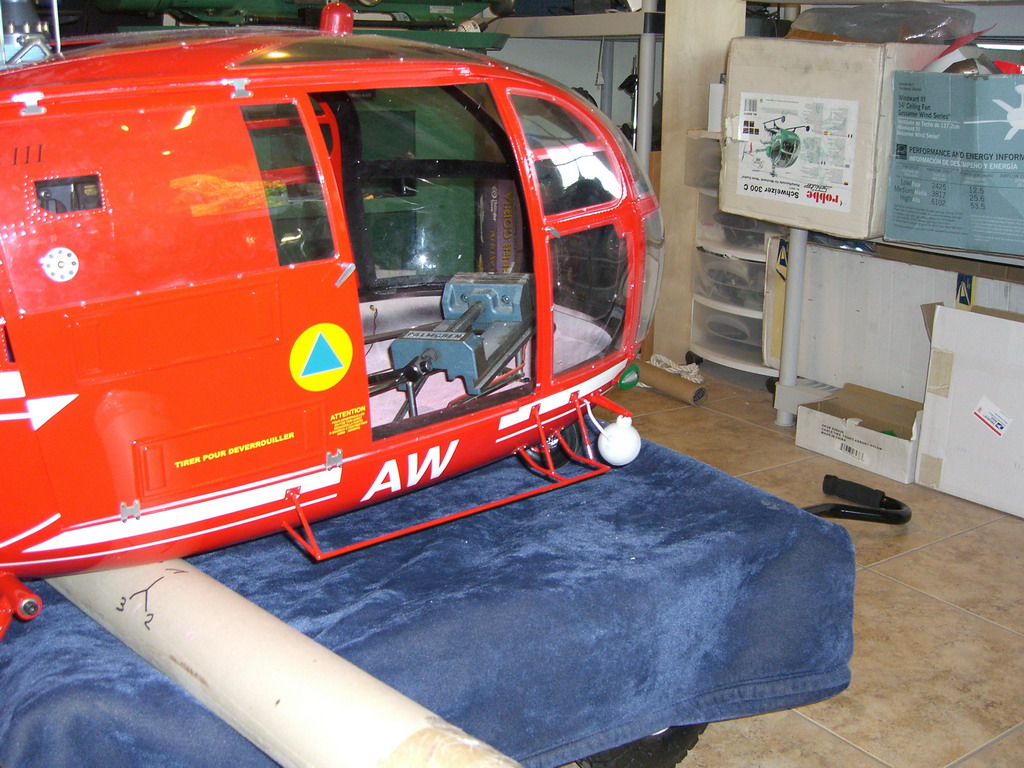
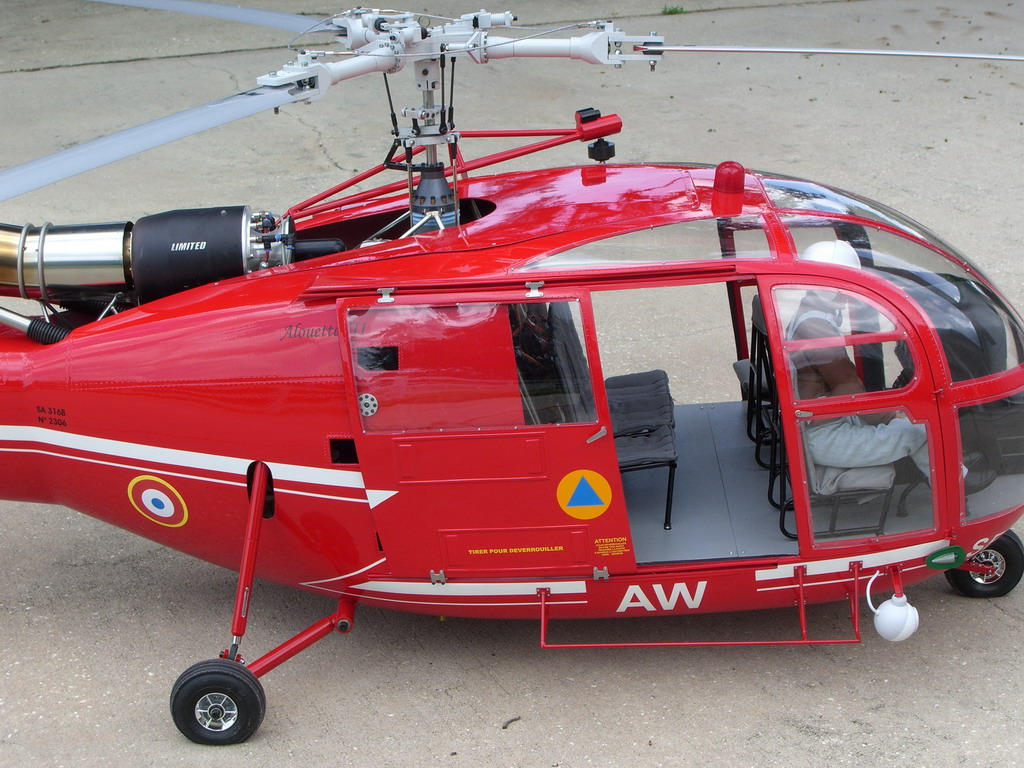
Time to start getting adventurous. I wet sanded the fuse with 400 grit and soapy water to get a silky smooth finish. That took about 3 hours as the surface was pretty rough where I had sprayed it before thinning it. Then I peeled off the tapes and added some rivets. Finally, I gave the whole fuse a nice coat of white basecoat.
You can see some of the rivets here, but when it has the final color coat on and is cleared, they will show up much better.
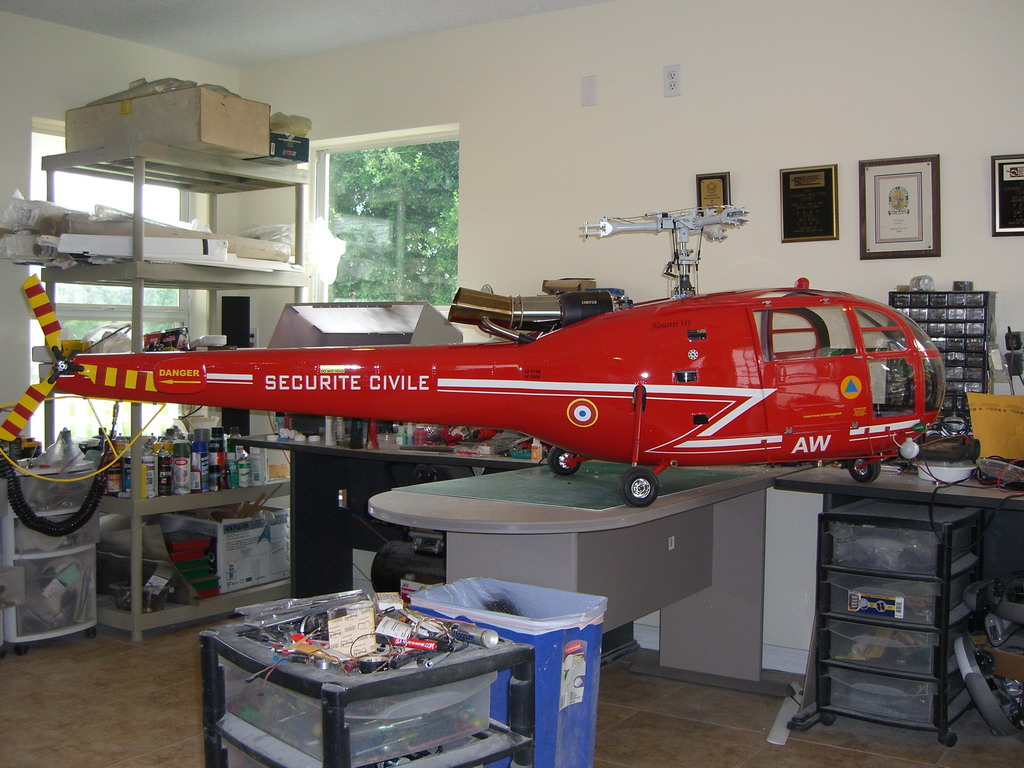
Then I applied the lettering I had cut out with my Stika and taped off the stripes. I spent 3 hours trying to get the taping right and in the end ripped it all off and took a little poetic licence as to where the stripes should actually go and stop. Then I gave it a dry sanding with 1000 grit paper to take any dust nibs out and layed the red coats on.
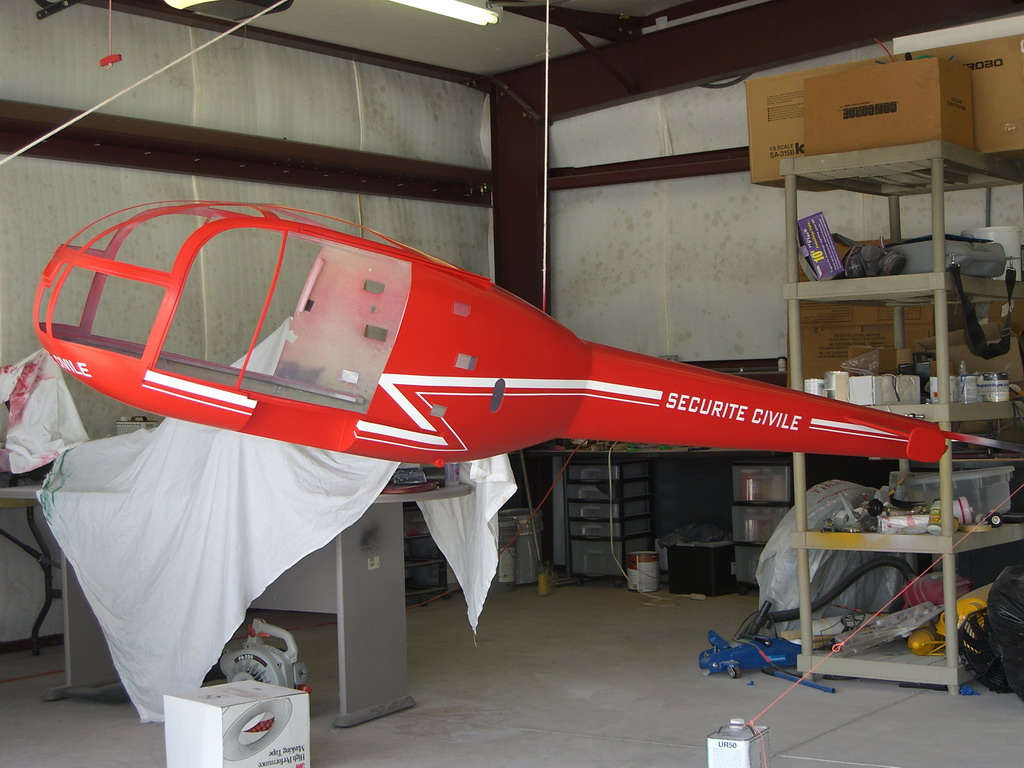
That's how it looked after peeling off the masking tapes and the lettering stickers.
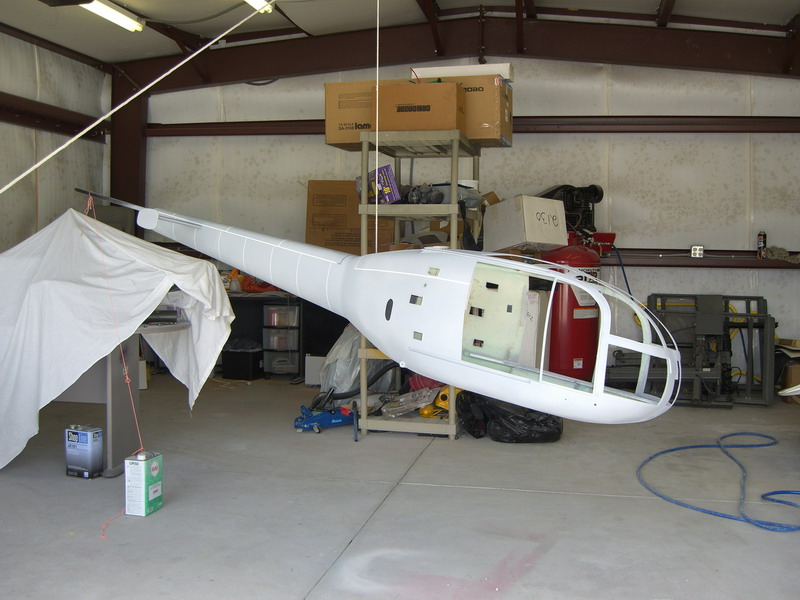
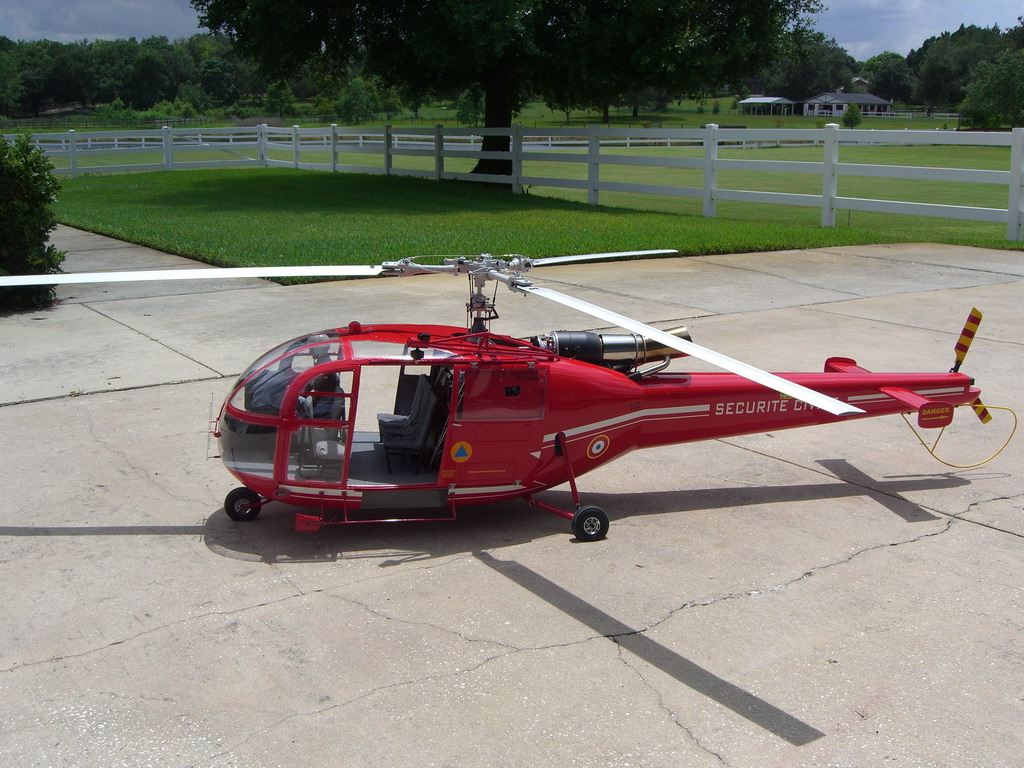
Then it was on with the clear coat. This was the part which was making me nervous. I usually put the fuse on my 2 rpm spit and turn it so I get a nice even coat with no runs, but this one was too big, so I had to hang it from a pulley and scoot around and under it.
Joe had told me to clear it like it was and fit the other decals on afterwards. He said if I did it before I would get a heavy build up around the stickers.
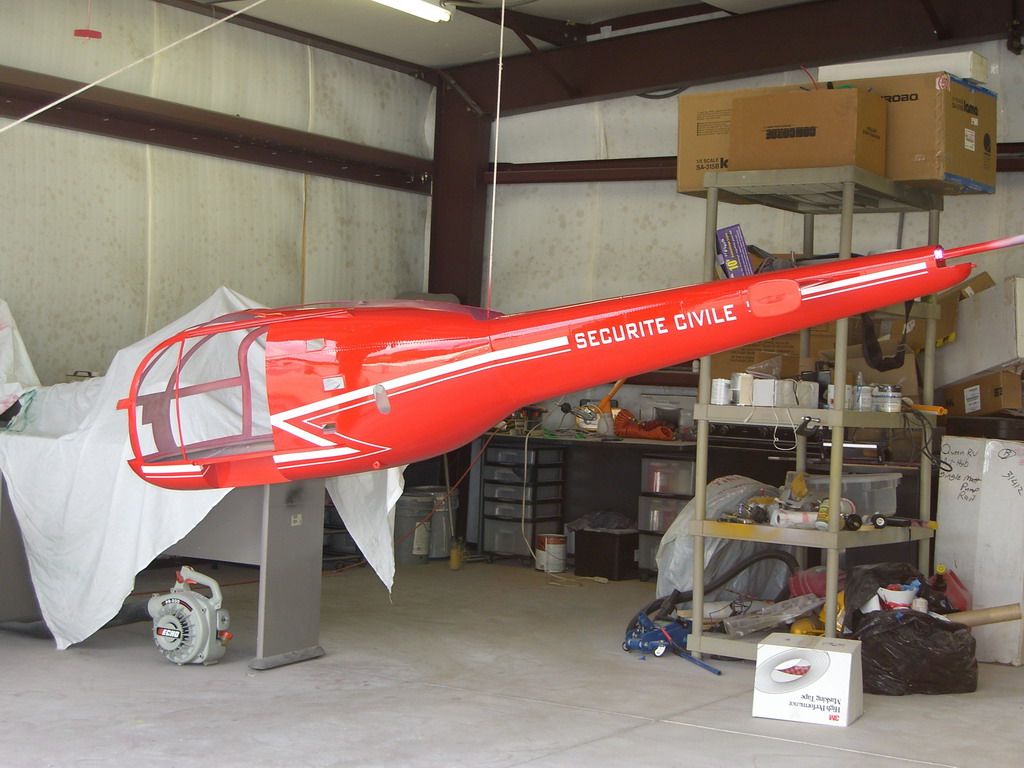
It turned out pretty good considering
Then I fitted the stickers

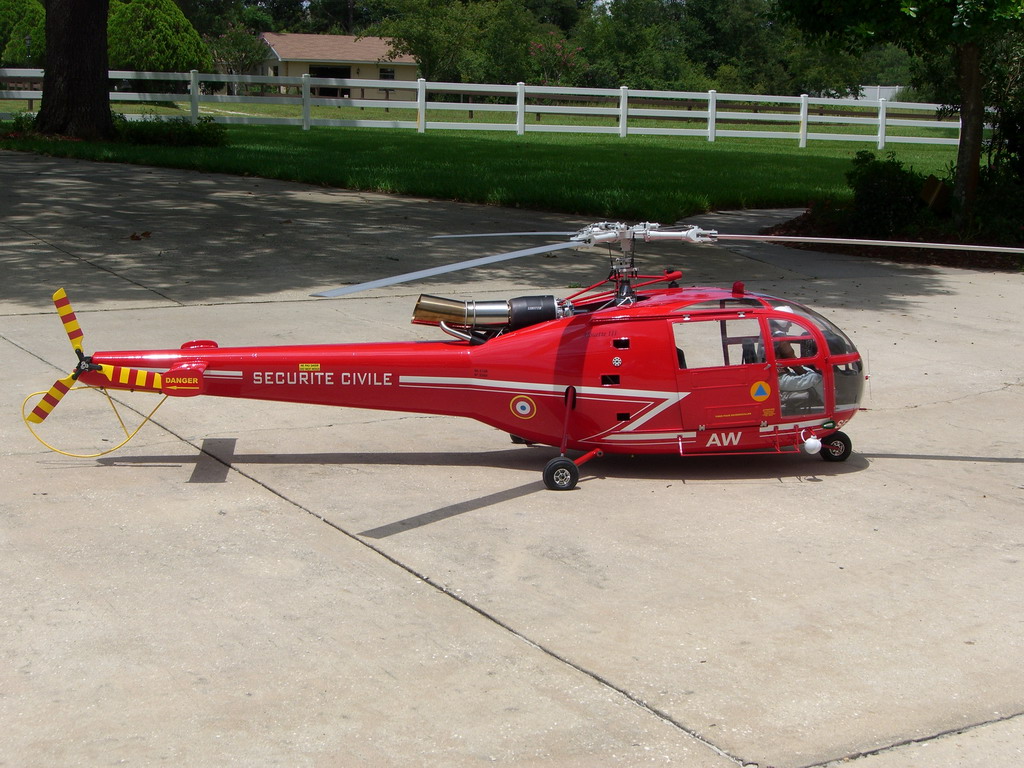
Now she is starting to look really good. Once I had let everything set for a couple of days, it was time to get it on the bench and fit the mechanics. With the help of my friend James we got them in without scratching the paint and then I had to ease them into position while trying to fit the 6" final drive coupler to the tail driver shaft.
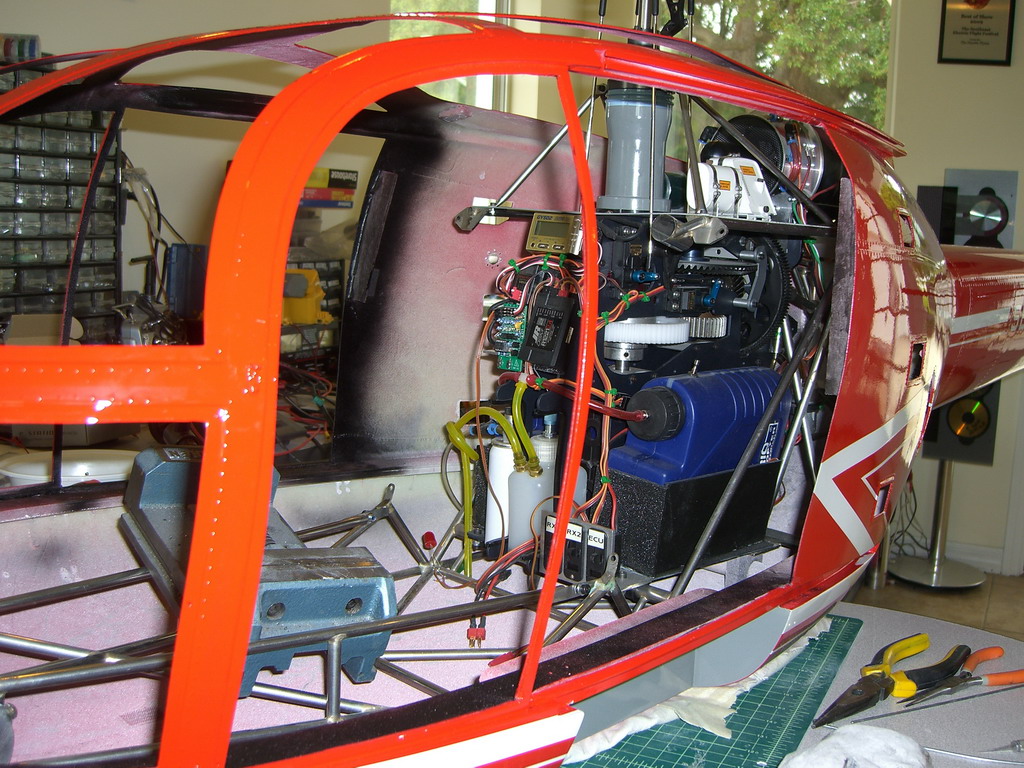
The vice at the front was weight to hold it down while I slid it back to fit the rear landing gear. Then I fitted the front gear and she was up on her own three feet.
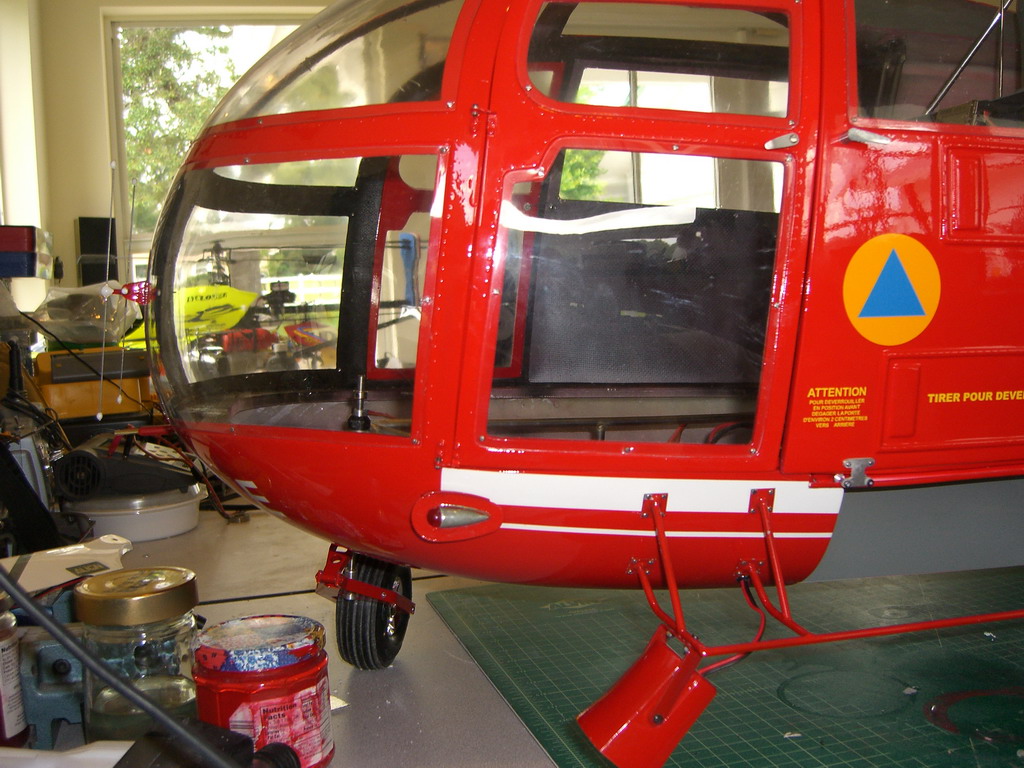
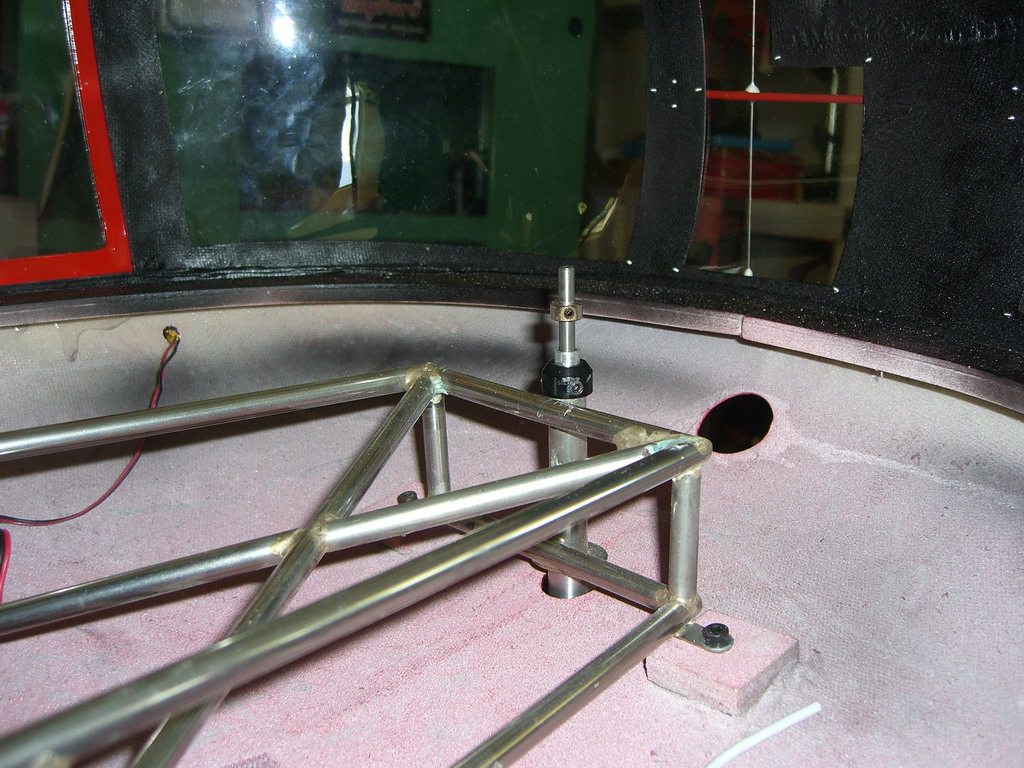
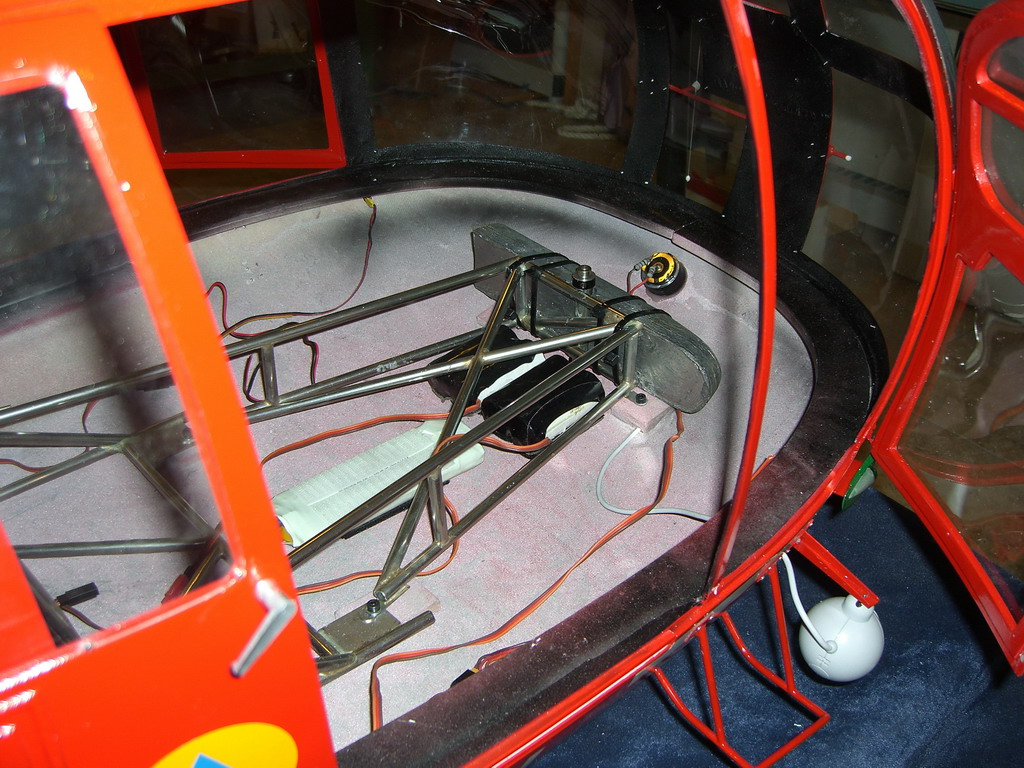
The rest of the day was spent in fitting out the bracing for the fuse and front landing gear. I also added the windows at the front and the door runners. Then I fitted the doors, except one needed some spacers machining so that's for tomorrow.
I originally fitted the windows before I cut their holes in the fuselage. When I came to refit the windows, the fuse had distorted so much I had to use the windows to pull it back into shape. That also allowed the top brace for the fuselage to fit properly which was a relief as I thought I was going to have to cut them out and refit them.
Then I started adding some of the scale accessories I had made earlier while waiting for my arm to heal. I added the steps which were made from Trex 500 flybars and the camera which actually is a Logitech web cam I found in Target
The nose got the VHF antennas and the pitot tube
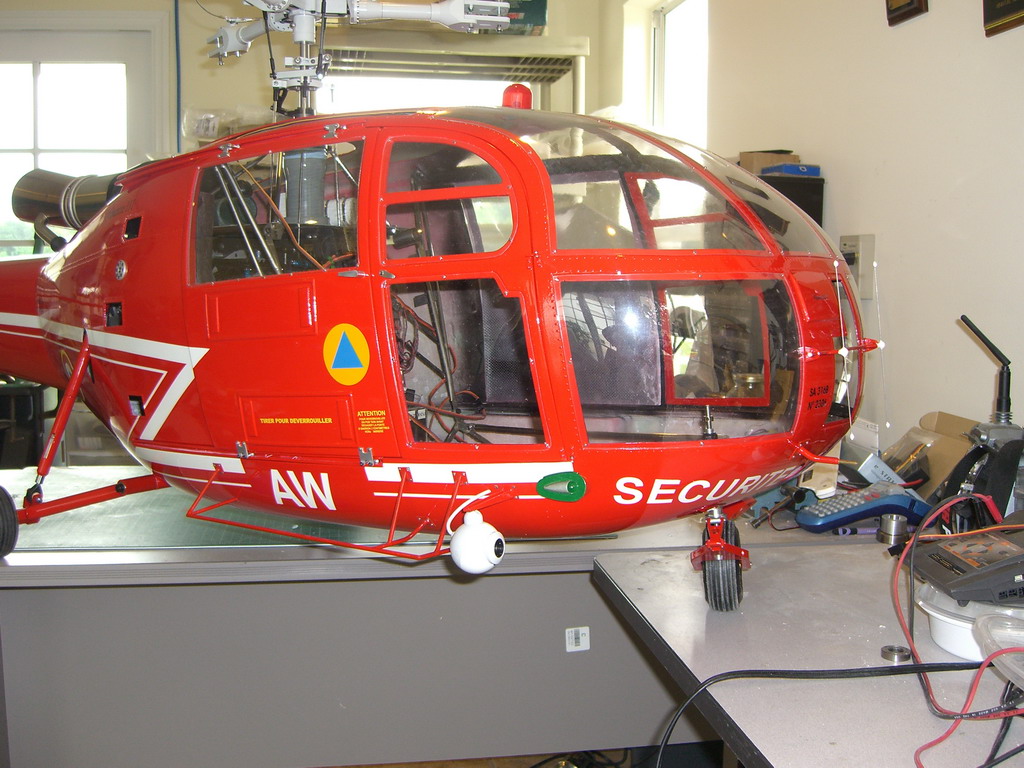
And I fitted the Nav lights, and loudhailer to the other side
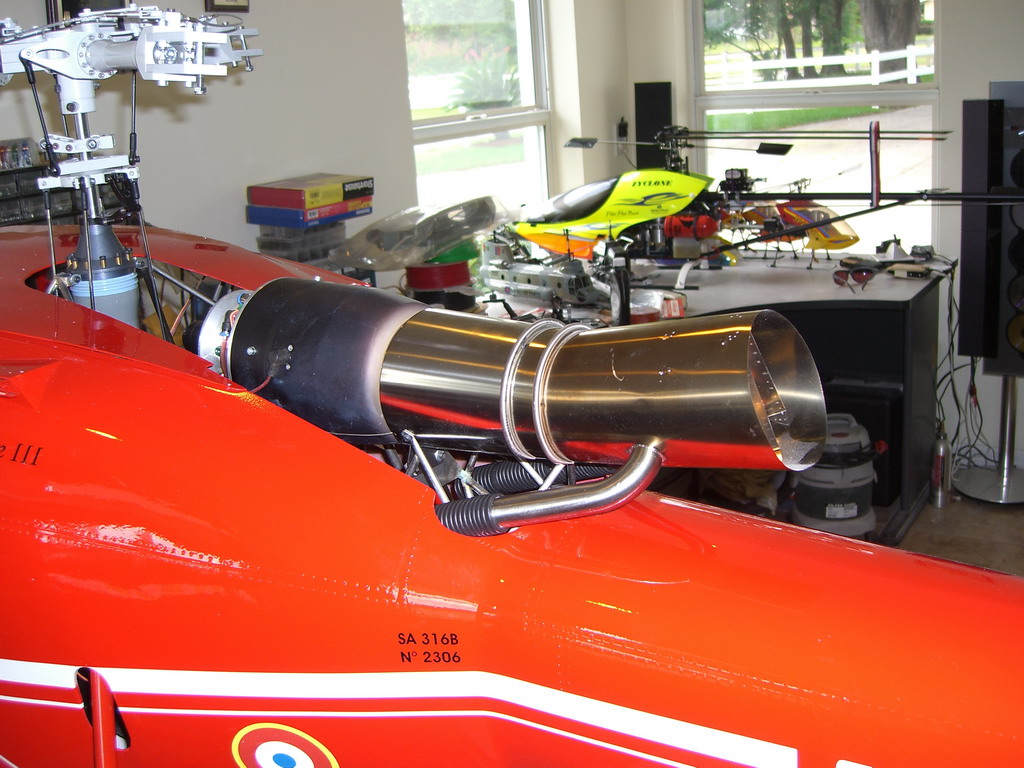
The turbine exhaust went on with the heater tubes
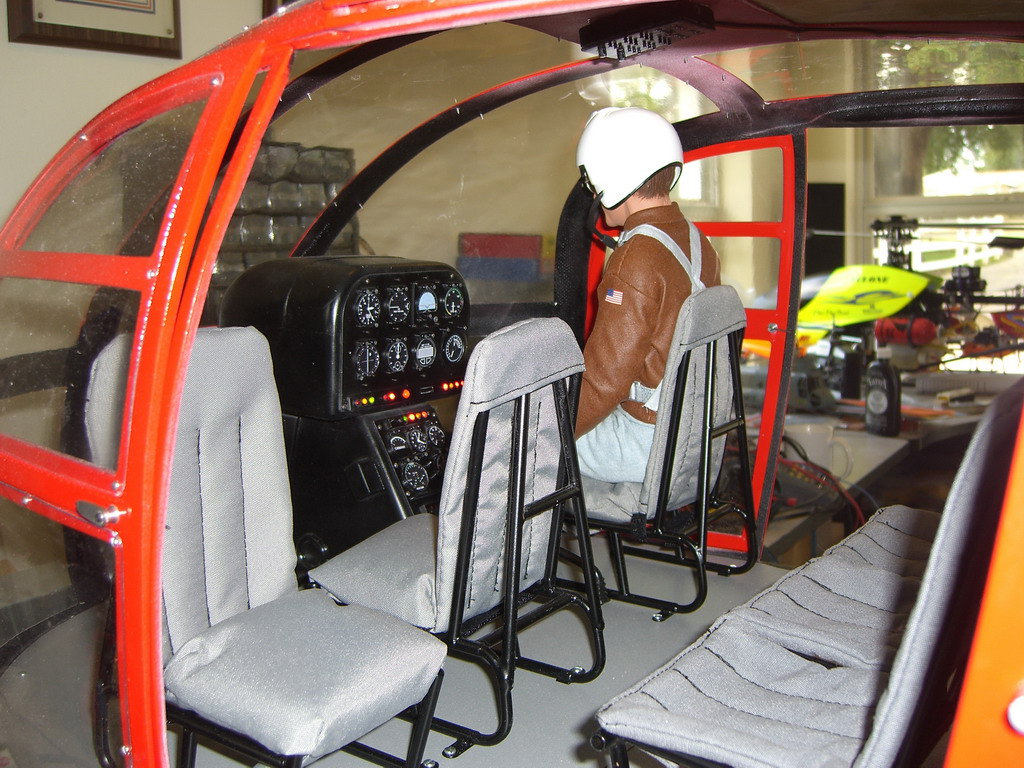
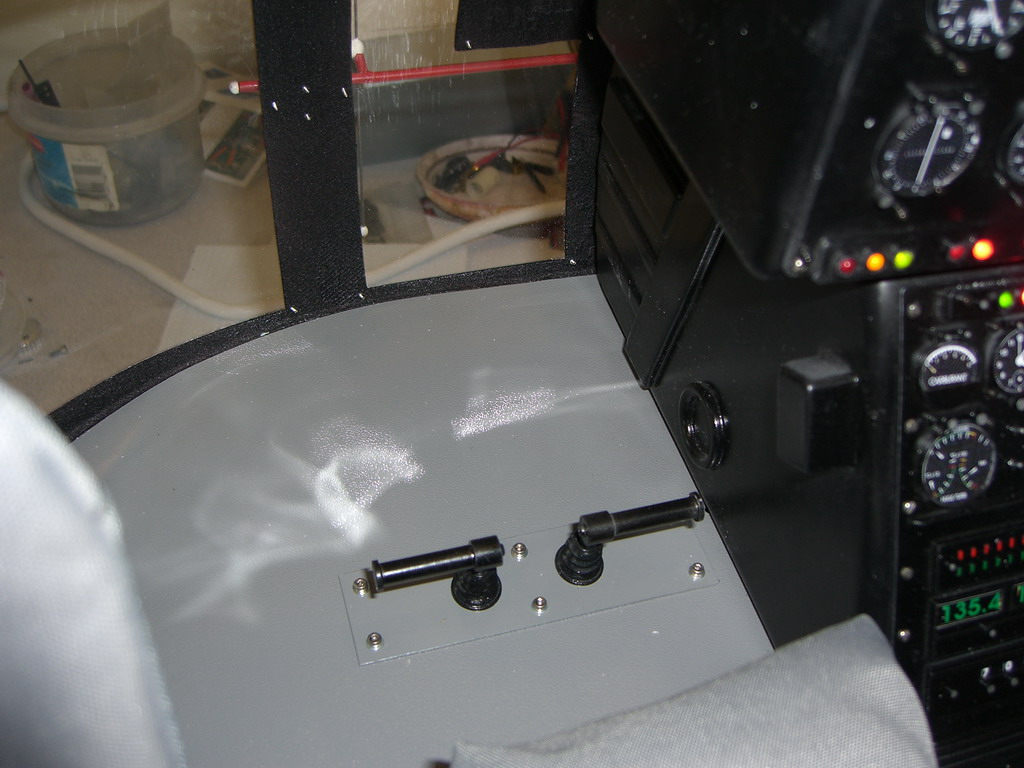
Then I spent a couple of days making up the instrument panel. The panel molding is the Vario item and I have added some front panels which were made by Rapid Prototyping which Gonzalo Martinez did. Then I bought a couple of LED selections from Radio shack and found the right combinations of 0.1 inch LEDS. I wired them up with the appropriate resistors
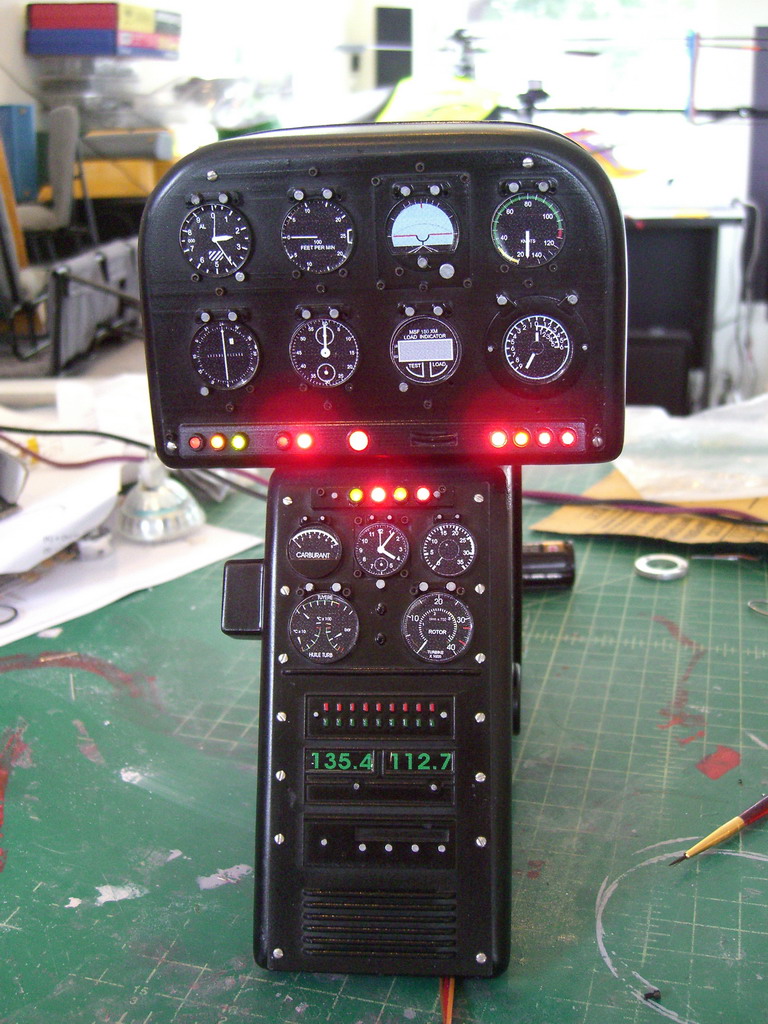
Then I ran into a problem. The landing gear at the front comes up pretty high and when well depressed which its going to be with all the weight on it, it will protrude through the floor.
I spoke to Vario about it and they told me to fit the instrument panel over the top of it and bore a hole so the suspension can come up inside the panel. Not at all scale as the panel has to fit behind the closed off area of the center window. Great stuff Vario. So I machined the black collar down as far as I could and that allowed me to cut the center aluminum shaft down by 1/2". Then I set the brass collar flush. Now its below the floor level when depressed.
Next I decided to see how much weight I needed to balance this helicopter and this is what I found!
That vice weighs 9lb so I cut a piece of bullet lead which weighed 8lb and milled a nice groove in it so it could sit around the suspension tube. Then I fixed it firmly in place with ty raps and some PFM. While I was working in that neck of the woods I also fitted the spot light which was cut from a 9 LED flashlight. It needed 20 ohms in series to run off 6.6v A123's
Now we are approaching completion. The front floor has to be fitted before the seats are fixed as you cant get it through the doors with the seats in place. Then the Instrument panel is fitted with double sided tape as you cant get to it to screw it down.
The idea I had to cover the hole for the suspension unit didn't work and so I was looking at my pictures of the full size when I noticed the rudder pedals were mounted on a plate. A couple of pieces of brass later and we had plates
Fitting the winch was tricky as you had no points of reference. There were two holes at the front which bolted to the front brace, two at the back which bolted to an extension of the brace, but you couldn't position the thing because the feed tube was so long it stopped you from putting the arm onto the chassis. A couple of good guesses and a bit of dremmeling later and it was on. Then I could fit the rear floor and seats
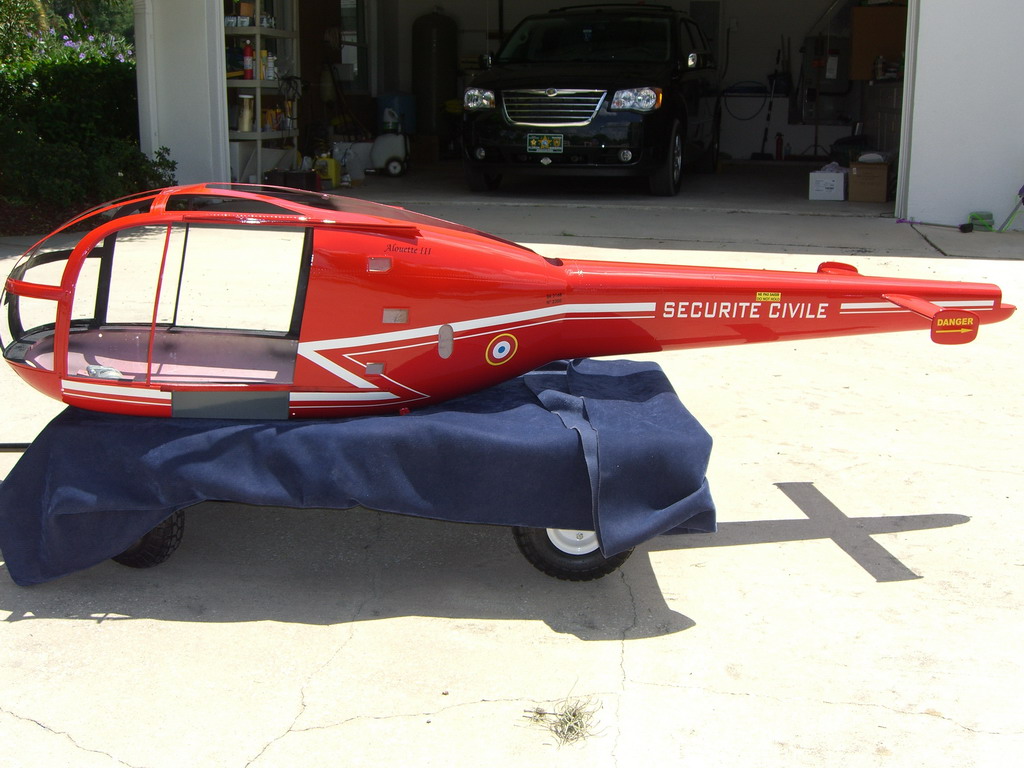
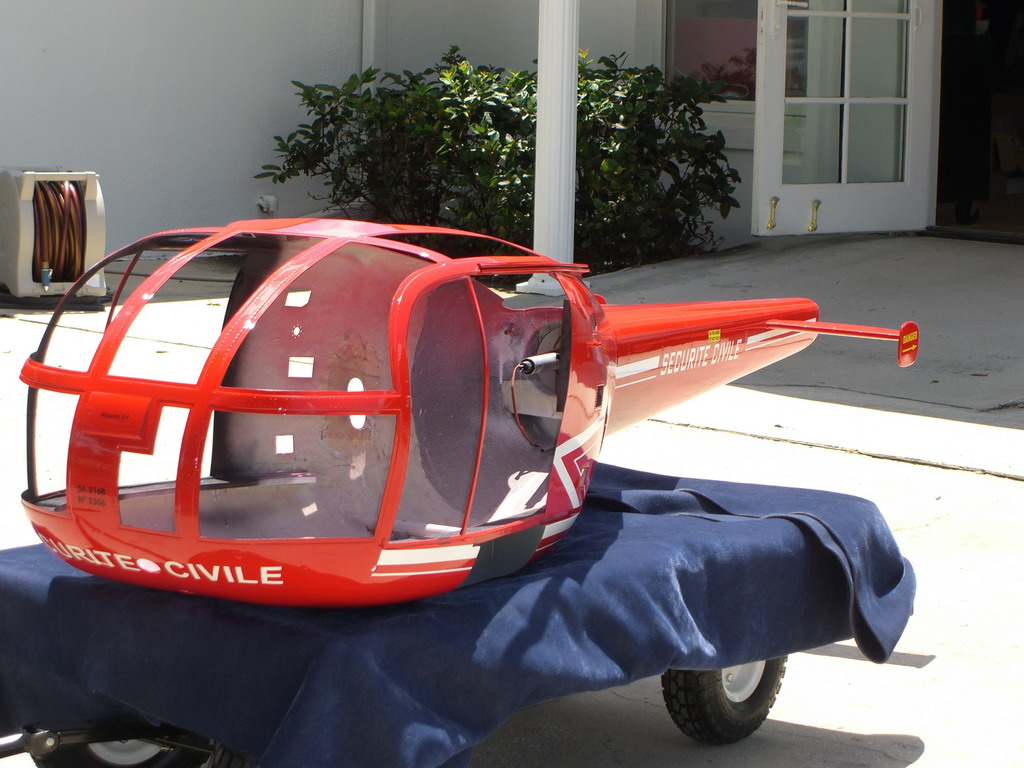
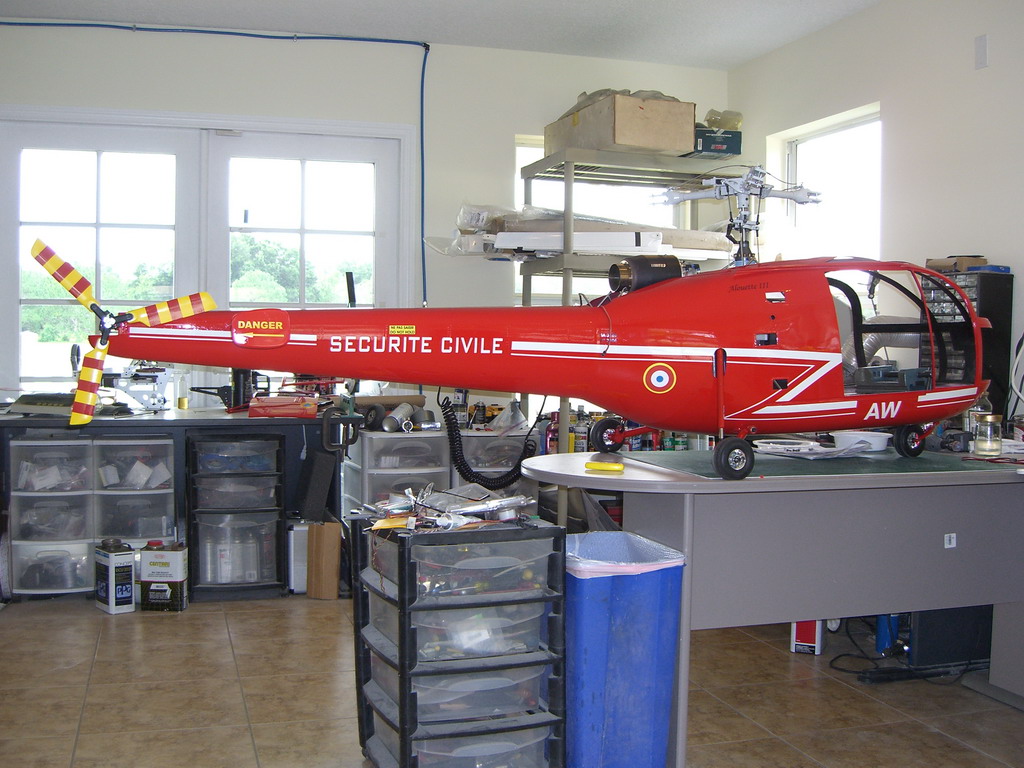
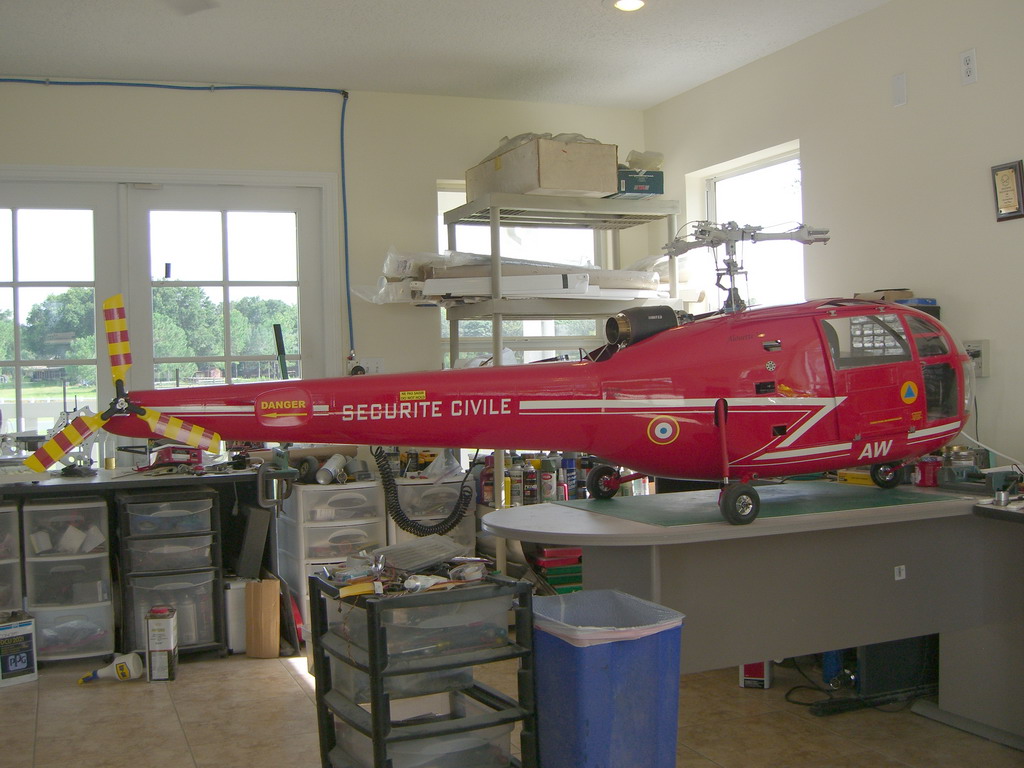
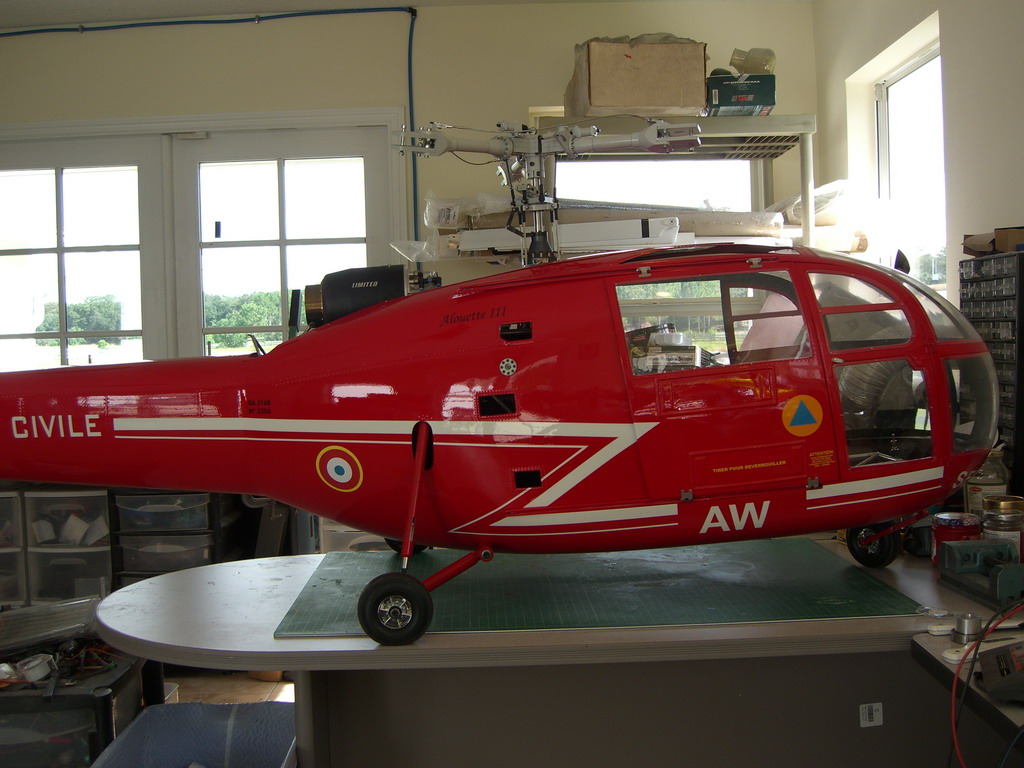
A few pre flight shots. I noticed the tires were going down and remembered a small piece of brass which came with them so, a quick squirt from my compressor had them up to pressure again.
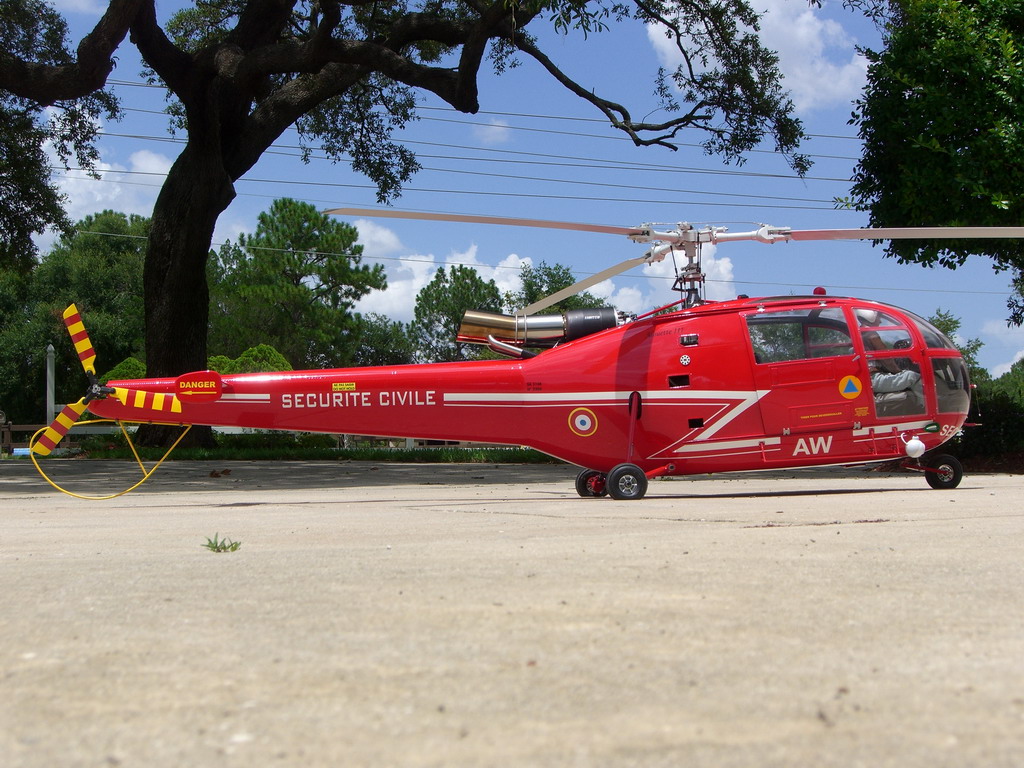
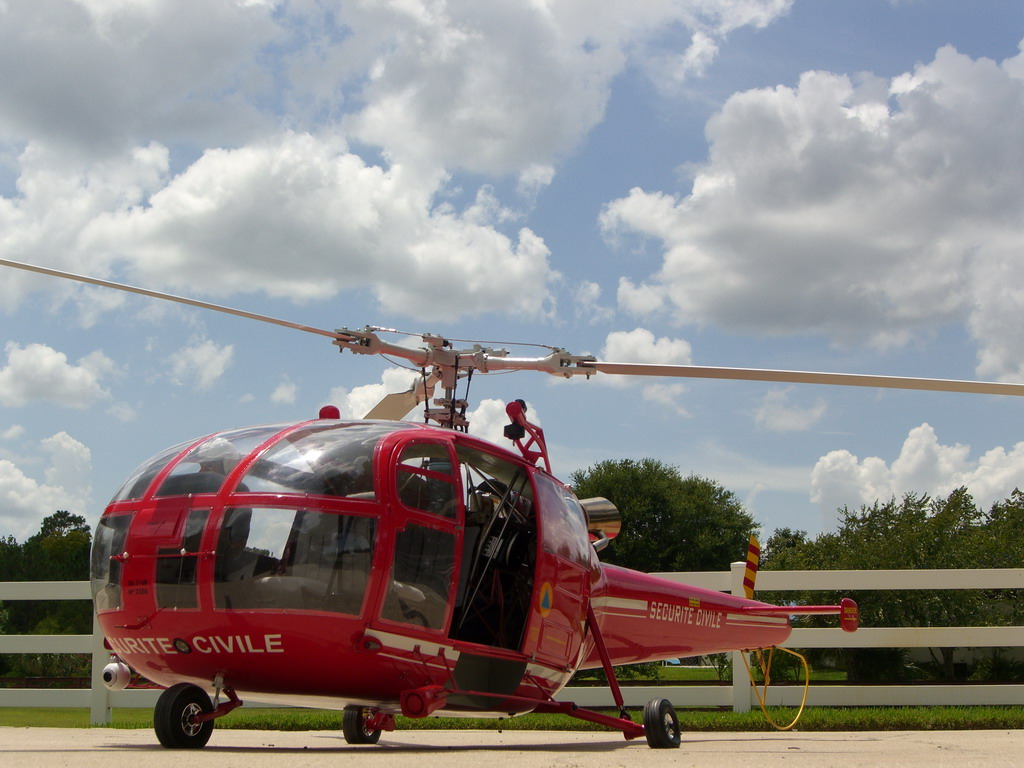
Tires pumped up and ready to roll.
That's it for now. There will be more scale items added as time goes on, but now its ready for a test flight.