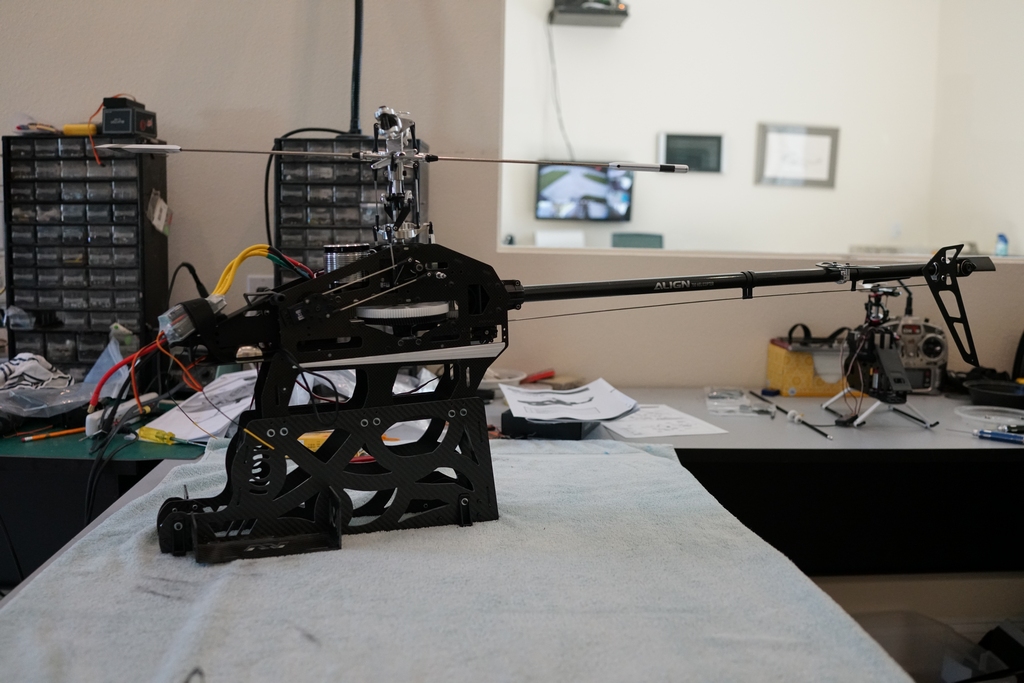
After I had finished the Trex Lama and flown it for some time I decided I liked it so much, I would try something a little more scale but still using the Trex 700. I was fortunate to pick up a fully loaded 700E with flybar at OHB for a very reasonable price and I ordered the EC135 kit from Joe Howard who gave me a good deal on it as the Euro was ridiculously low at the time. Initially I am going to fly it with the flybar arrangement but later will add a 4 blade head to it. I had been working on the 700E so that I could fly it with the flybar at 1400 rpm and with the 4 blade head at 1200 rpm or anything from 1000 to 1500 rpm. I settled for an 8s battery for 1400 and can either run 6s at 99.5% or 7s for the 1200 rpm setting.
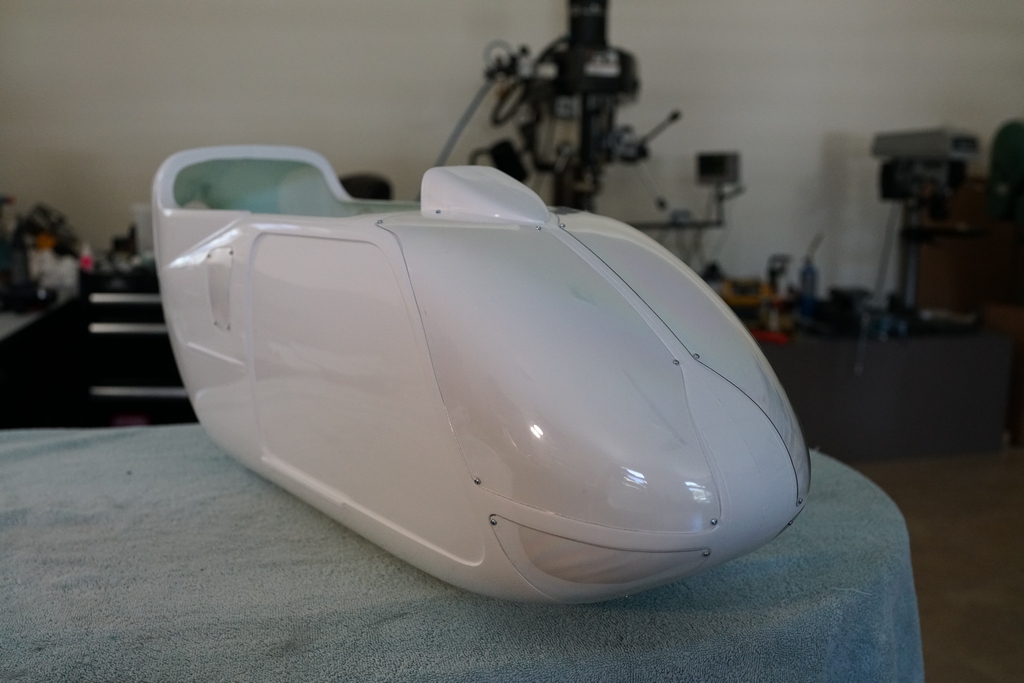
When it arrived, I did what we all do and ripped the box open to see what I had got. Much to my surprise, the fuselage was the same as the one I had fitted PHT3 turbines in a good few years back. As we all do fastidiously, I read the manual; from cover to cover, until I understood exactly how to assemble this thing. The first job was to cut out all the window openings in the fuselage. The last job is to cut and fit the glass, so I did the glass first!
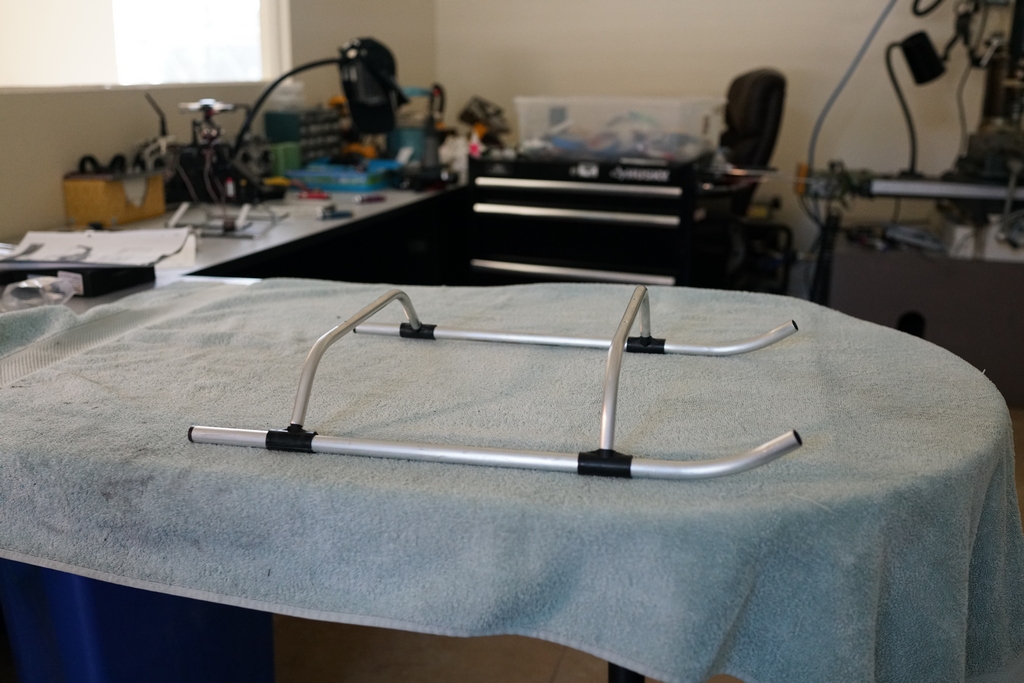
Never let it be said I am not my own man! So on to page 2. Assemble the landing gear and screw it together. You can't define exactly where the cross members are going until you fit it to the fuselage so I cobbled it together and put it to one side for later
Then came the assembly of the chassis. A move away from the norm for Vario here. I expected a routed plywood chassis I would have to cut out and trim the corners with my #11 knife. I got a full CF chassis, also routed out and that gave me some extra work. All the rounded corners had to be filed square and the slots were too narrow for the CF lugs to fit into so they needed filing to fit as well. Then it has to be sanded where the lugs fit into slots and all epoxied together. This is the assembly before gluing.
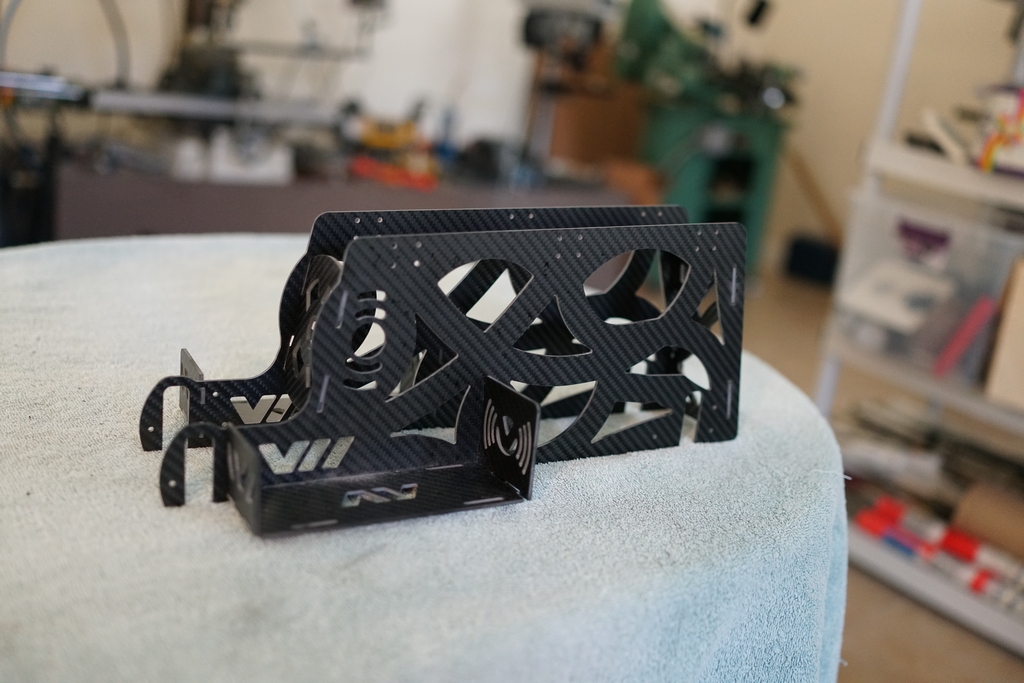
As it is it is very rigid and strong. When glued together I expect you could drop it without a problem. For me, the extra work is distinctly outweighed by the advantage of the sheer strength and rigidity of this assembly. There are some doublers and mounting lugs to be bolted on before gluing so that is the next job.
The doublers are on and the mounting lugs bolted into place. The 24hour epoxy is set and this assembly is extremely rigid
The next job is to mount the assembly into the fuselage and bolt it through the landing gear. First the tail boom had to come off, then the ESC had to be moved out of the way. Then it was off to the drilling. I was a bit wary of doing this as Vario showed a hole being drilled through the mounting lug, then the fuselage and finally the landing gear. This would require and 18" long drill as it have to be done from the top of the frames. Then I had another look and they had already drilled the landing gear with the right spacing side to side for the lugs. Holes were also drilled in the lugs so all I had to do was align the landing gear to the fuselage, centering it both ways (fore/aft and side to side) and then drill holes through the fuselage through the landing gear. I usually have a lot to say about Varios kits, often none too complimentary, but so far I haven't had a darn thing to whine about.
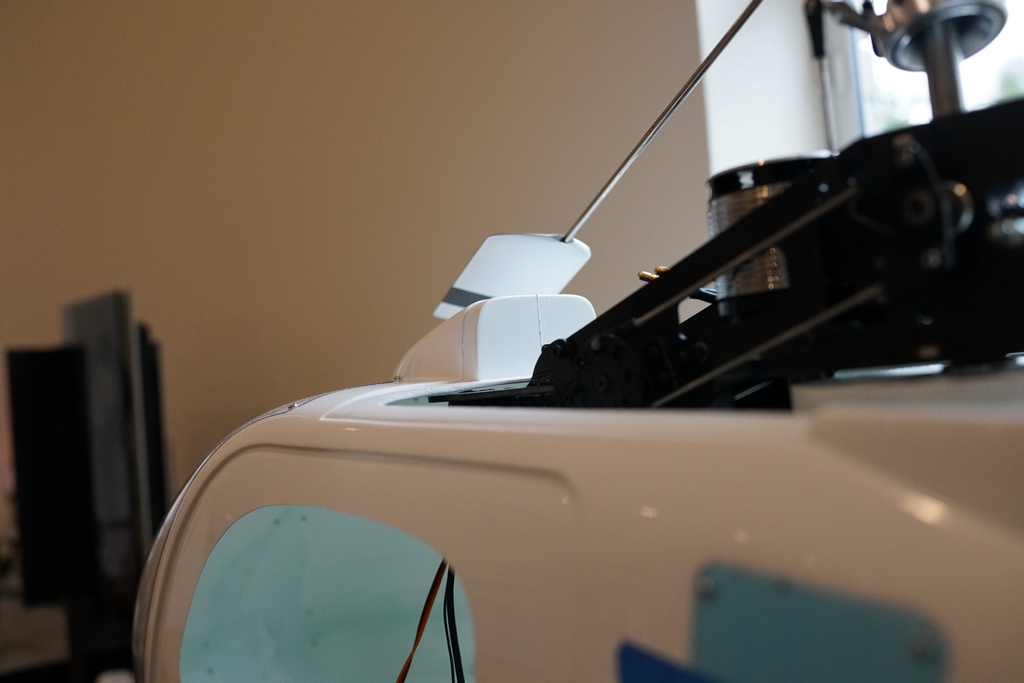
After a bit of a break doing some maintenance and repairs I am back on the job and the first thing to do is file CF sheet to fit. There are 2 sub assemblies that bolt to the battery mount holes on the mechanics and then are bolted to the top of the fuse.
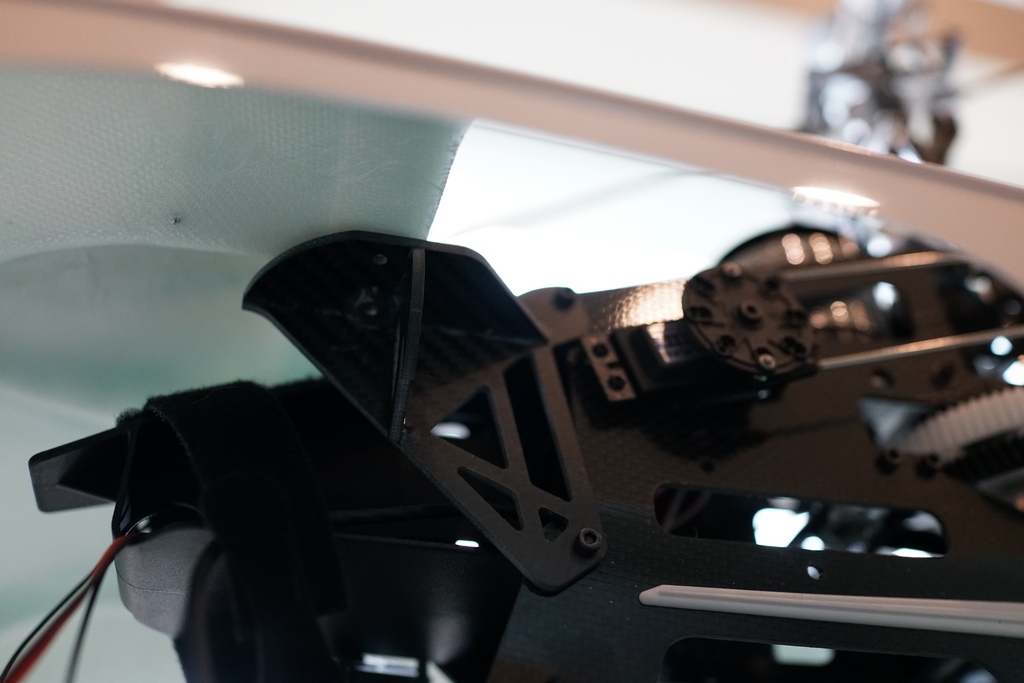
They fit fine to the mechanics but even though the mounting holes are slotted for adjustment, the top does not touch the cabin and if I bolted it down the cabin would distort.
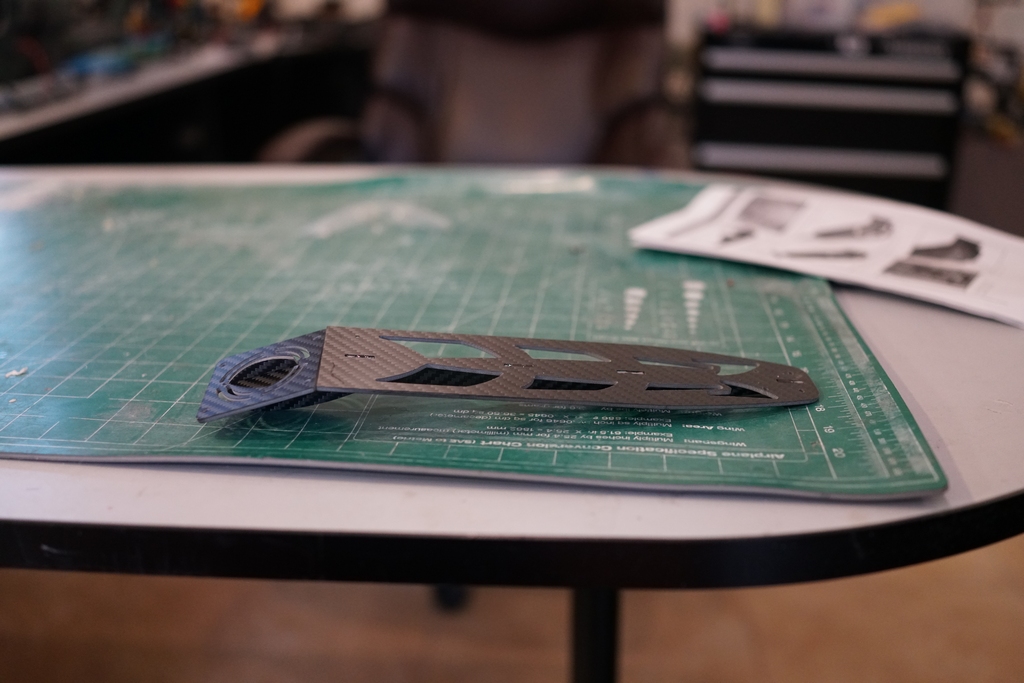
I have the choice of filing the slots out even more or shimming the top of the CF plated to make it fit. After filing CF for 2 days I am in favor of shimming. The last piece of CF to be filed and fitted is the rear brace which bolts to the tail boom and to the CF ESC mounting plate on the back of the mechanics. This is it upside down showing how the long rib underneath should fit though the slot in the angled piece which bolts to the ESC mount.
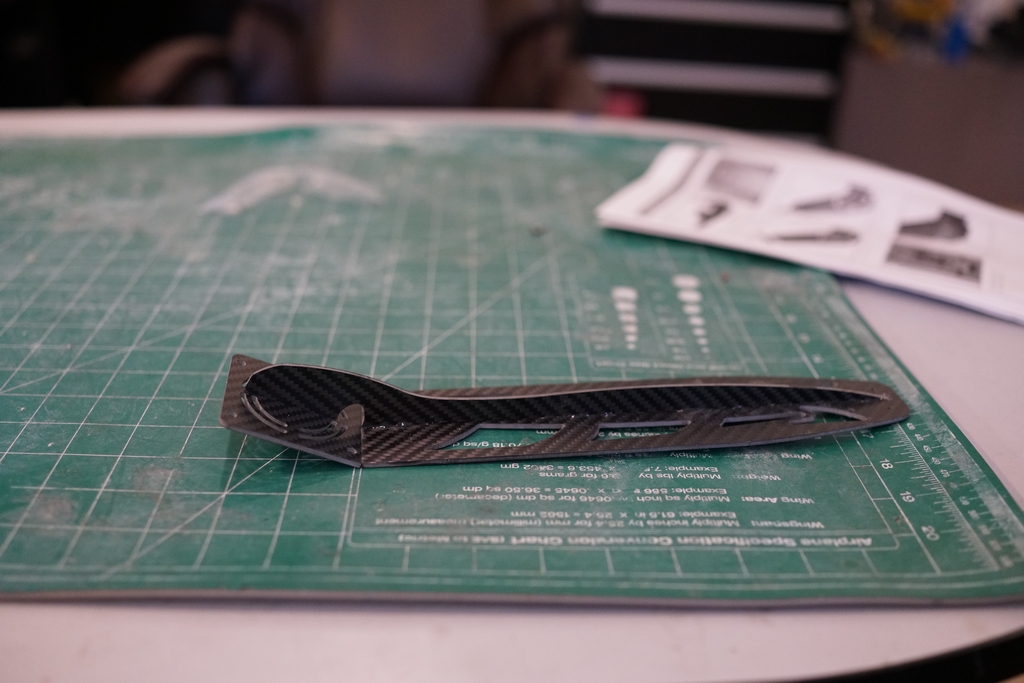
The problem is that you don't know the exact angle until you have mounted the tail boom in the tail and mounted the tail to the fuse, so Vario gives you a bit extra to play with. I will have to fit that and glue it in place when it is assembled
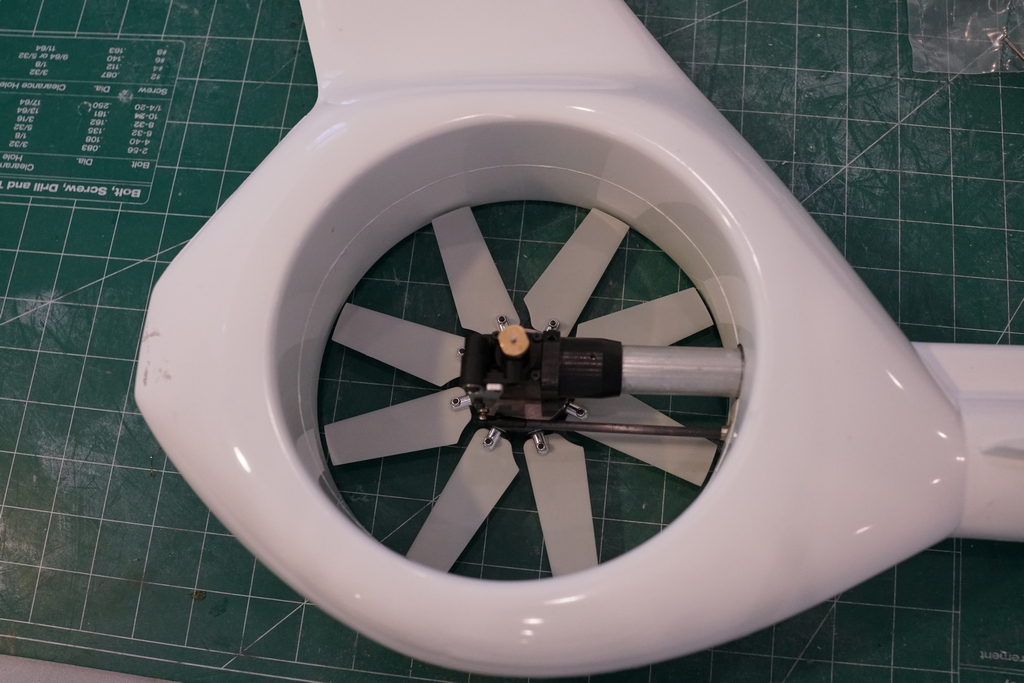
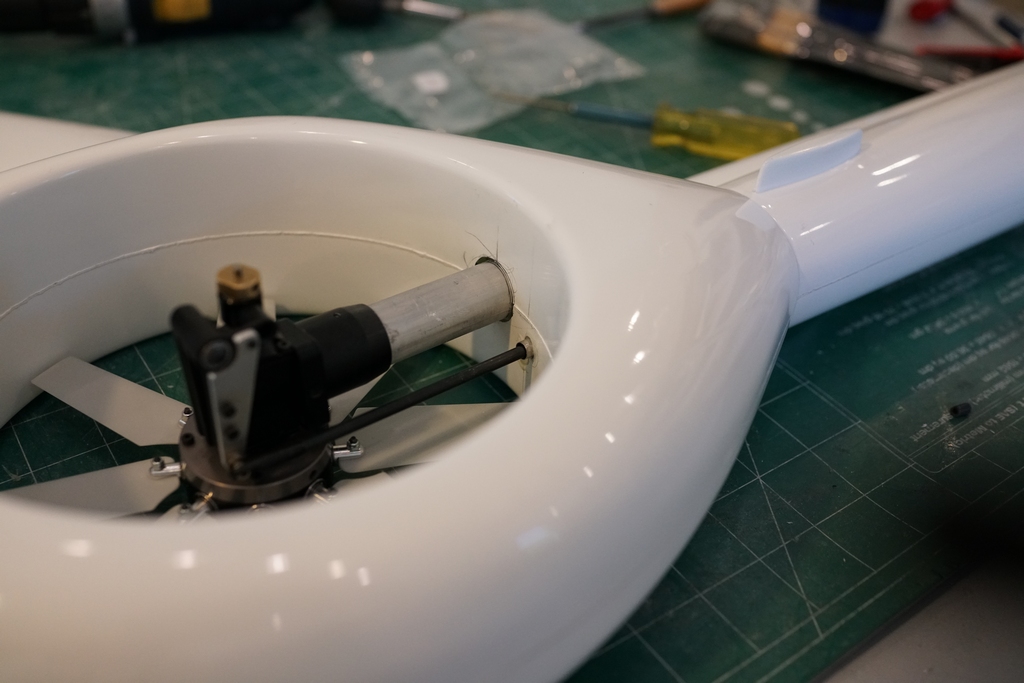
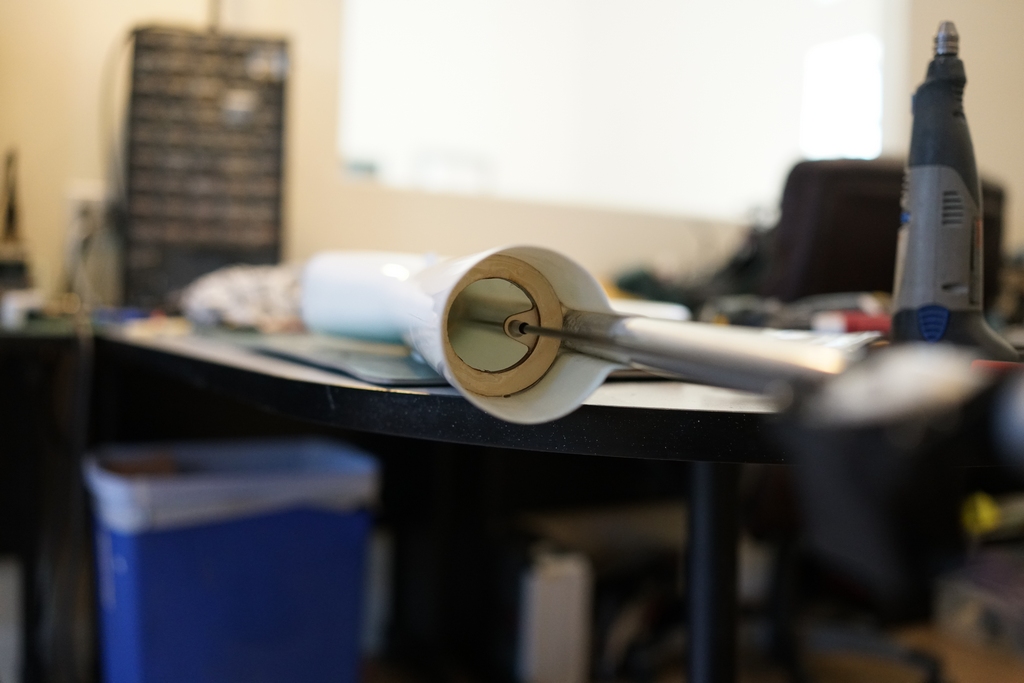
So, on to something a bit more positive, but still a struggle. The tail boom has to fit right in the top of the transmission tunnel on the tail. Right at the point where the fin joins the tail was a lump of glass fiber. This stopped me lining the tail boom up exactly and when I got it close either the fenestron fitted or the tail boom fitted into the fuse and lined up with the drive shaft adapter. My dremel would not reach from the fuse end and I couldn't get at it from the fenestron end. I ended up getting a piece of 12mm tube, cutting a slot in it and winding some 80 grit sandpaper around the rod through the slit. Then I found I could not exert a lot of pressure at that length of shaft so it became a long tedious job. Anyway, its done now.

The tail gearbox mount is gluing right now, so once it is set, I can install the fenestron and do the tail pushrod
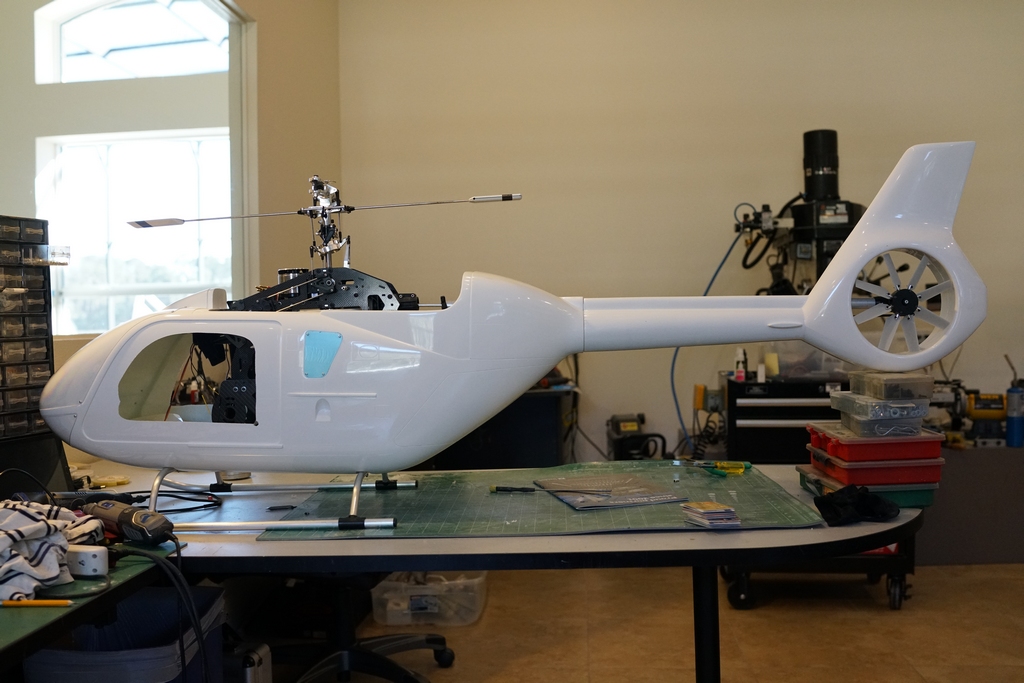
I have been asked why I don't cut the windows and doors out properly before assembling everything. For anyone else curious, here is the answer. There is a seam all round the fuselage which is much easier to sand if the fuselage is rigid. The windows are fitted first so that drilling holes and screwing screws does not distort the windows and make them not fit at final assembly. I will sand the gel coat down last before priming and doing it earlier may lead to scratches in the gel coat and grease from mechanics or my fingers may get into the primer and lead to fish eyes when painting.
So today I concentrated on the tail pushrod. I measured, calculated, measured again and computed the exact position for the hole in the fenestron tunnel. Then I got my right angle drill with a cone cutter out, carefully drilled the hole and checked is was just perfect with the CF pushrod. It was miles out! Ah well, I'm getting old and I'm allowed one mistake every now and then. 5 minutes with a round file and it was correct so I glued it a bit of the stainless drive shaft I had cut off while trimming it to size. A little extra glue splattered in the oversize hole and all is filled and smooth.
Then I fitted a servo to the Vario servo mounts and checked it ran smoothly
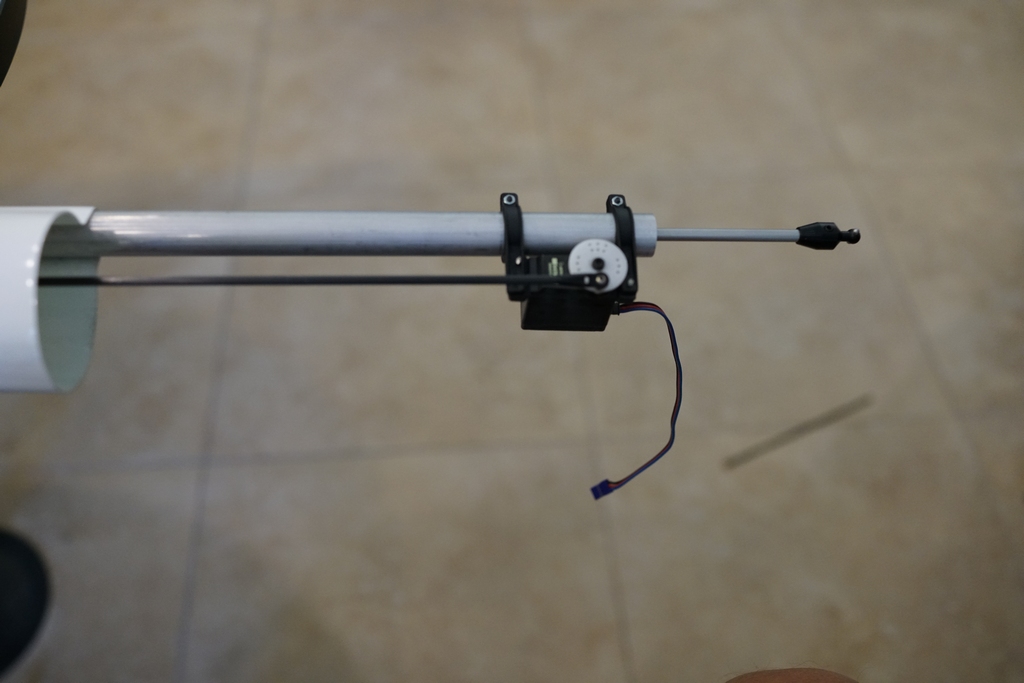
I had previously slid another piece of tubing over the pushrod and now glued it in the hole in the former.
Then I took another look at Varios instructions. The rear brace wont fit over the servo mount, the tube is too high even though it is perfectly aligned with the tail drive, Vario wants it lower and the servo twisted. I had cut the hole in the fuse for the tail boom, exactly the right size and in line with the tail drive so I figured if I glued the tail on and glued the tail boom in place it would be strong enough. So I did!
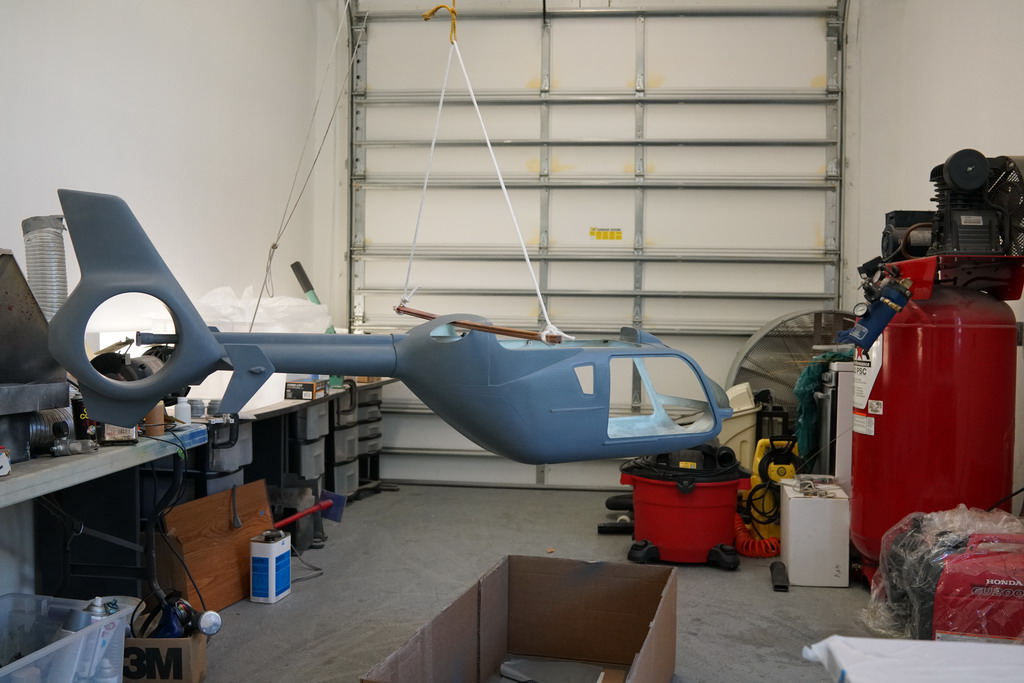
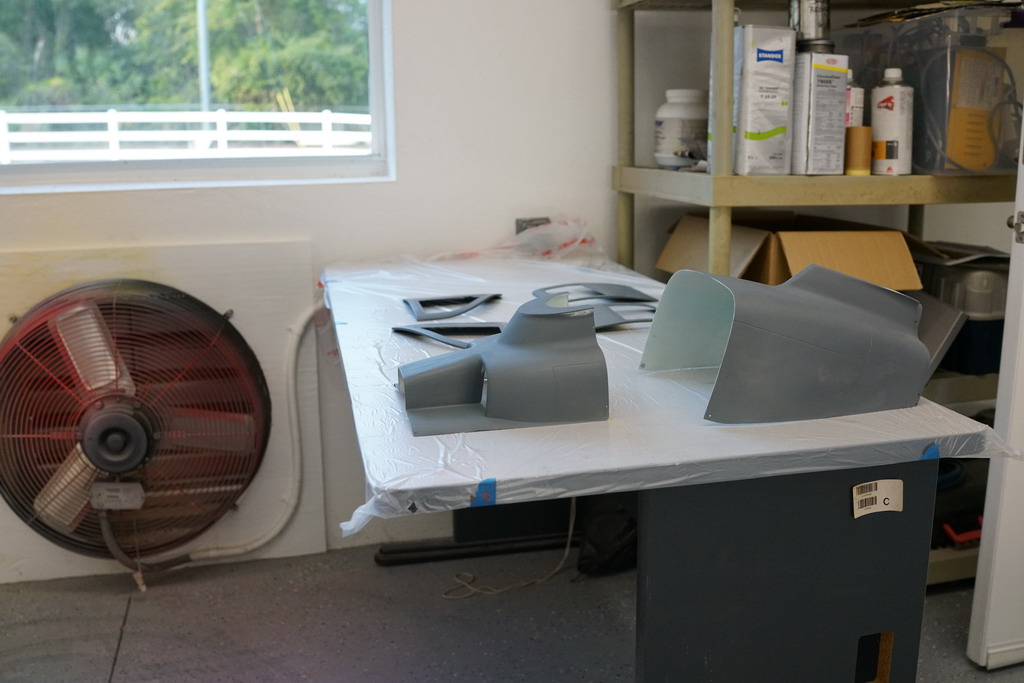
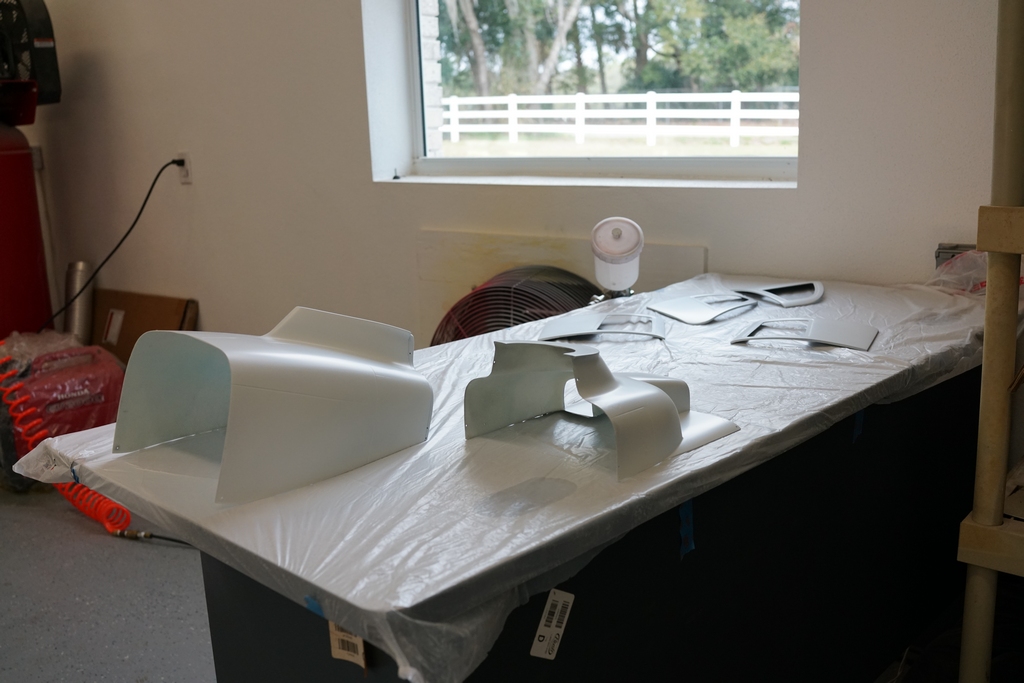
After too much sanding and filling it's finally in primer and wet sanded. 2 weeks of sanding and filling is too much. There was a lot of small problems with the gel coat and one major one. The person who trimmed the doghouse to size, undercut the line and trimmed the bottom of the front section back by 1/4" leaving the top the right size. After filling and sanding I found the ends over lapped and there was big gaps as the fiber glass thickness varied. Anyway, it's all sorted now as best as I am prepared to do it and tomorrow its tack rag and the first base coat
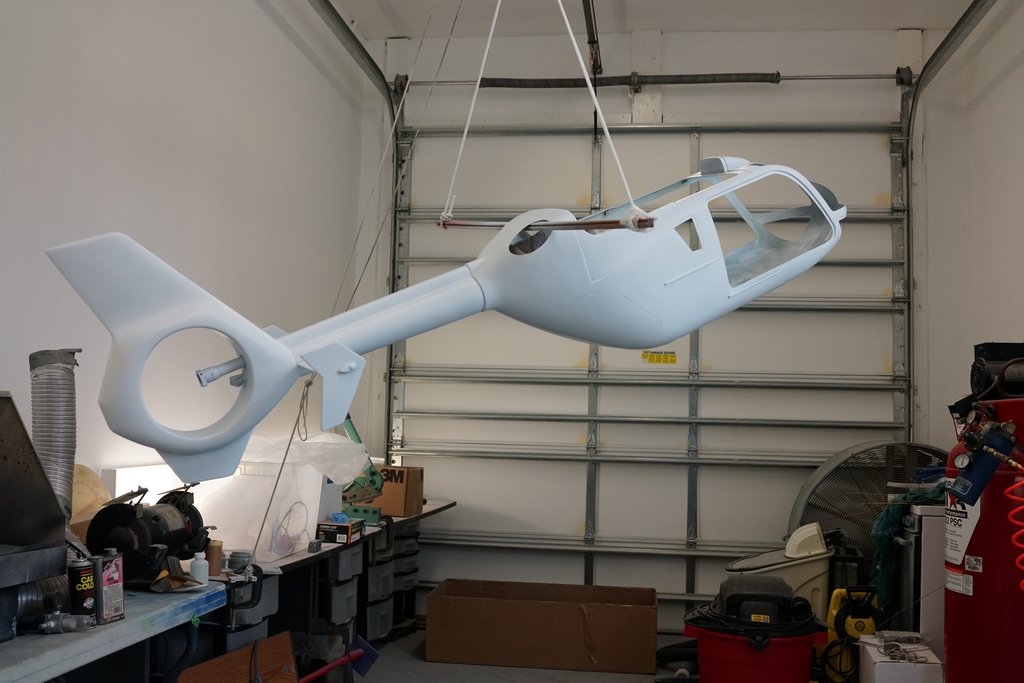
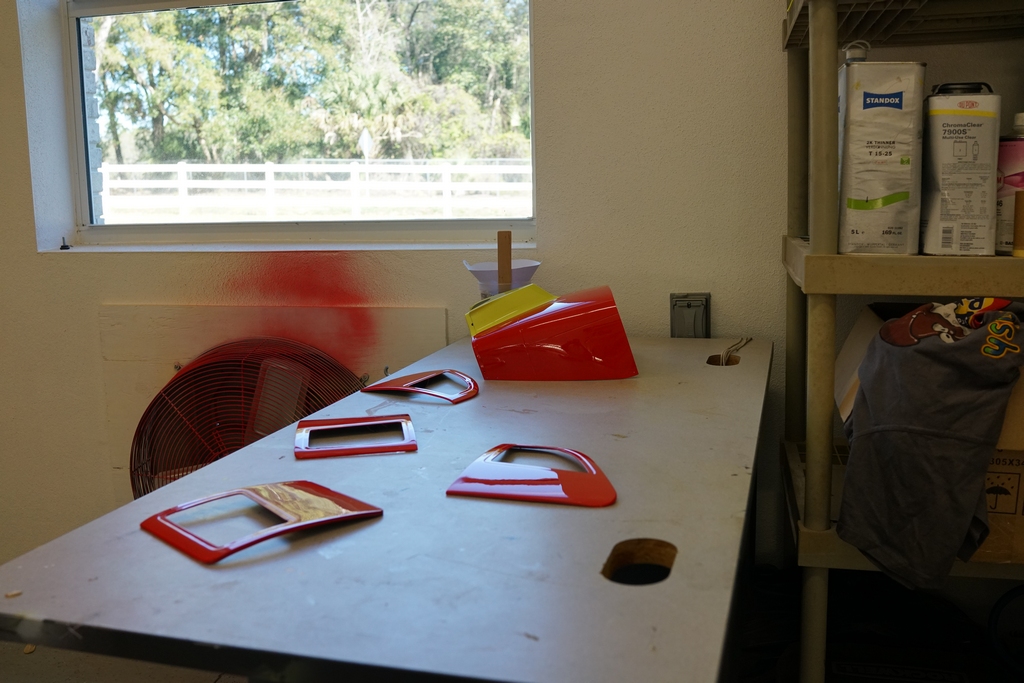
White base coat on. A couple of pin holes have shown up in the front doghouse so a touch of filler and a repaint with my airbrush will happen this afternoon when the base coat has dried. Then it will be the first of the color coats. This is the fun part!
The first coat of color is on. The fluorescent lights give it a kind of greenish cast
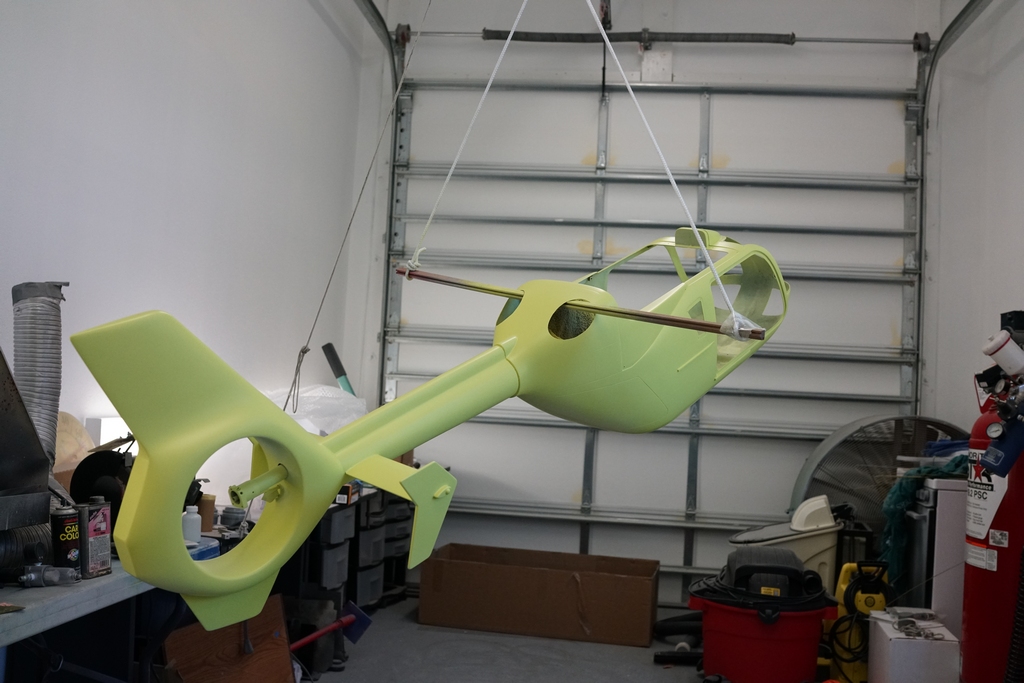
This is a bit more representative of the color
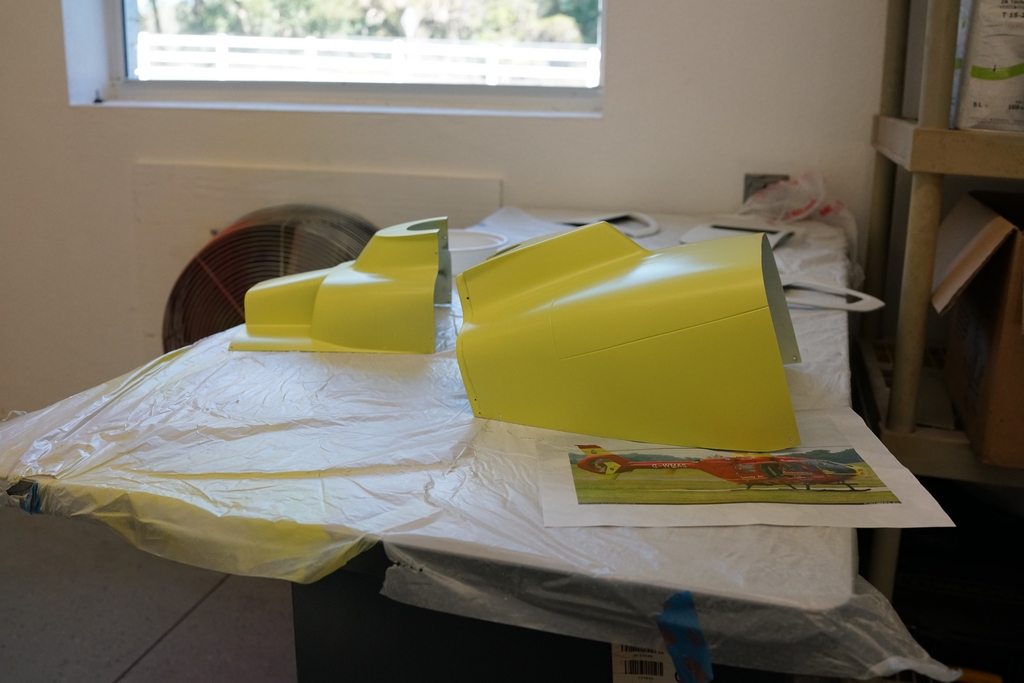
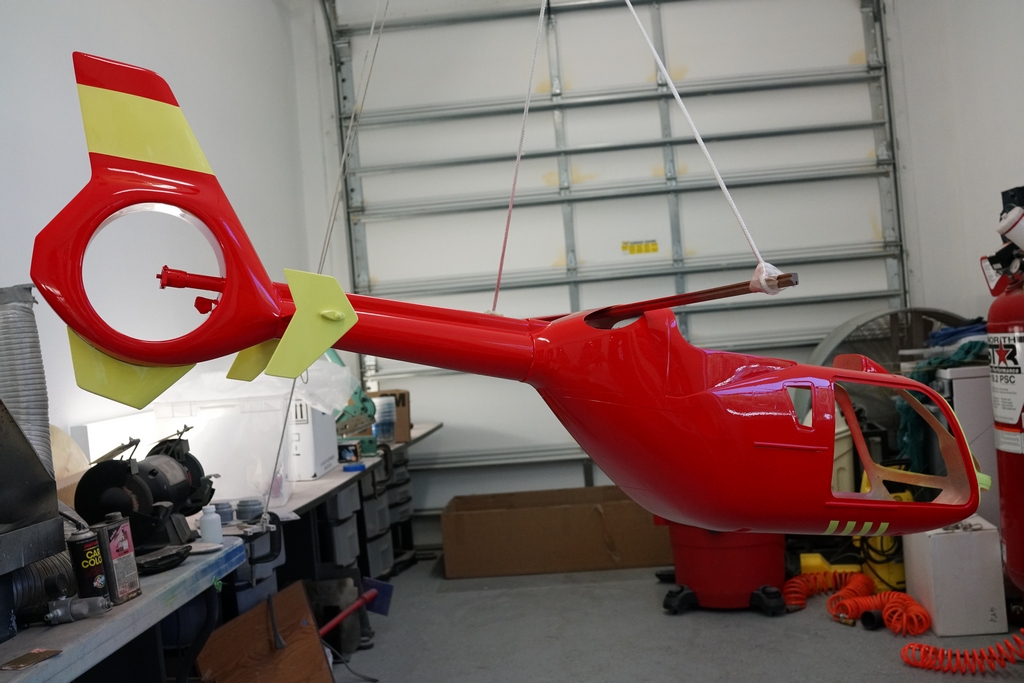
I will let that dry for a few hours and then mask off for the red
Turned out pretty good. just a couple of small touch ups and then leave it to set completely ready for clear coat tomorrow

The clear went on without too many problems. The only run was easily fixed with some fade out spray, an invaluable tool to a painting bodger like me
Now I can put on some clean clothes, and play with my computer and vinyl cutter all weekend, after a good mornings flying tomorrow!
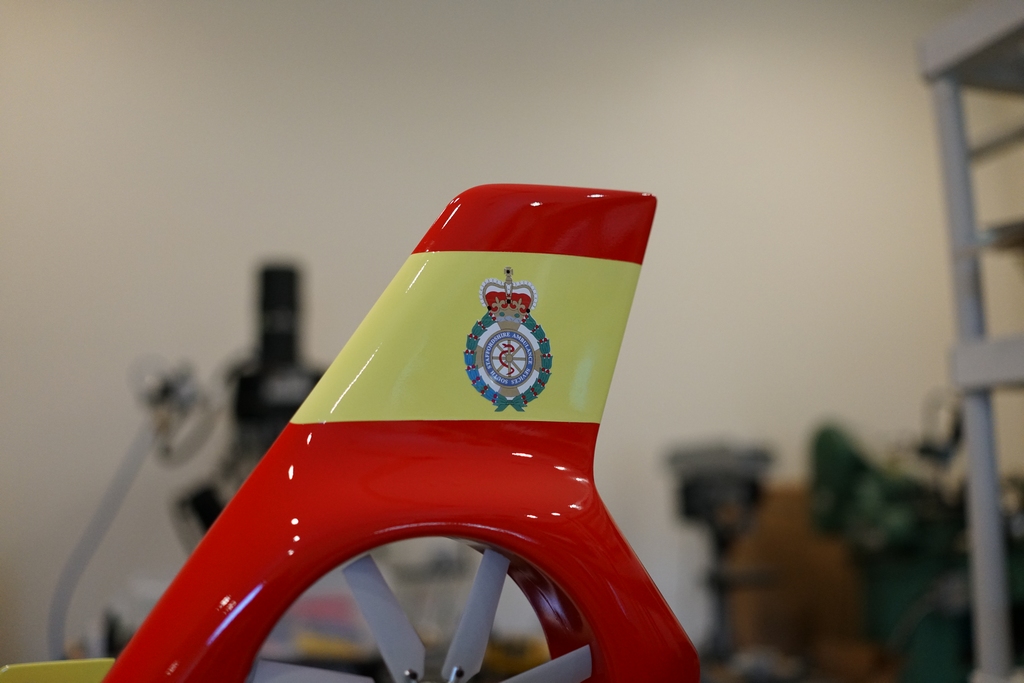
Well that wasn't as much fun as I expected. During the print of the crest, my Yellow ribbon ran out. Its a thermal wax printer cutter. I had a new one so I put that in and it broke immediately. The cartridge had been reloaded by a 3rd party who used inferior material. The problem is no one makes these cartridges any more, so unless I can find one on the internet somewhere, that's the end of my printer cutter.
So I got everything printed and cut and I stuck it all on the model and started to do the final assembly. The front piece of the doghouse just would not fit properly. I found the sides were fouling the servo wheel, so I changed the wheel for a single arm and dispensed with the push pull arrangement. Then the sides fouled on the screws holding the top mechanics support to the fuselage, so I changed them for pan head screws. Then the sides fouled on the servos, so I cut a big trench in the corner of the turbine inlet. Then the last straw, the top part fouled on the motor. I gave up for today. Still, it looks pretty.
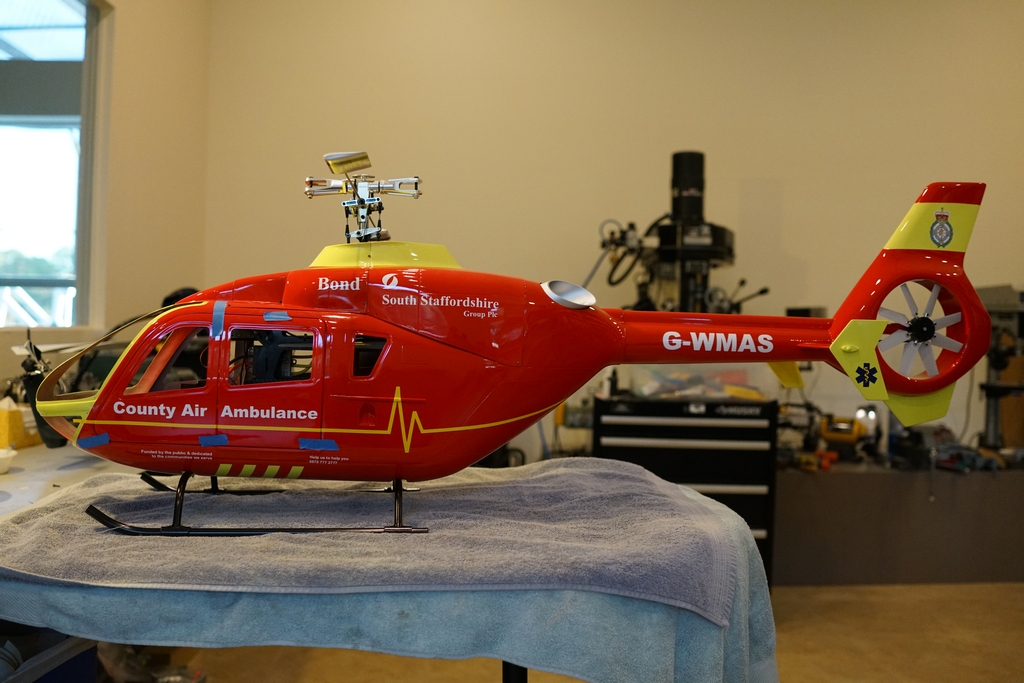
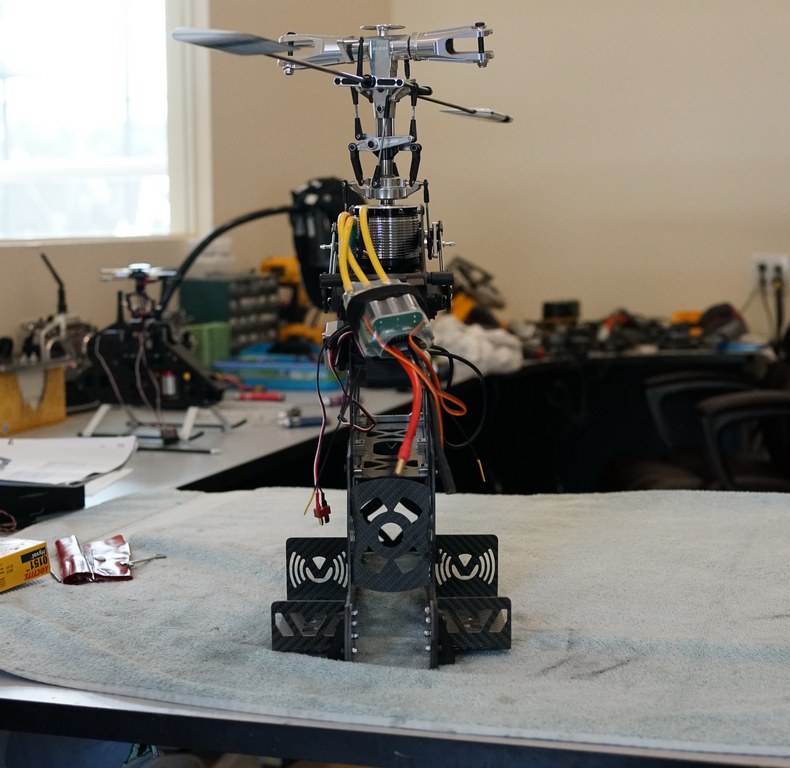
After a couple more hiccups Its ready to test fly. The first problem was one of the DS610 servos died, so I had to replace it and of course they are,no longer available. So, I bought 3 of Berts BK7001 servos which are just fantastic and fitted them. although fitting the elevator servo did cause some bad language as I almost had to split the frames to get it out. I found by prizing off the grommets the builder had fitted, I could slide it out, just. Fitting the new servo was much easier. The binnacle was modified to hold the 8S battery I am using and like that, no extra weight is needed for balance. That is useful if and when I fit a 4 blade head to it. Fly bar stays on for now.
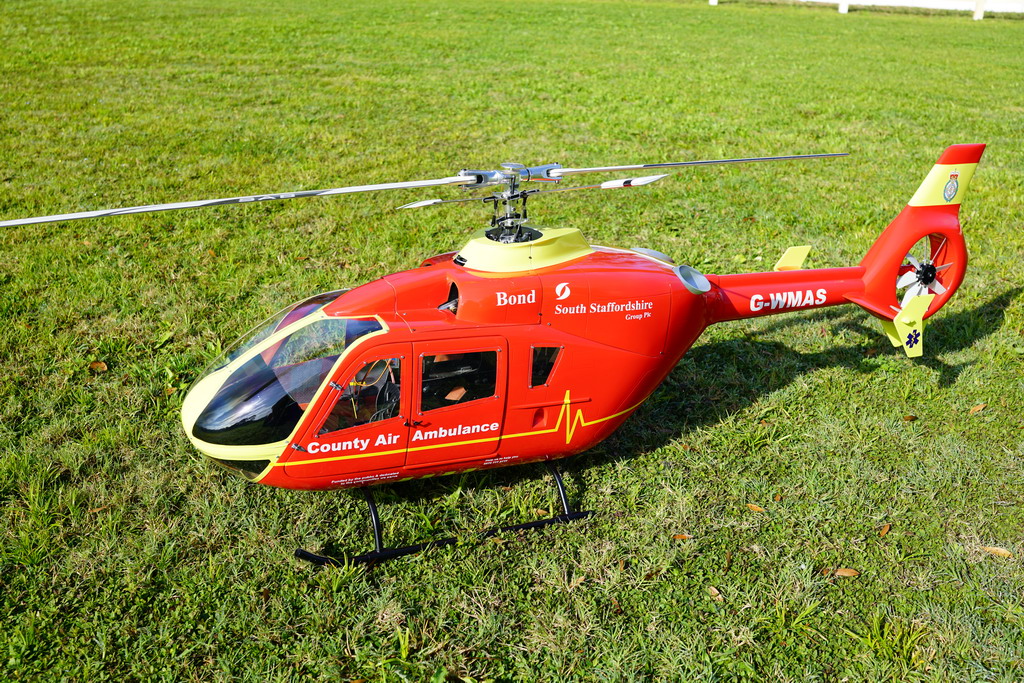
Other than a lot of trimming on the rudder and tuning the head speed to minimize vibes on the tail fin, the only thing I have to do now is reduce the rate on the elevator to stop the violent tail down jerks when coming in too fast. This bird likes to go fast. Here's a short video of its first flight. I didn't have a camera man so it flies out of shot a lot, so I have cut out the bits where you are watching the clouds moving across the sky. It will fly better as I get it dialled in more.