Seaking
Some time ago a friend of mine asked where he could get a reasonable sized Seaking. I found one on the internet and told my friend where it was. I heard no more for some months until the owner, Lars Zander, sent me an e-mail saying he was parting company with scalecopters.de and moving to another venture, and would I like to buy the Seaking as it was his personal one he was having built and he wasn't going to finish it. The offer was with aa Pahl turbine, head and tail rotors and all electronics, for a somewhat high price, but nothing excessive. I sent the money and a while later it arrived in a very nice box.
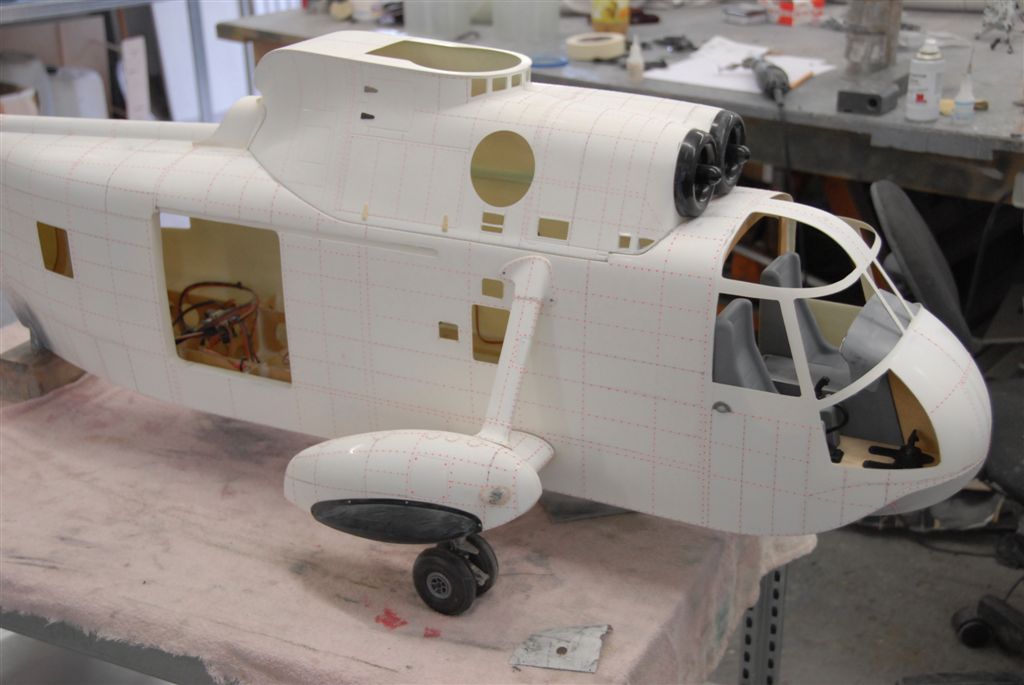
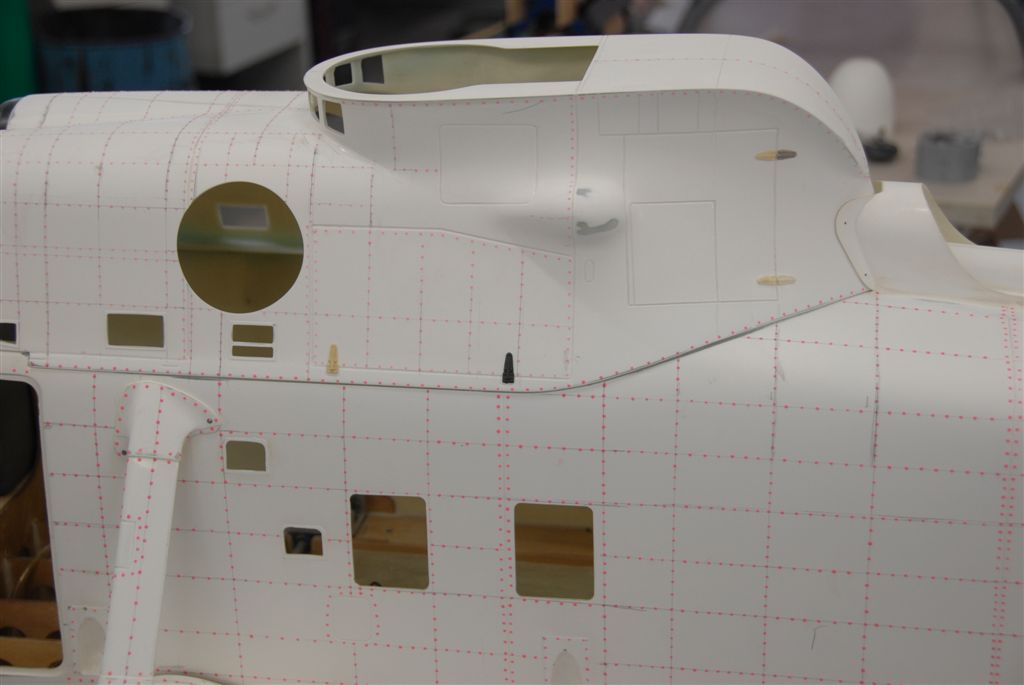
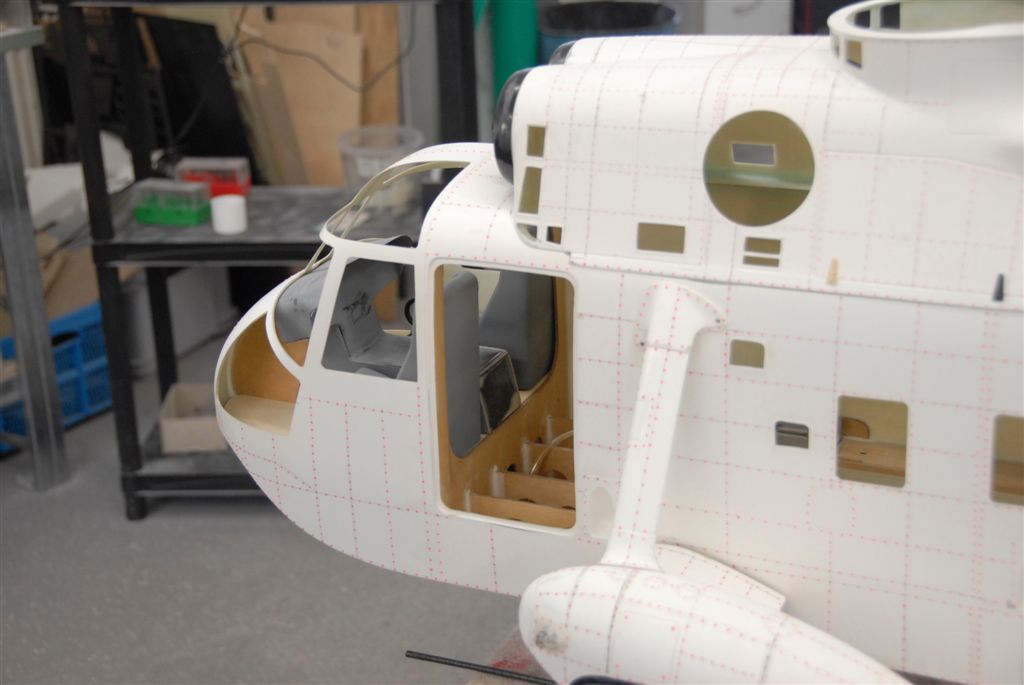
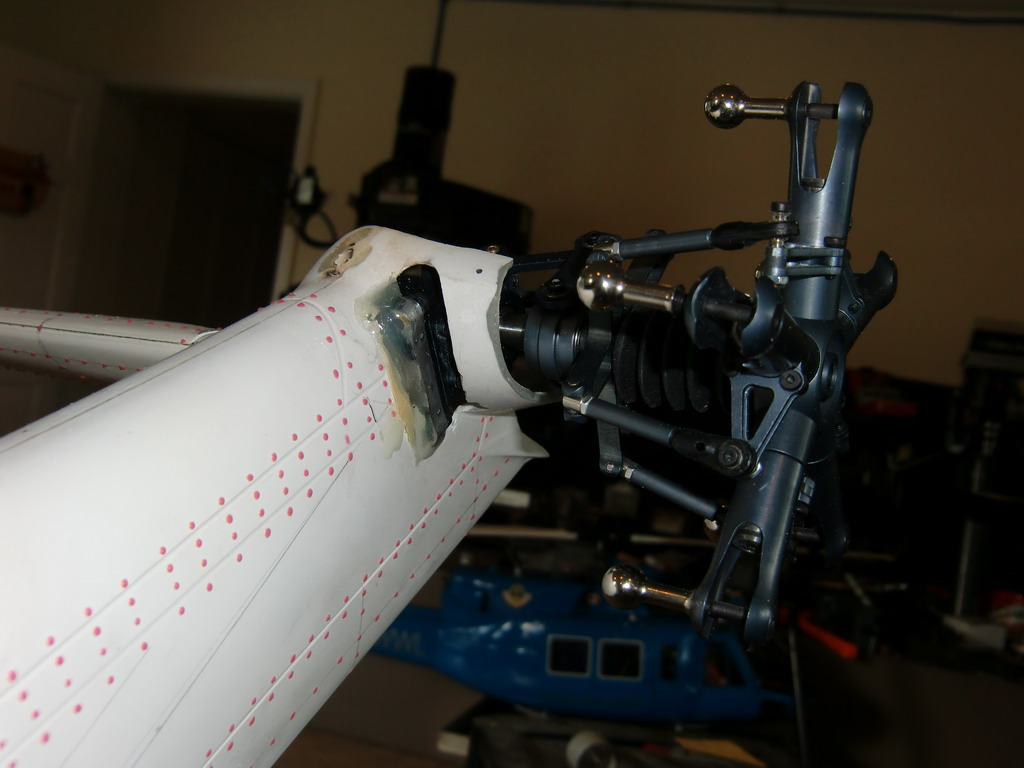
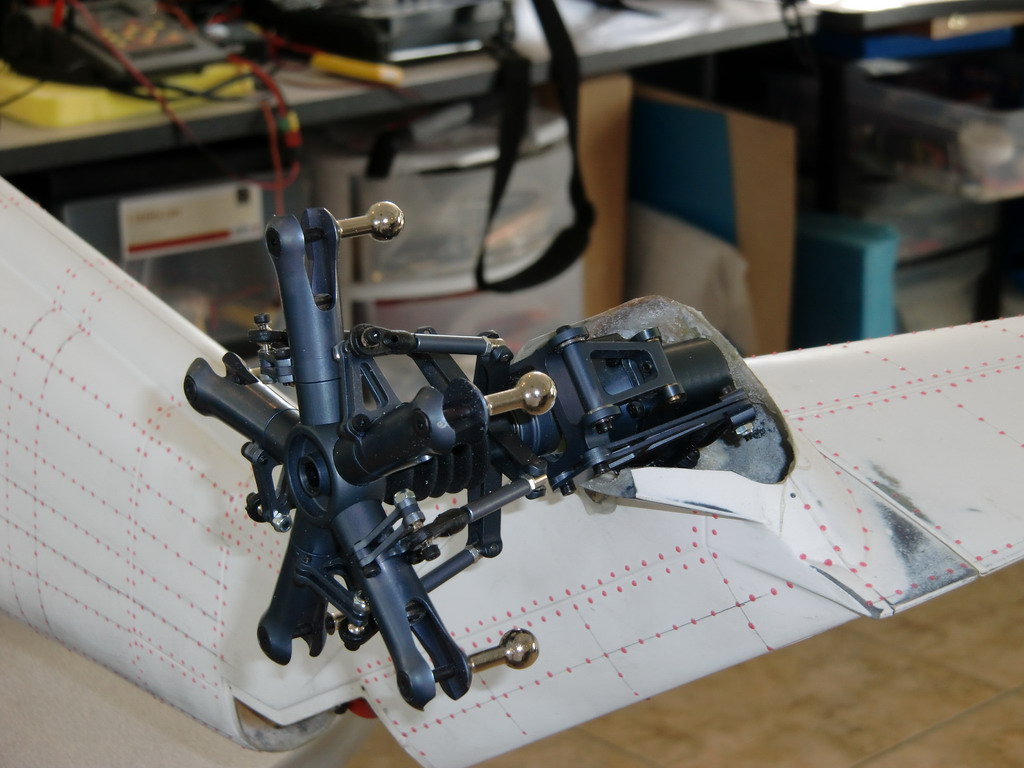
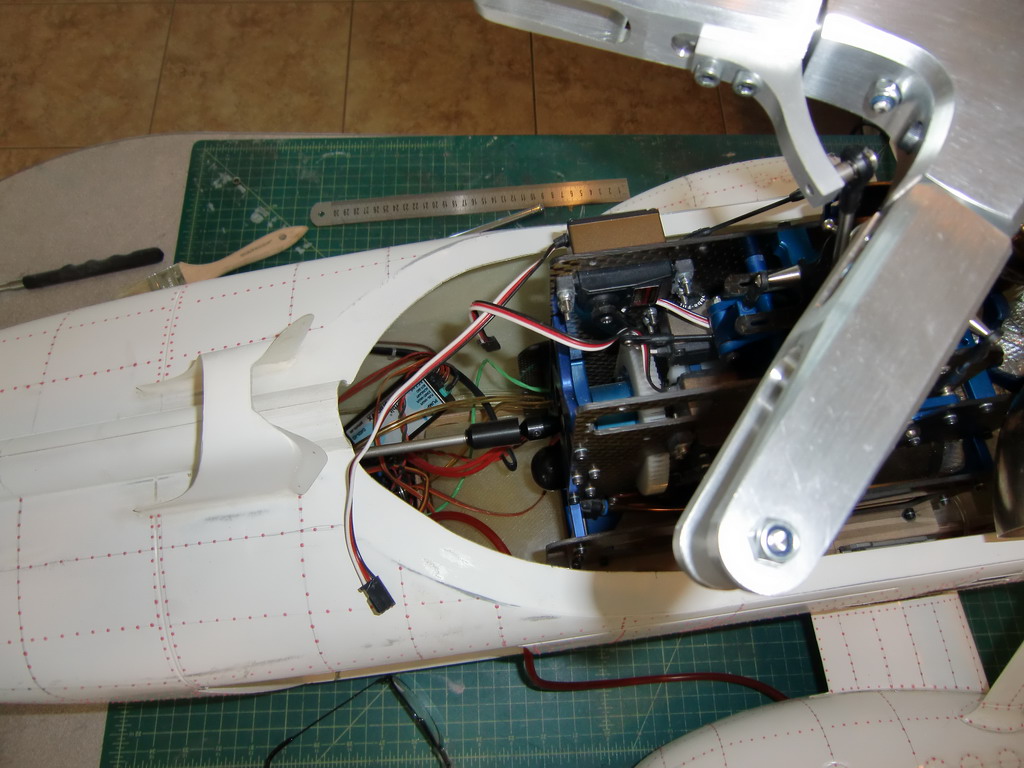
At first look, I was well pleased with what I got, and here it is as Lars said it would be.
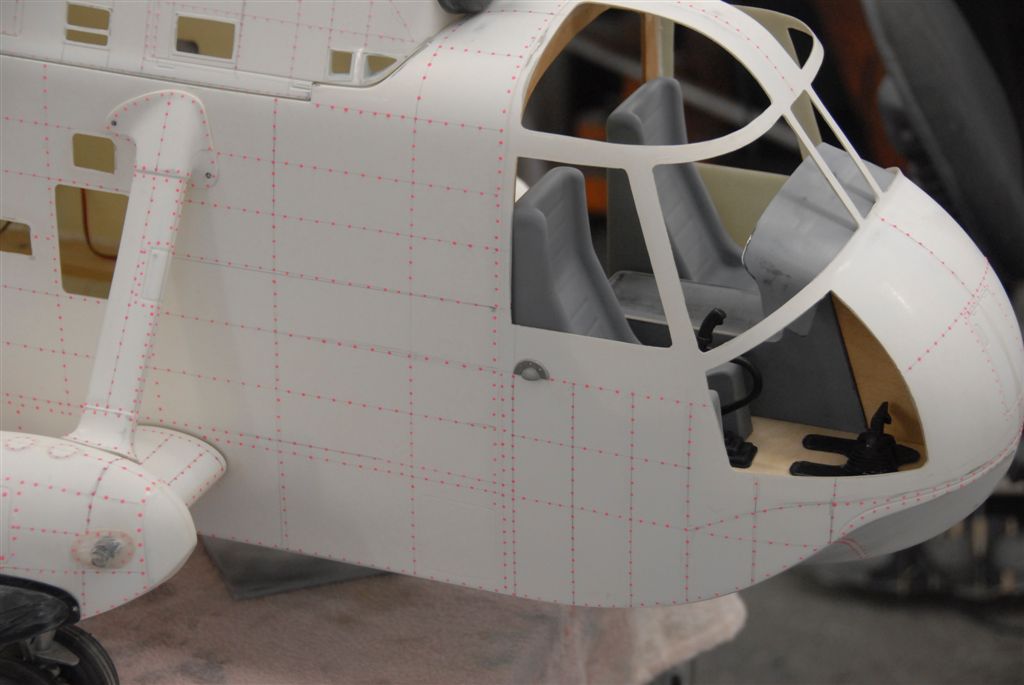
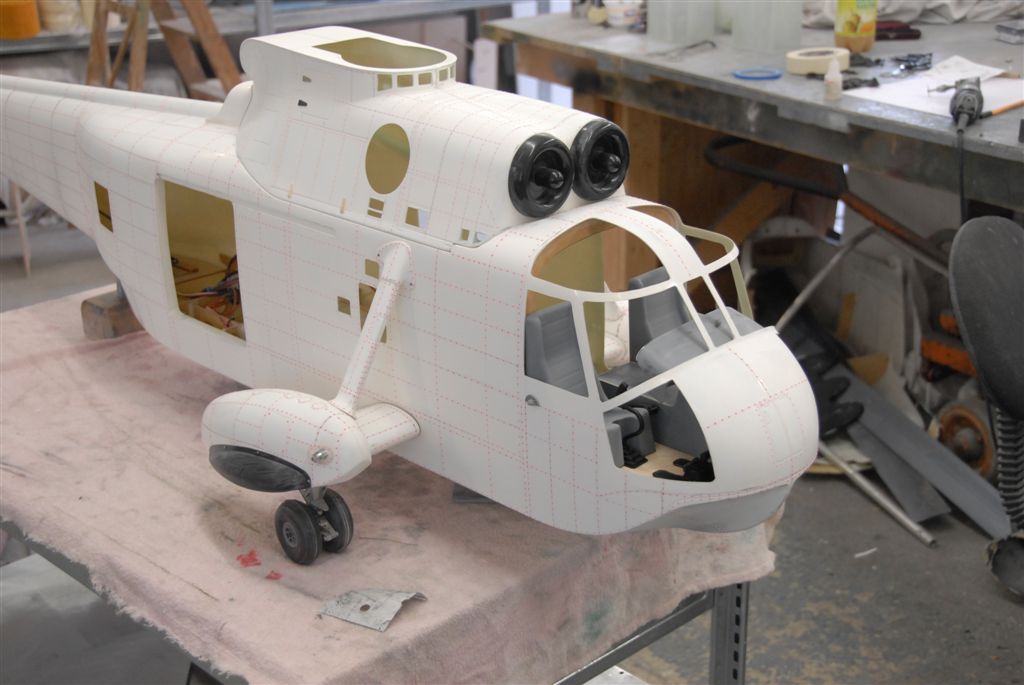
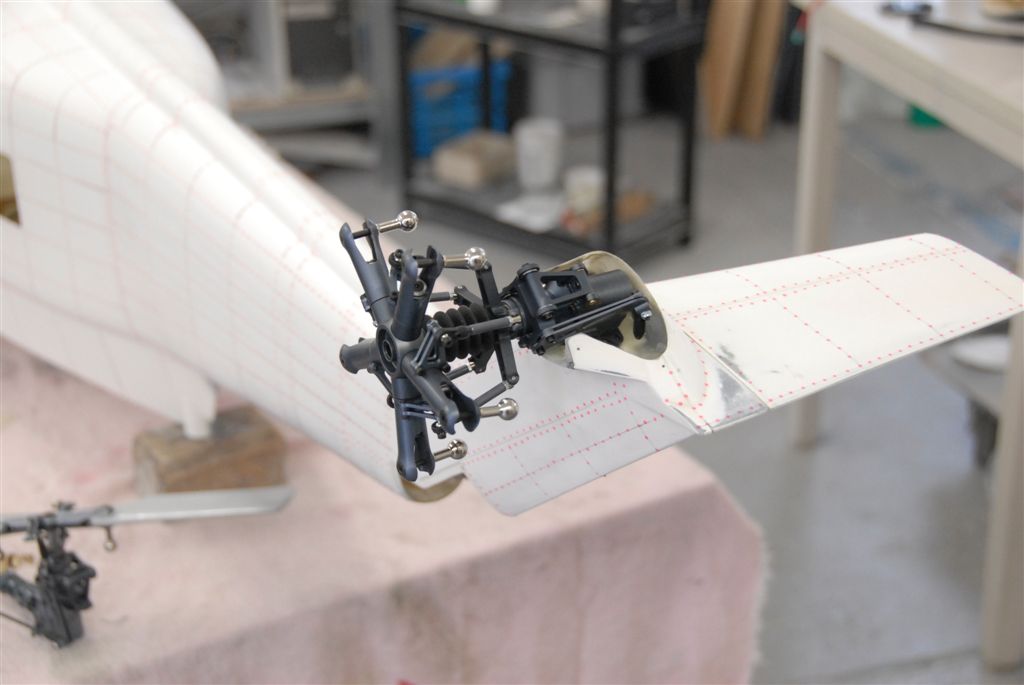
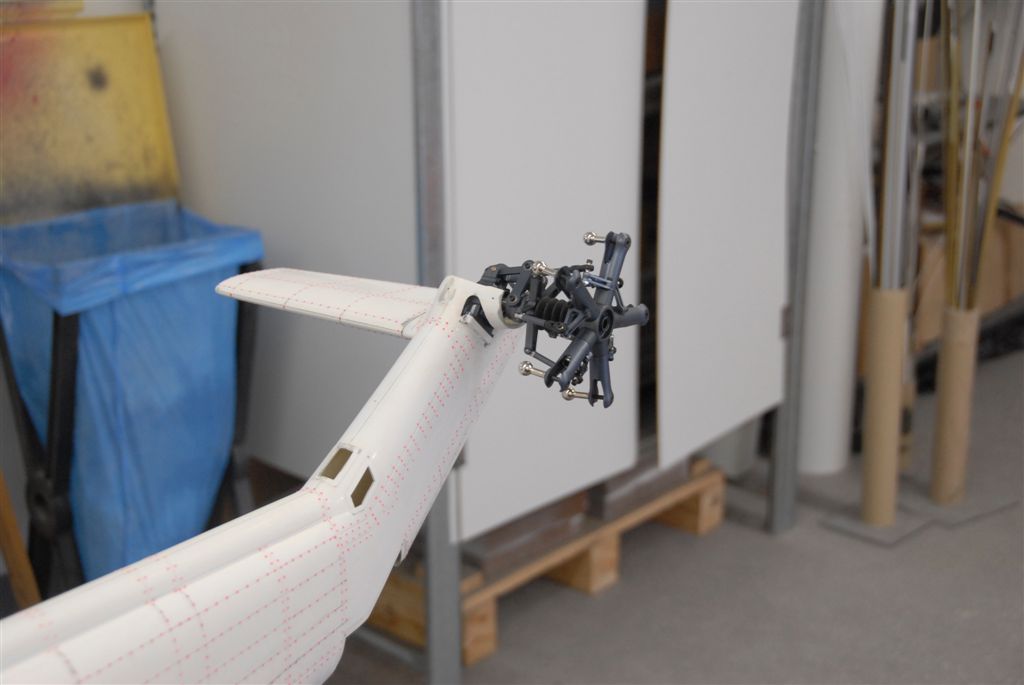
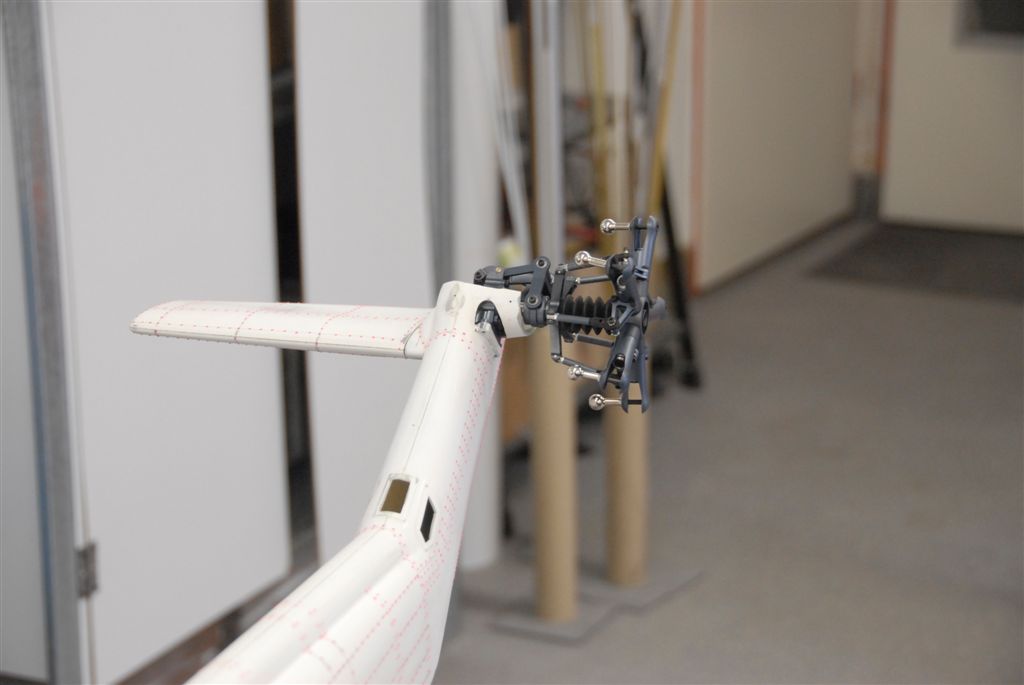
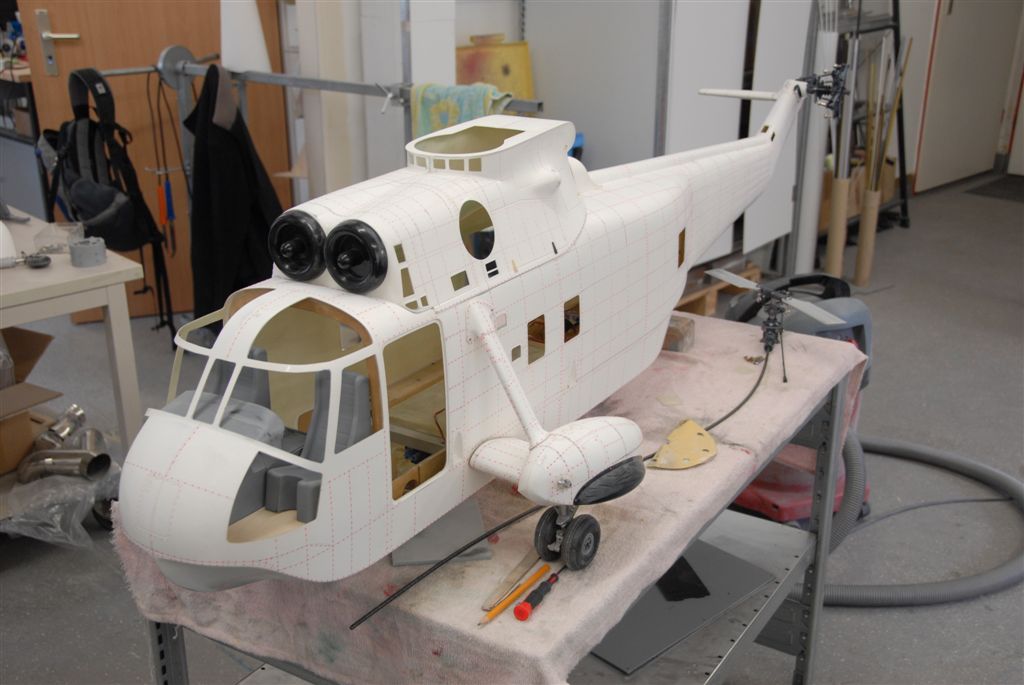
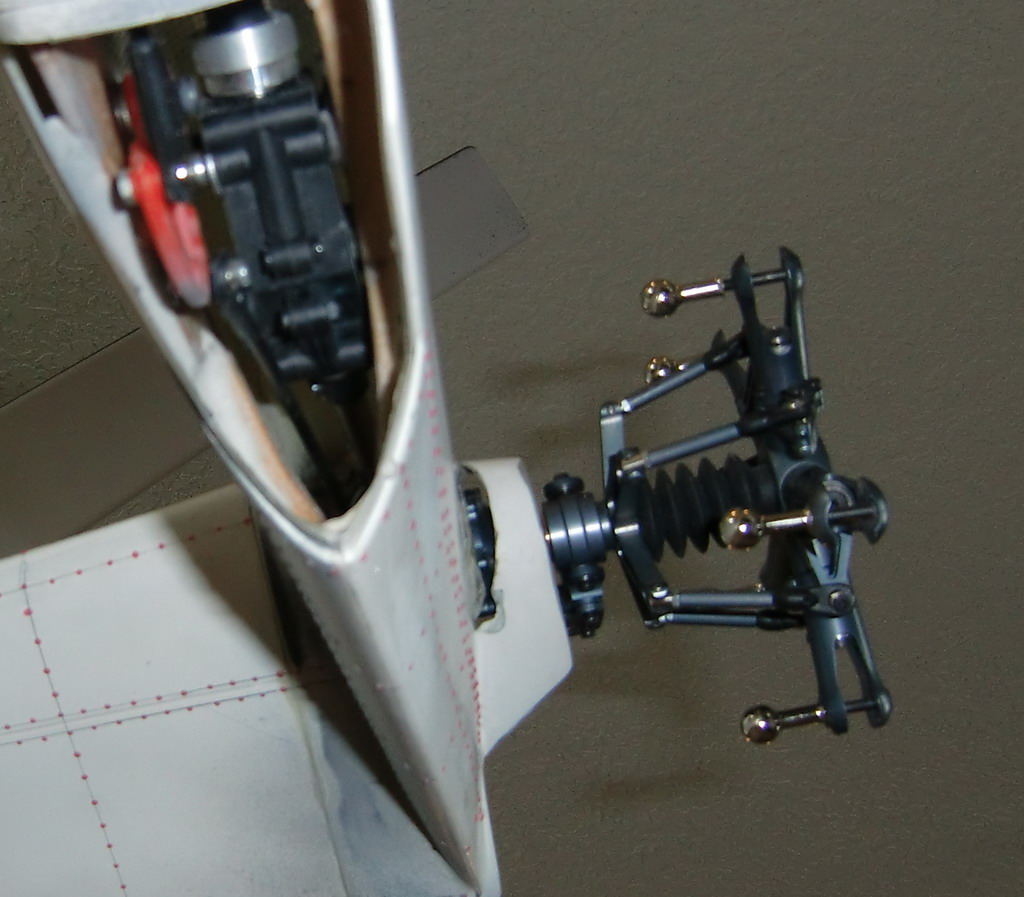
Note in the last picture, the cable drive and 2 blade tail rotor!
Unfortunately, there were a lot of problems.
No batteries or switches
No Gyro, but a tail servo of some description which looks like it comes with a 611 gyro. If you look at the nice tail rotor supplied, the 611 and servo aren't going to have enough grunt for that.
No retract system, either servo or pneumatic and servo. The landing gear does retract.
The turbine mechanics are very tight and need rebuilding correctly, and there were no instructions on how to plumb it all up. It wasn't totally different from the Jakadofsky so it didn't take too long to fix that with a quick search on the net
The turbine makes a funny noise on startup, and I think the starter motor rubber o ring is worn down to nothing, which would be strange as the ECU has zero hours on it. That in itself is odd as I have seen pictures of the helicopter flying!
A new rotor head was supplied but the mainshaft is too short to support it and the head has a 4mm bolt while the shaft has a 3mm bolt hole, and it's fully hardened so it has to come out to be drilled to 4mm with a carbide drill. I'll probably replace it with a longer one to be safe.
No rotor blades, main or tail
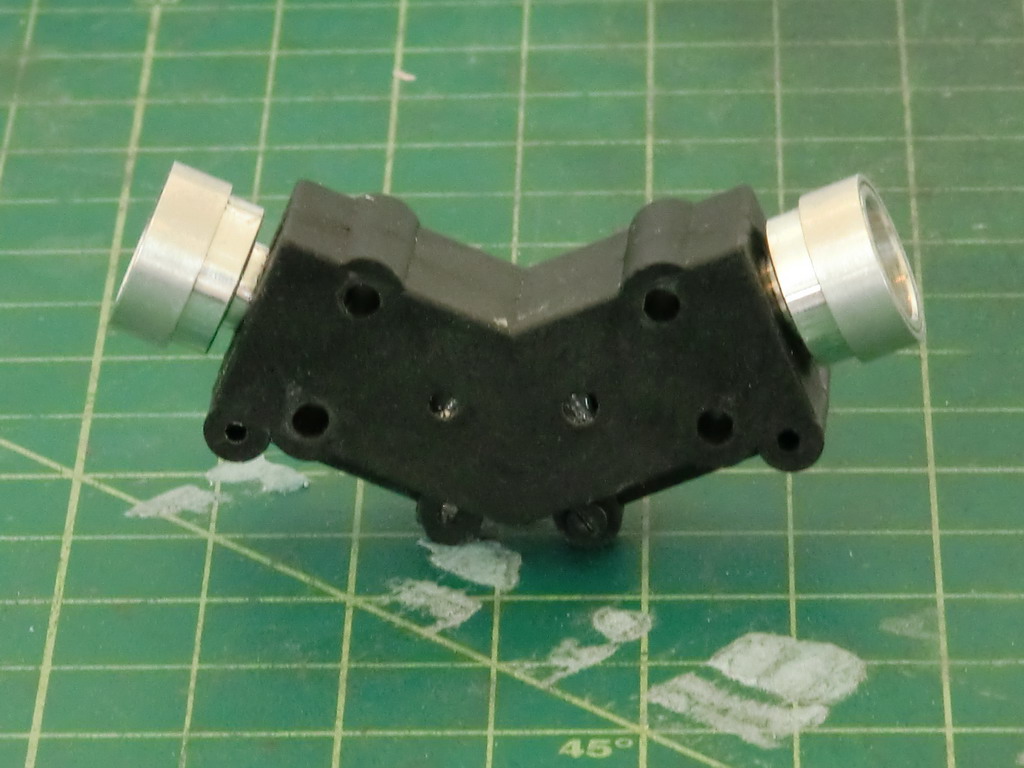
Finally, that cable drive to the tail! Well it has to go and Job 2 after running the turbine, was to fit a shaft drive system. I found a nice 45 degree gearbox with enough strength to cope with the torque, and then set about making couplers for everything. Unfortunately the tail gearbox is designed to take a cable drive and it took some machining to make a coupler to carry a 5mm shaft down to the gearbox
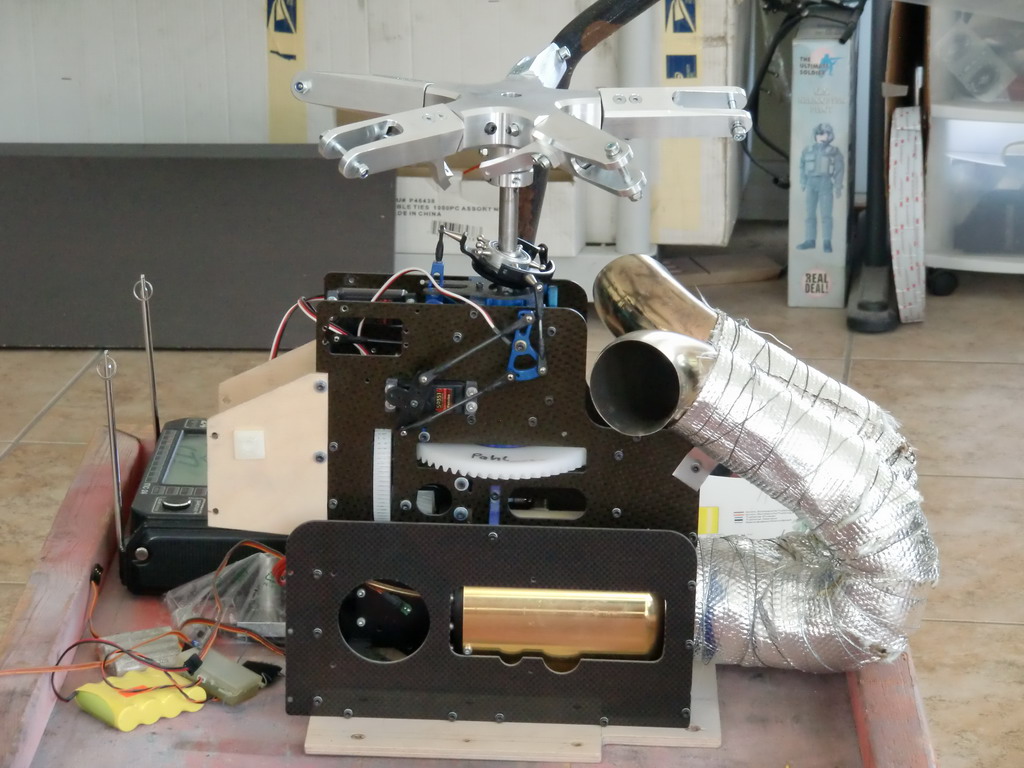
This is the Pahl turbine and mechanics with kerostart
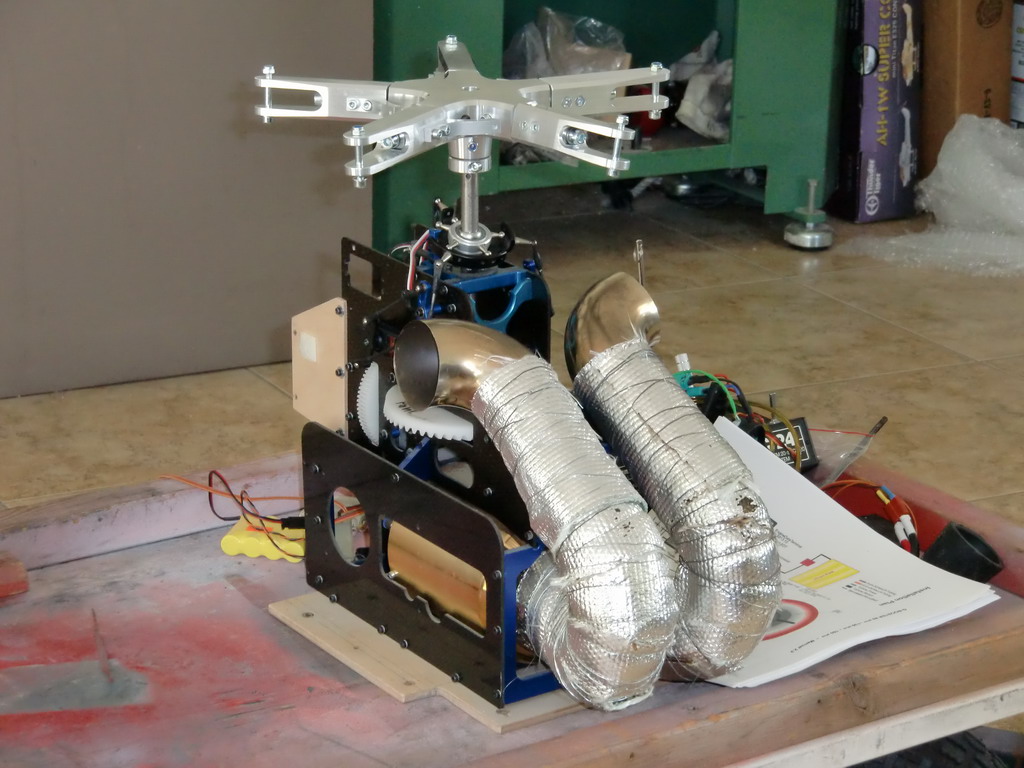
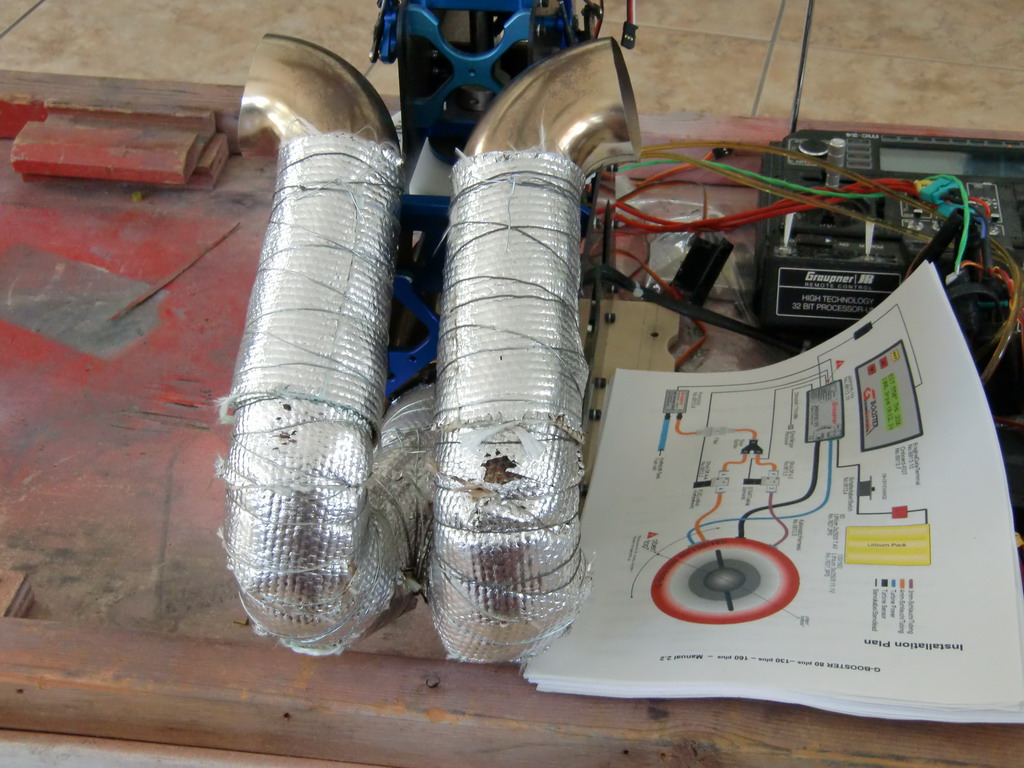
The clever reverse exhaust to get the turbine exhaust out either side and in the scale place. That gets good marks!
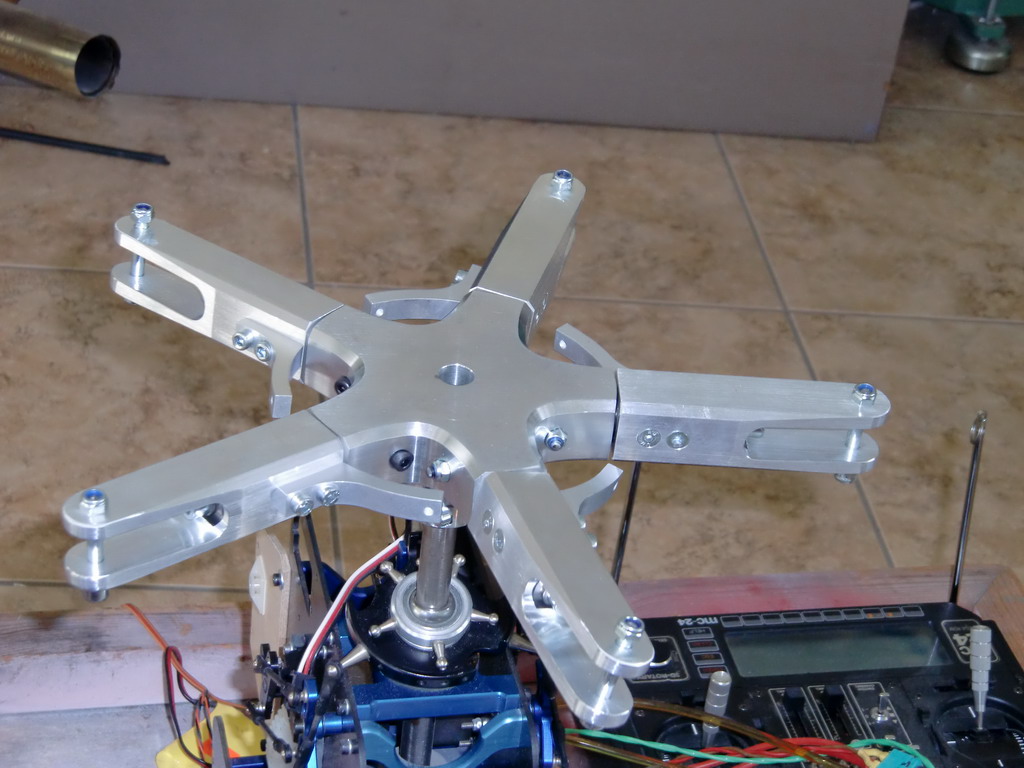
This is the rotor head supplied. Its unused and is one of Volker Jungs creations. It has to be stripped down and rebuilt as one of the thrust bearings is notchy. Fortunately, when I was rebuilding my coax rotor heads I had the same problem and bought a bunch of thrust bearings. They are an odd size I cant find the US and I had to bring them in from the UK.
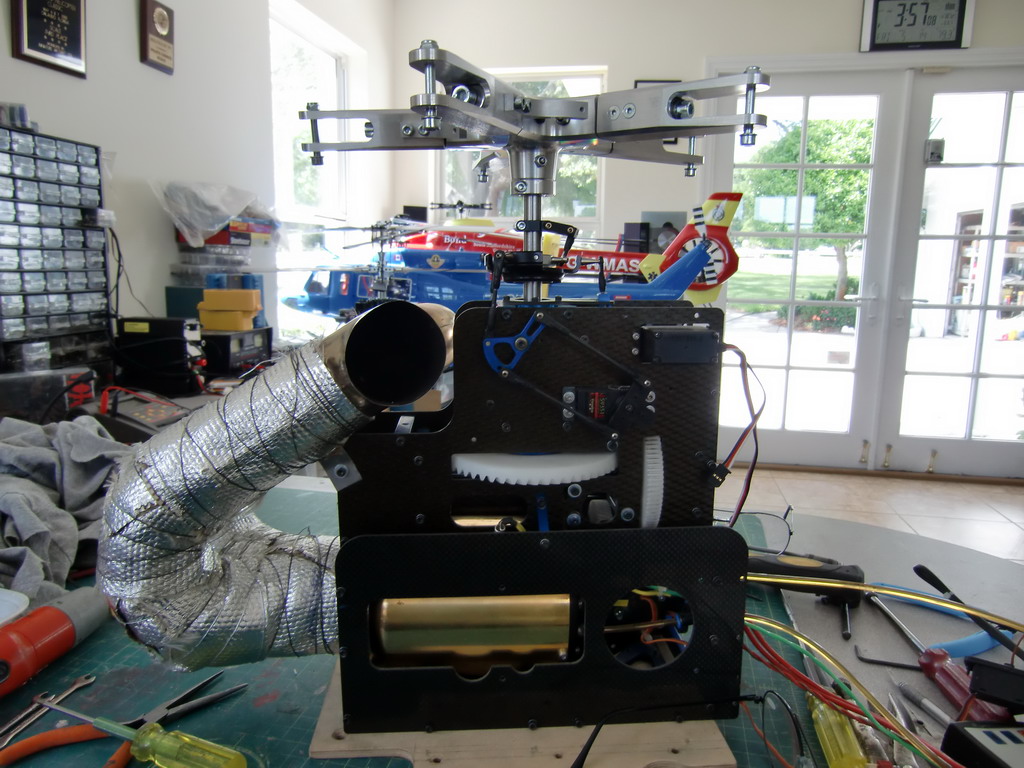
The side view of the mechanics. The wooden plates at the back are supposed to support the bracket which holds the tail drive cable into the mechanics. They look like a recipe for disaster on their own, so they will go, especially as I will be using a shaft drive
After a couple of days frustrating work, I have made up a new main shaft. The old one could not have possibly been used as the pushrods were at an impossible angle to the pitch arms on the rotor head. So much for buying a heli in flying condition! I have also extended the mainshaft so that I have room to raise the head even further if I want and I drilled and tapped it for a top hat cover at a later stage. If I leave it as it is the top hat will cover the extension.
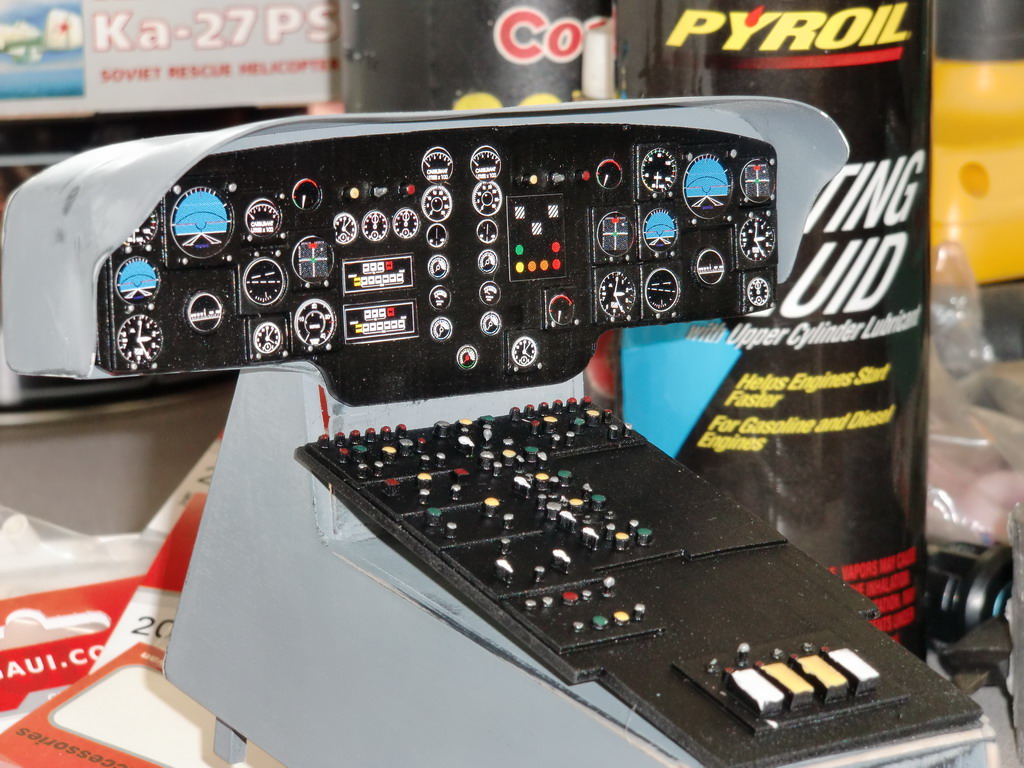
I also made up an instrument panel and an electrics panel, but the binnacle provided is totally the wrong shape so I will have to make a new one of those as well
Next, a new main shaft and a total rebuild of the mechanics, to make the transmission nice and smooth as it should be. The head is now 35mm higher on the mainshaft
I'll get back to the push rods, they wont be easy as the head is too big and the angle to the swash invites the pushrods to come off the balls. More later. Meanwhile I have been scratching my head on the tail rotor drive. It came with a crappy cable drive system and that had to go, and a good job too as when I took it out, I discovered the TR gearbox mount was hardly fixed in, just a blob of glue in one corner. So, I decided I would fit a 45 degree gearbox on the tail. This is the gearbox I want to use, an old Robbe one with metal gears and silky smooth transmission and it comes with a plastic mounting plate which I can glue to the side of the tailboom
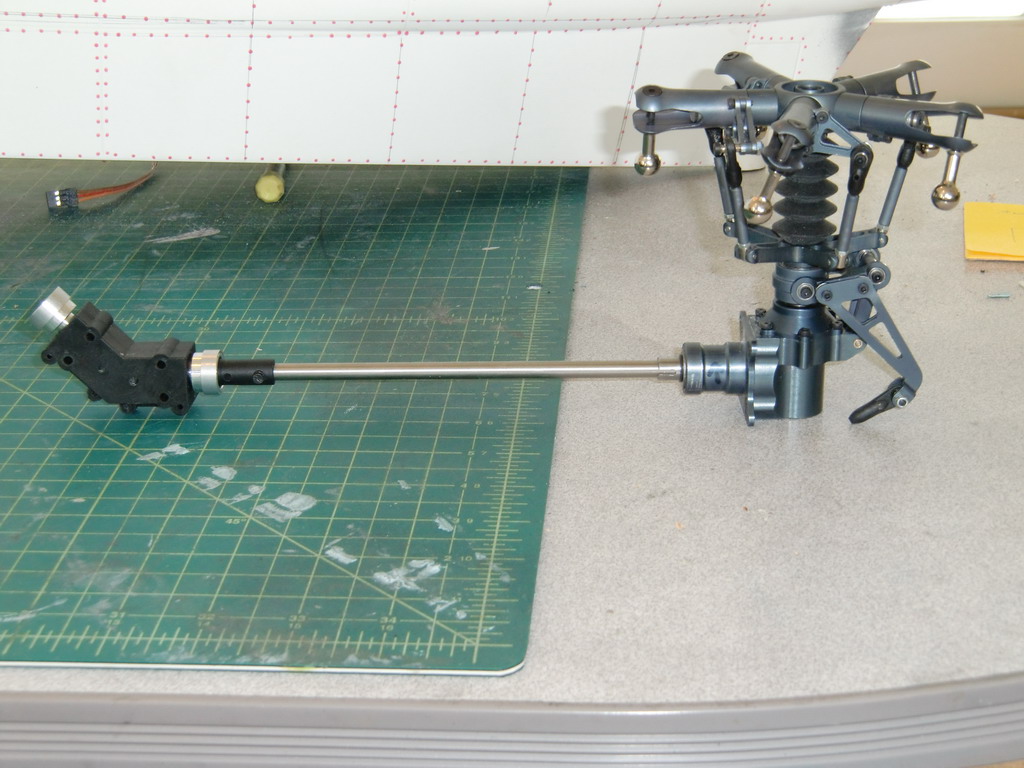
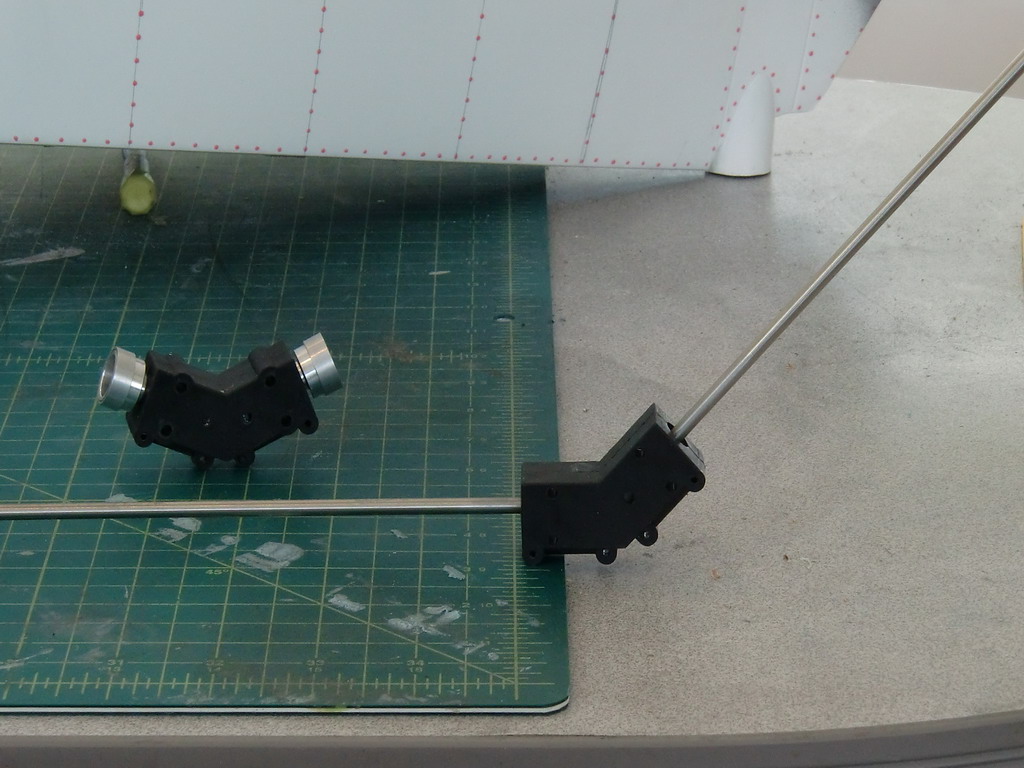
I spent a lot of time trying to line everything up. The drive shaft had to meed the turbine output exactly, the second drive shaft had to meet the TR gearbox exactly. By messing arond with various tubes etc I decided to use this setup
The shaft fit into the TR gearbox perfectly and goes in a long way, which means it is virtually rigid. I will drill a hole in the shaft and put a hardenend steel pin in to slide up and down in the slot in the gear box shaft, but the other end has to line up with the 45 degree gearbox exactly.
The problem was aligning everything with everything wobbling around.The fact that the gearbox was offset in the top of the fin didn't help either. I ended up making a dummy gearbox which I CA'd to the mounting plate.
Then, with the judicious use of some foam, pieces of aluminum and some velcro, I managed to get everything lined up and applied some Hysol 5 minute epoxy with some micro balloons filler to stop it running. Once it had set, I popped the fake gearbox off the mounting plate and removed it, and then I mixed up some 24 hour Hysol with some micro balloons and applied it liberally behind the mounting plate.
This morning I spent a happy couple of hours trying to fix the gearbox in place before I did it the easy way and drilled some holes in the side of the fuse to get at the 3mm cap head screws to tighten them down fully. Then I taped off around the underside of the gearbox mount and then dripped some 24 hour hysol in until it was full. This area will take some finishing off and it may be a good excuse to mold something using my 3D printer.
Now the tail rotor runs free and is very firmly fixed in place in perfect alignment
This is a blurry out of focus picture of the gearbox and pitch control bellcrank, which fortunately just misses the gearbox when on full pitch
The next job was to line up the driveshaft bearing holders so that the shaft lined up perfectly with the output of the turbine
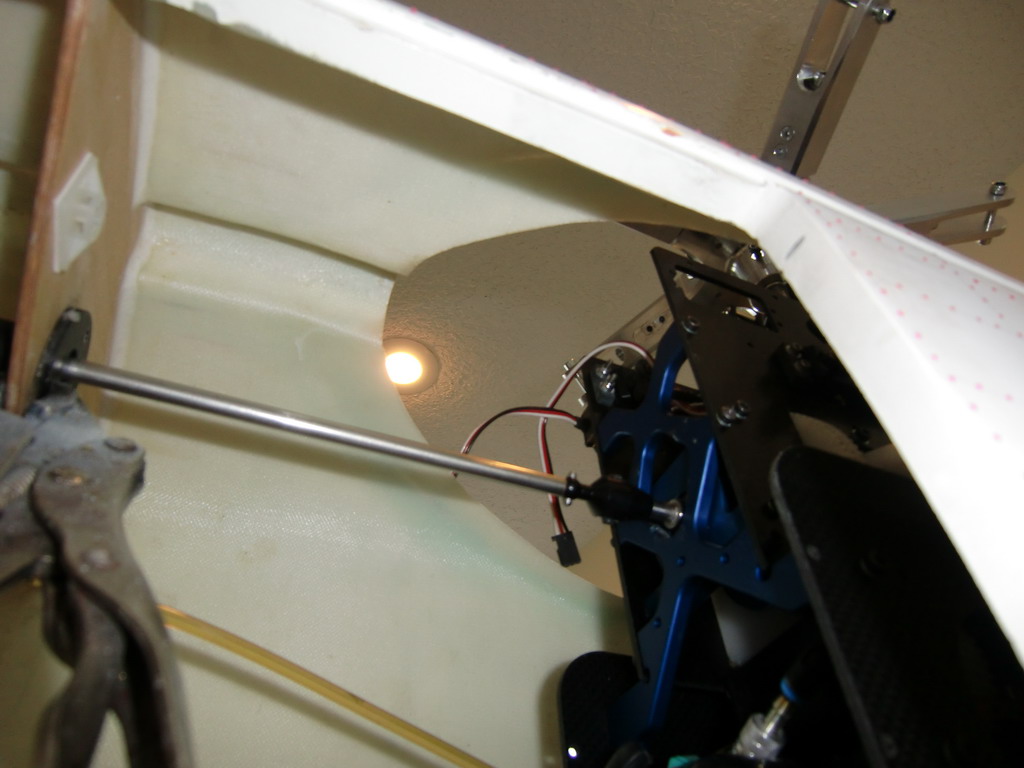
The bearing holders are fixed to the plywood formers with liberal globs of my favorite adhesive PFM. It does run slowly so the rag is there to stop it dripping on anything underneath it like the TR servo. PFM sets very firm, but flexible and will allow a certain amount of give to the driveshaft alignment if any vibration occurs.
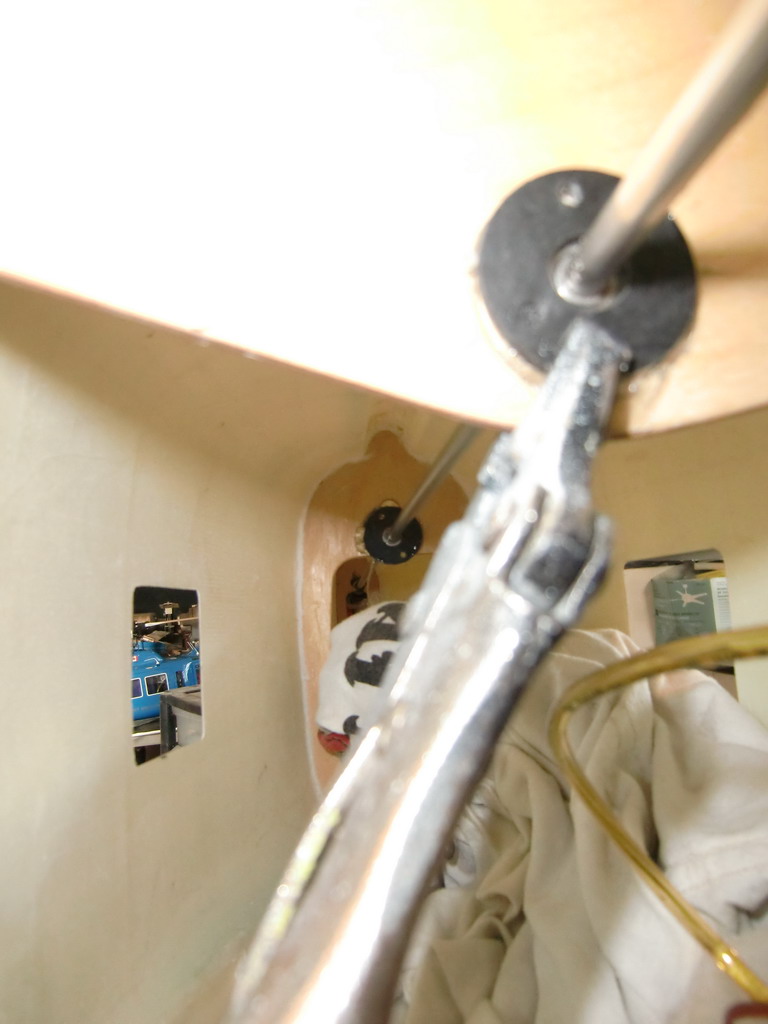
Finally I glued the coupler shaft inside the tail torque tube after carefully cutting it to size. I have marked where I have a hole through the shaft so if I have to pin it I will just have to drill holes through the torque tube. That wont be easy. Then I fitted the dogbone coupler on and used it to hold the coupler into the torque tube and found I had the requisite 1mm free play. Sheer luck! All is now setting with 24 hour hysol doing its thing and I will get onto this rotor head next. The only problem I can see is getting the mechanics in and out of the fuse. There is not much room past that torque tube.
If I find I am struggling and doing too much damage, I have a plan B, which is to cut the end off the torque tube near the bulkhead bearing and make a short shaft with coupler on each end. However, we will see when I get back to it.