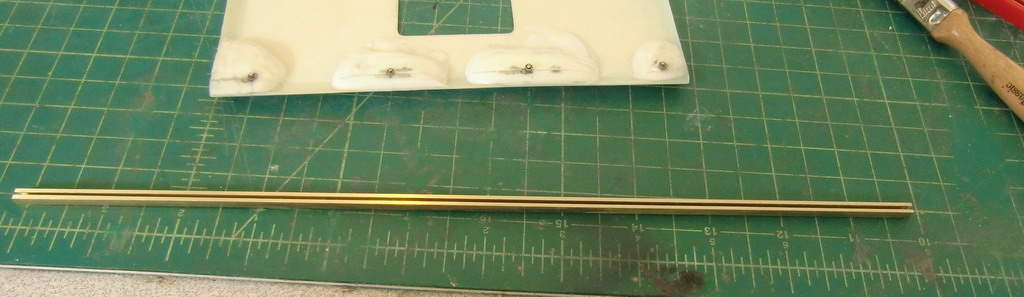
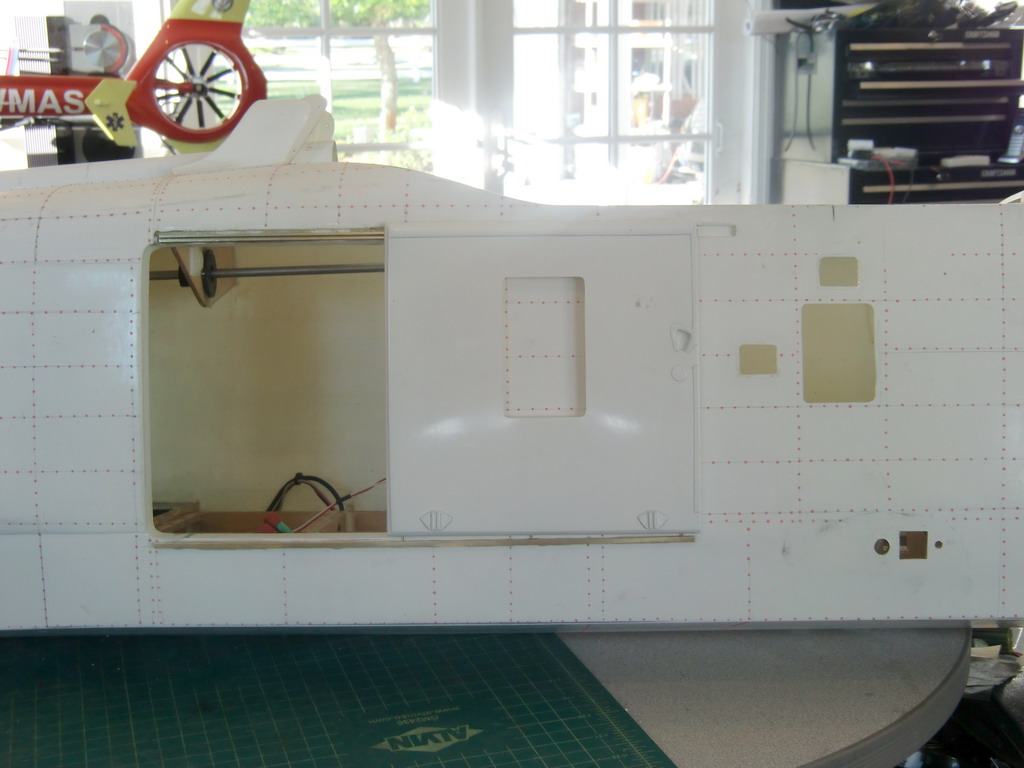
Now on to a part which I have been putting off for a long time, the sliding side door. The parts in the kit were, as usual, totally useless so I had to figure out how I was going to do it myself. I decided I wanted the top of the door on bearings to give smooth run but the bottom needed to be as close to the side of the fuse as possible as there was no channel molded into the body at the bottom, only the top. I bought some of the smallest bearing Boca sold, and some eyeglass repairers screws. The bearings were 3mm OD and 1.2mm ID. The screws were 1mm unthreaded and 0.85mm threaded. I put some large dollops of epoxy filled with microballoons in the appropriate places and then drilled 0.65mm holes to take the screws.
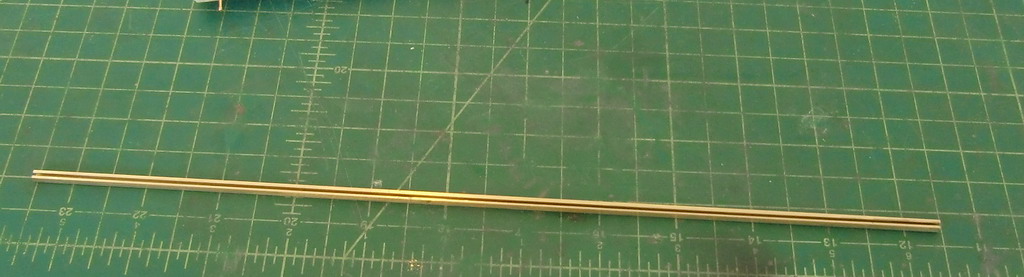
The next job was not so easy. I took a piece of 3/16" square tubing which just happened to have an internal width of slightly more than 3mm so the bearings were a nice fit. Then I had to mill a 1.1mm slot in the tubing
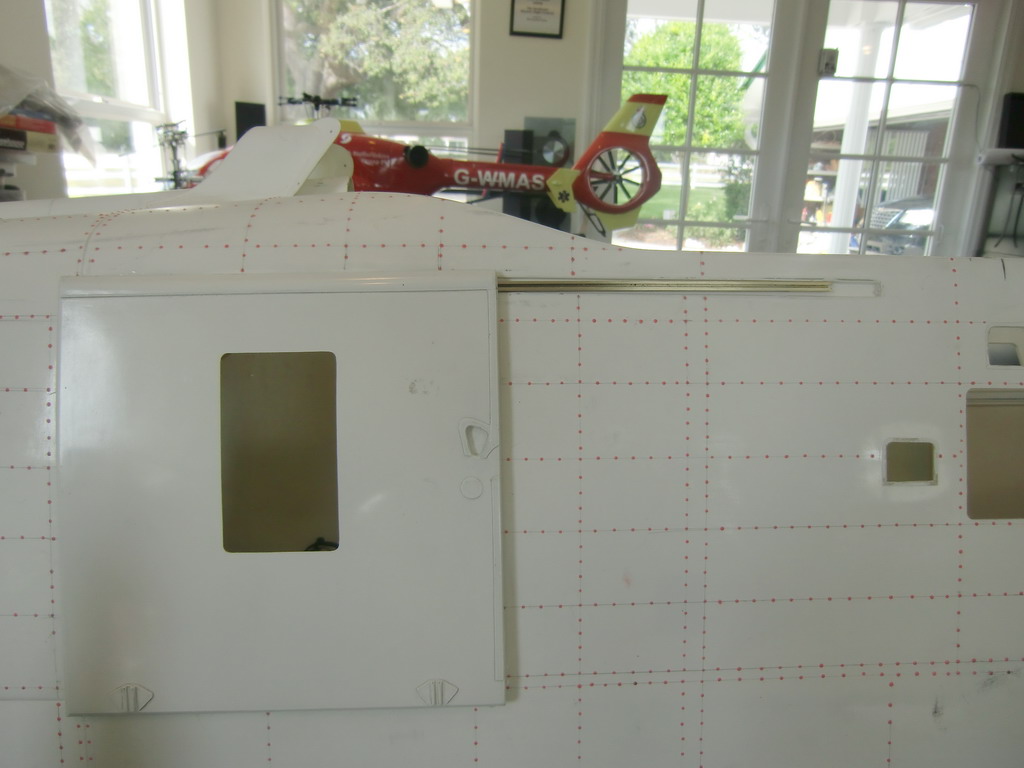
When I slid the tubing over the bearings and dropped it into the slot in the body, this is how it looked
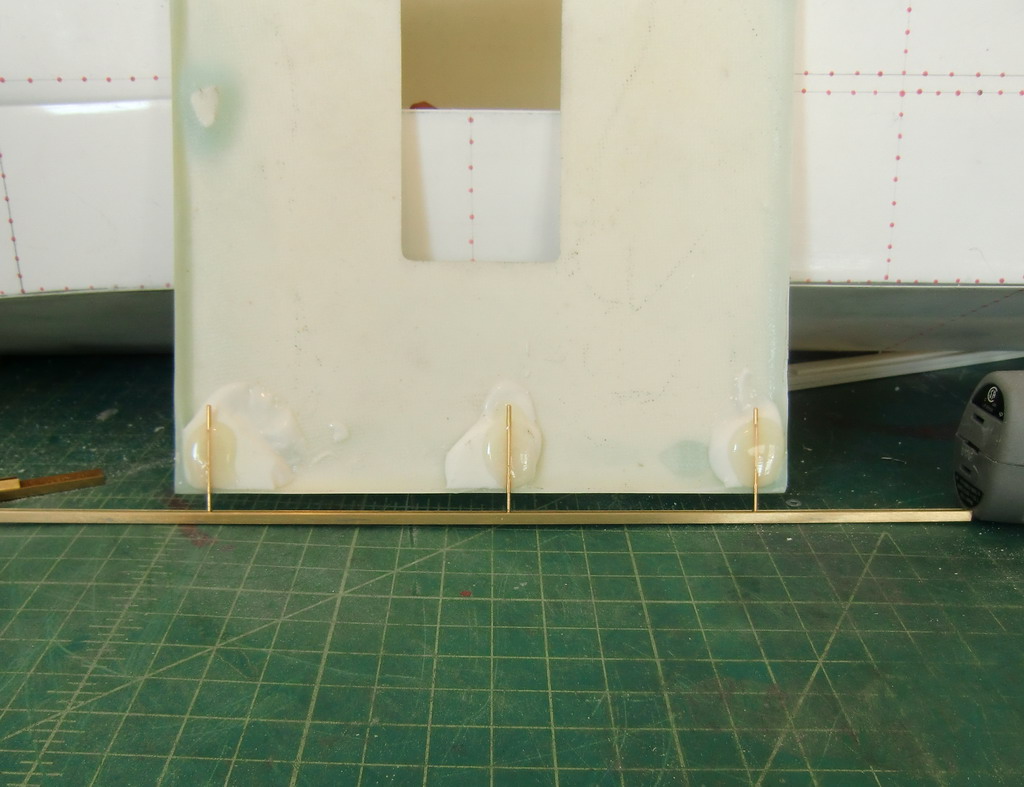
Now I had to do the bottom rail and I found these spring loaded test probes in my junk box. I smoothed the ends out so they would ride nicely in a groove and glued them in place on the bottom of the door.
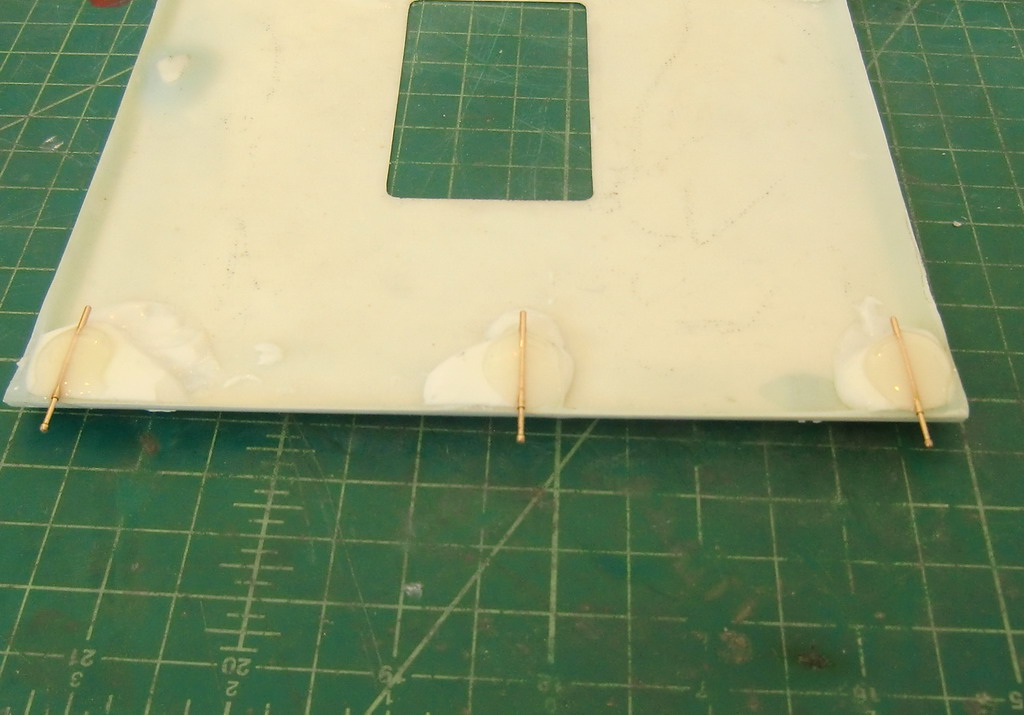
Now I had to mill a slightly larger slot in a 1/8" piece of square tubing, offsetting it slightly so the door rode away from the fuse
This is the door with the probes unloaded
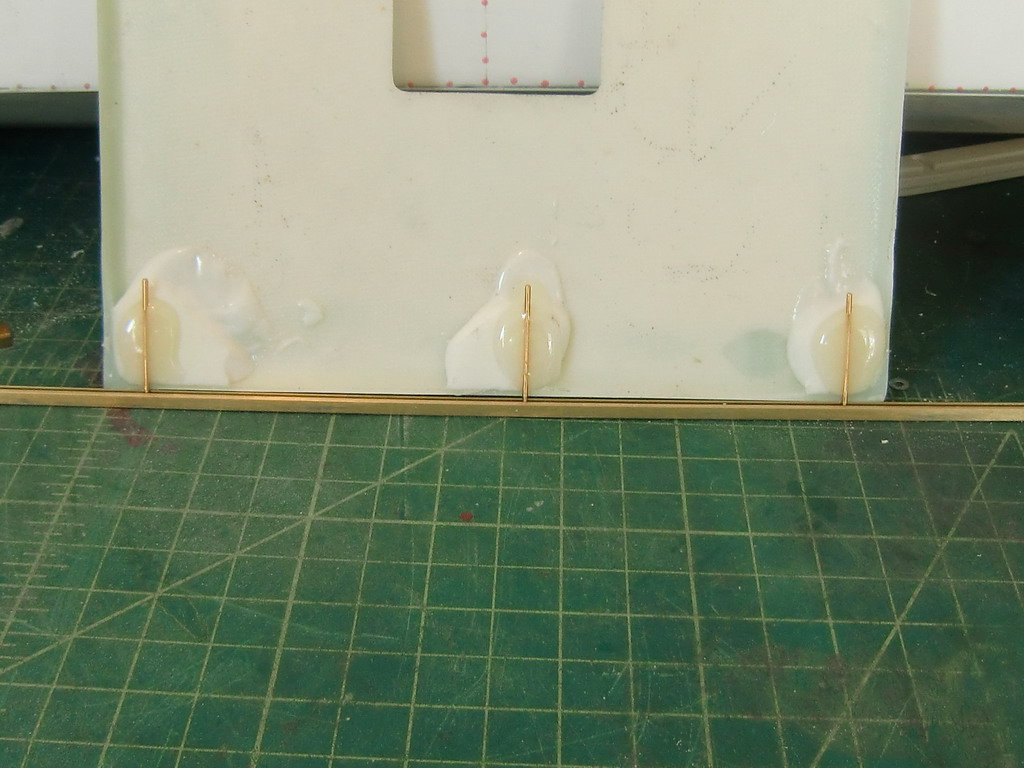
And this is the door with slight pressure on it.
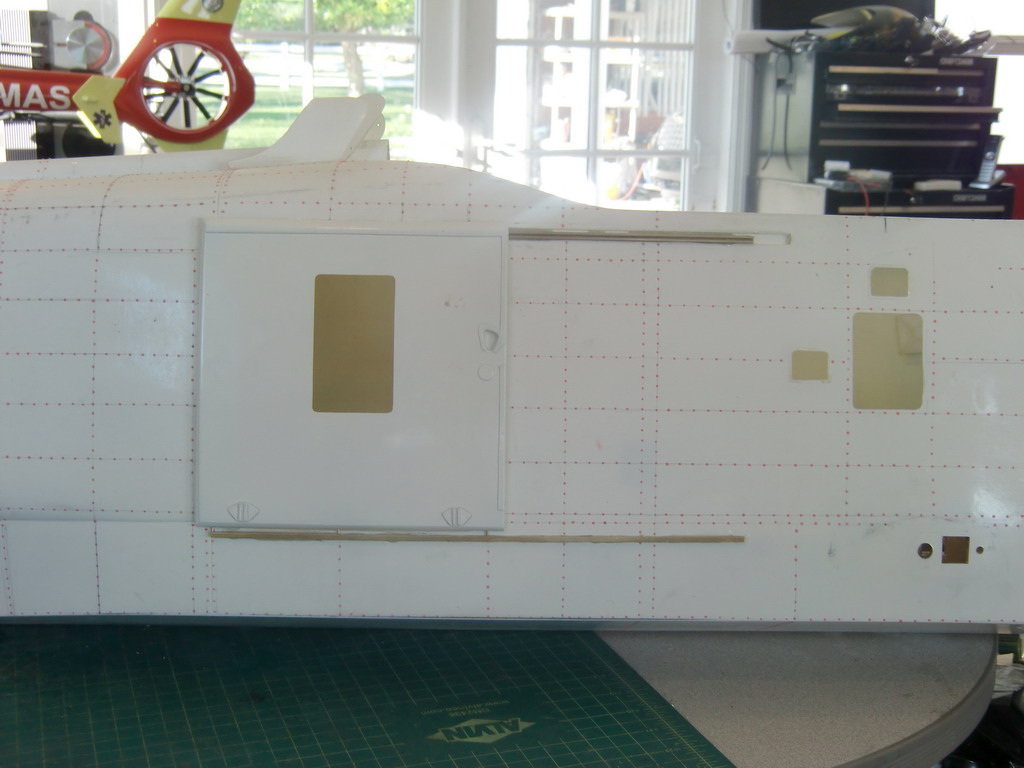
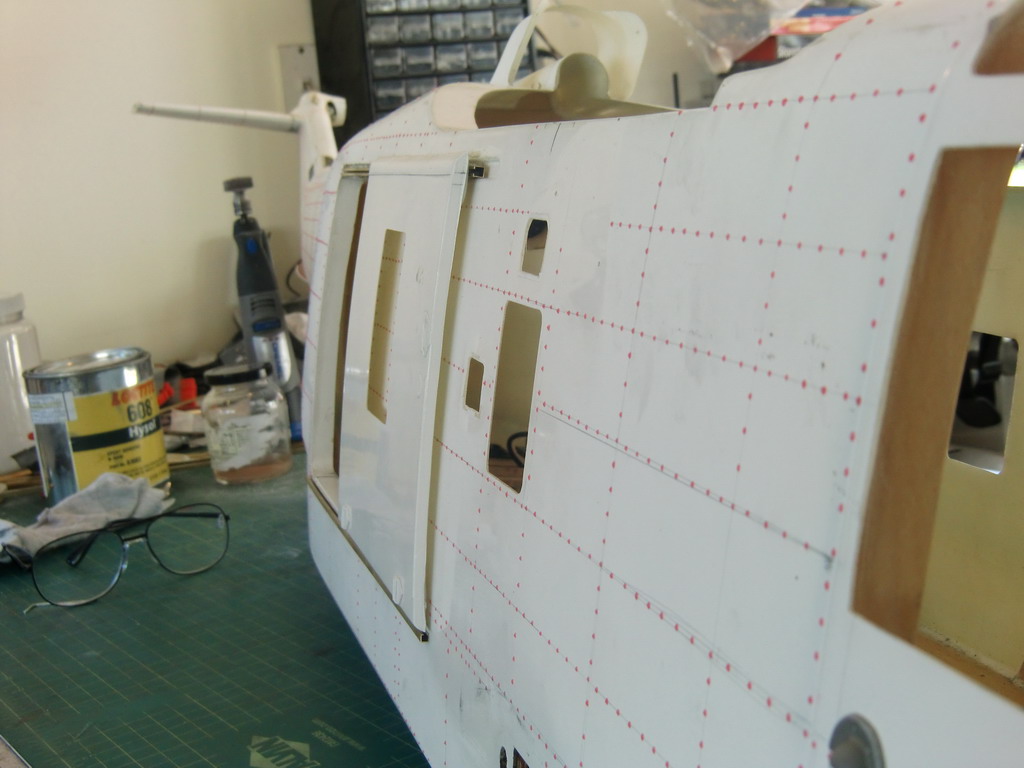
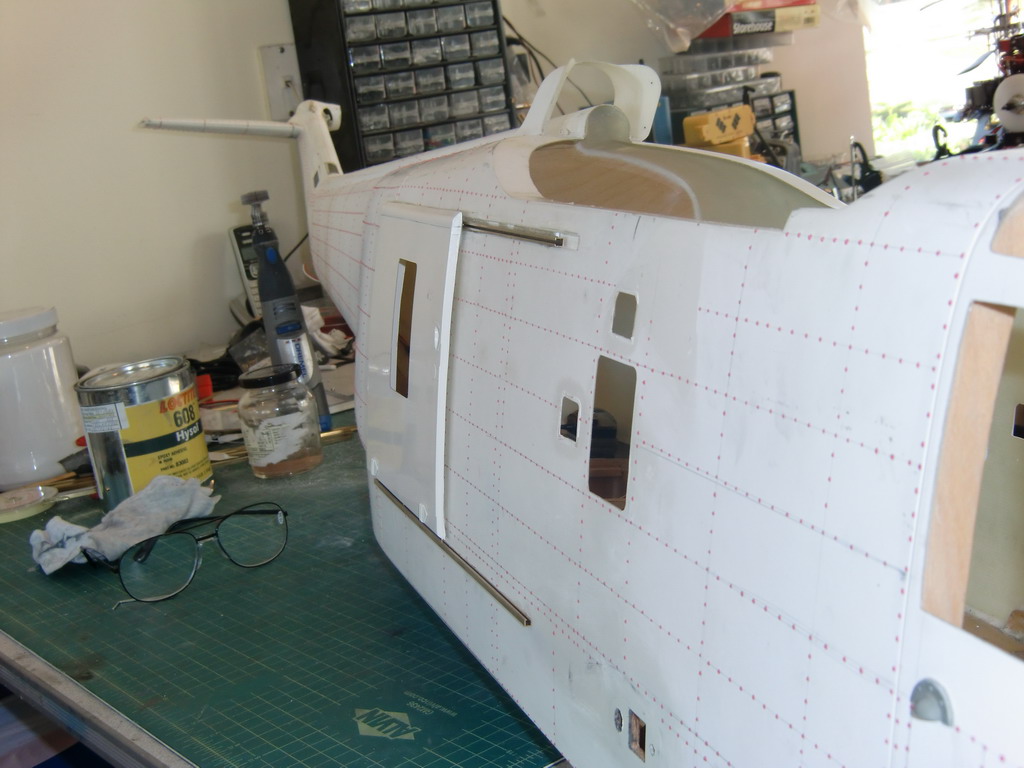
I have skipped ahead a little now. A piece of platic was wedged under the top rqail pushing it away from the fuse at the front, so I couild slide the bearings into it, and then the top rail was glued in place. Then the bottom rail was glued in place slightly below the bottom of the door to give the springs somewhere to move. This is the door closed.
And this is it open
It slides really easily on the tracks and I am pleased with the results. The only nagging doubt in my mind is the small screws holding the bearings in on the top rail. I will have to see if I can find some longer ones. The door runs nice and close to the body now and here are pictures of the gap opened and closed
Just some filling and smoothing out to do on the runners now.
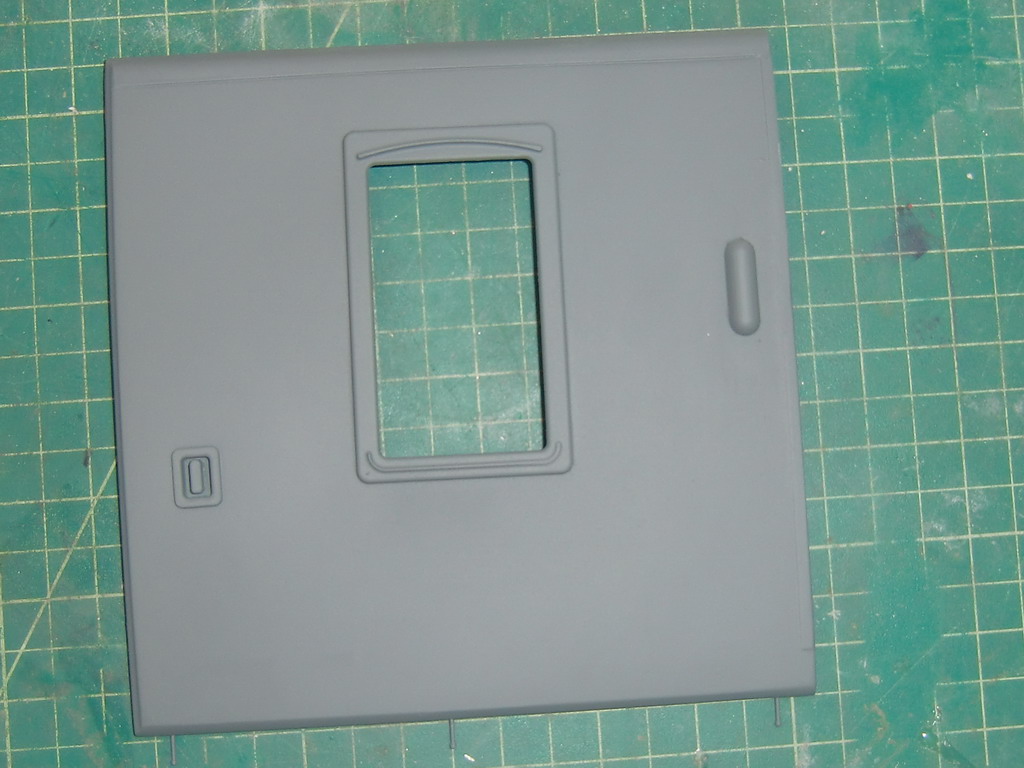
The more observant of you will have noticed that I fitted the door upside down. The edges fitted better this way, so I had to redo the surface of the door. More Solidworks and 3D printing. All good fun and allows me to get much greater detail in the parts. I made a new door handle, a window frame which is under cut so I can fit the glass after painting, and a bump, whatever that's for. As soon as the primer is really set, I can add a bunch of rivets
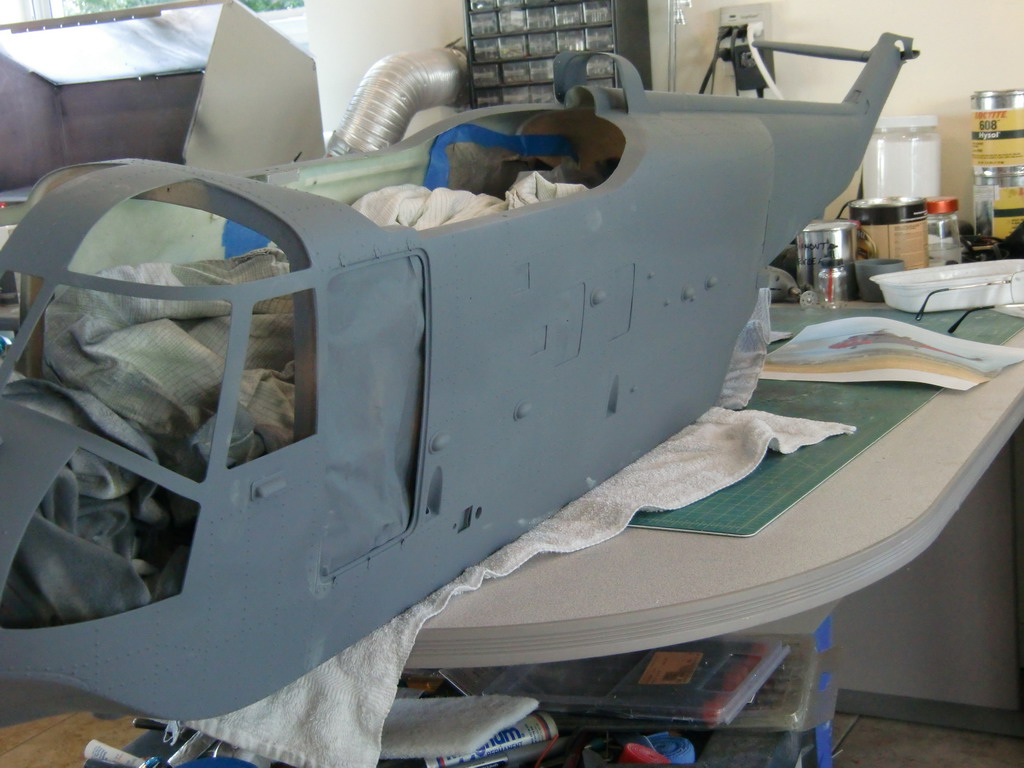
I have primed everything now, mainly to check for blemishes in the glasswork. It will be hard to give it a final rub down before painting without rubbing the rivets off, but I think I can do it with some Scotchbrite pads
The gizmo on the front is the FOD screen which I think is more for deflecting water from the engines than anything else. I made the screen in Solidworks and it took 16 hours to print as it was so tall. Then I printed out the screens which, of course, are a perfect fit. Now I need to make some supports for it
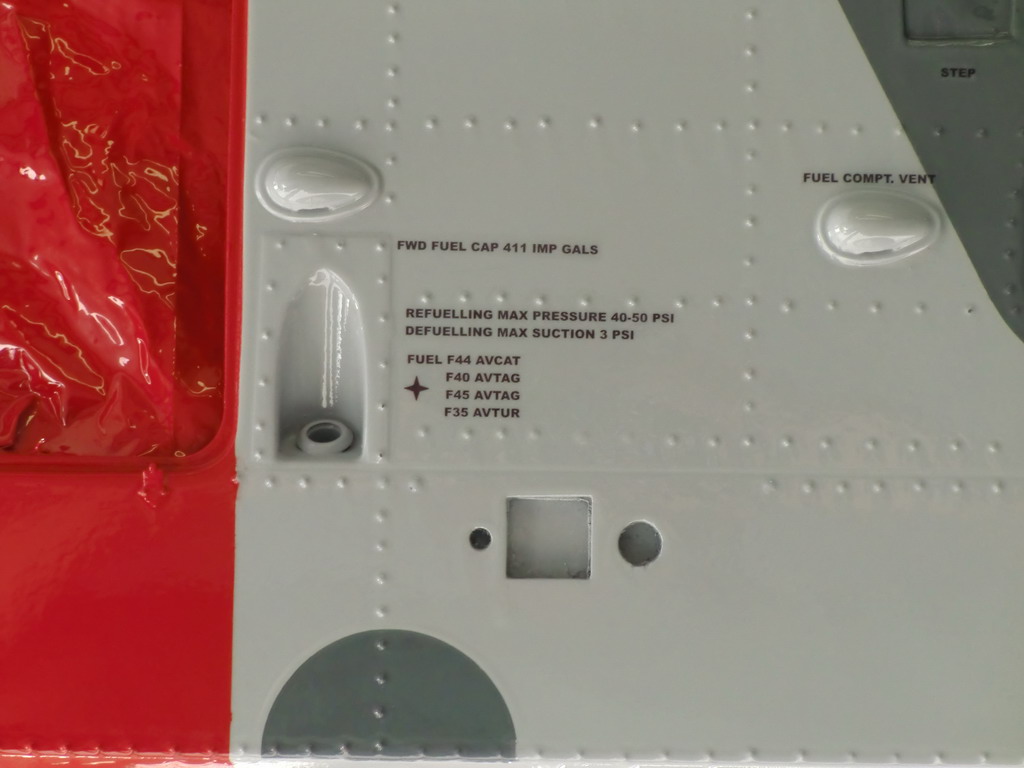
Meanwhile there are a bunch of small items to be made which detail the model up and I am fortunate that Totto from Norway has made an excellent Seaking walkaround with tons of details of panels and texts so I will be making those and fitting them after the main fuse is painted. The reason for doing them after is to reduce the clearcoat which builds up where two surfaces meet and reduces the realism of the model. I'll take pictures as I make the parts. However, then next job is to make up the paint masks for the main fuselage. It will be painted white first and then anything white on the fuselage will have a paint mask on it. The the rest will be masked off and color applied. Finally the white masks will come off leaving white writing and labels done in paint.
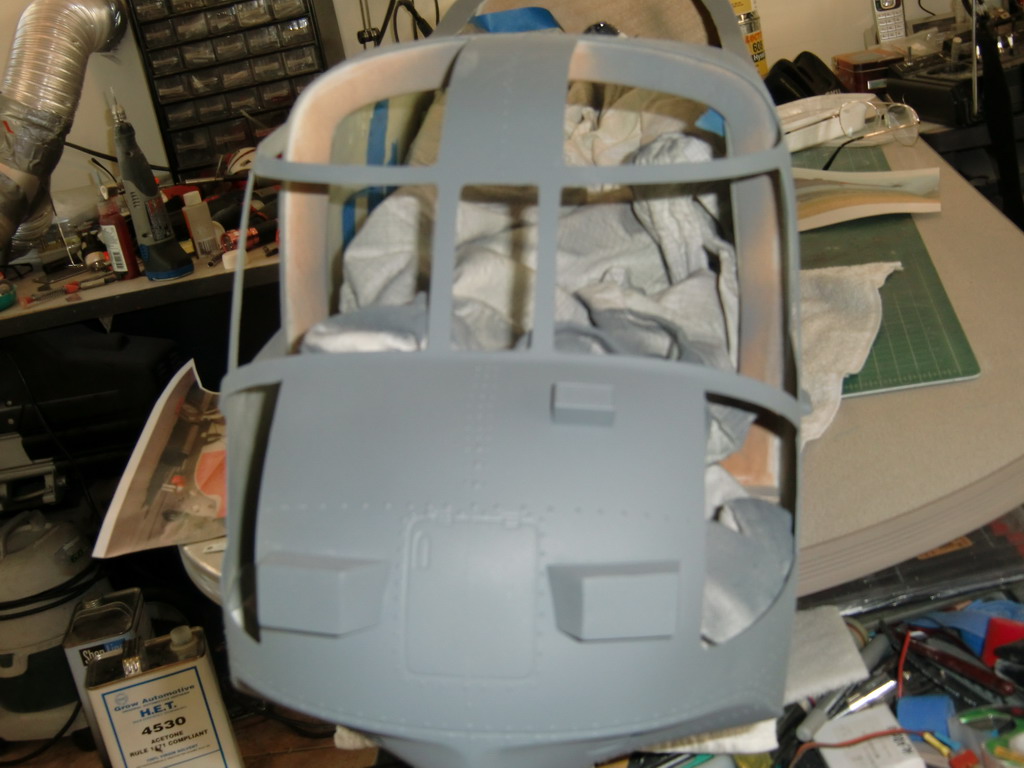
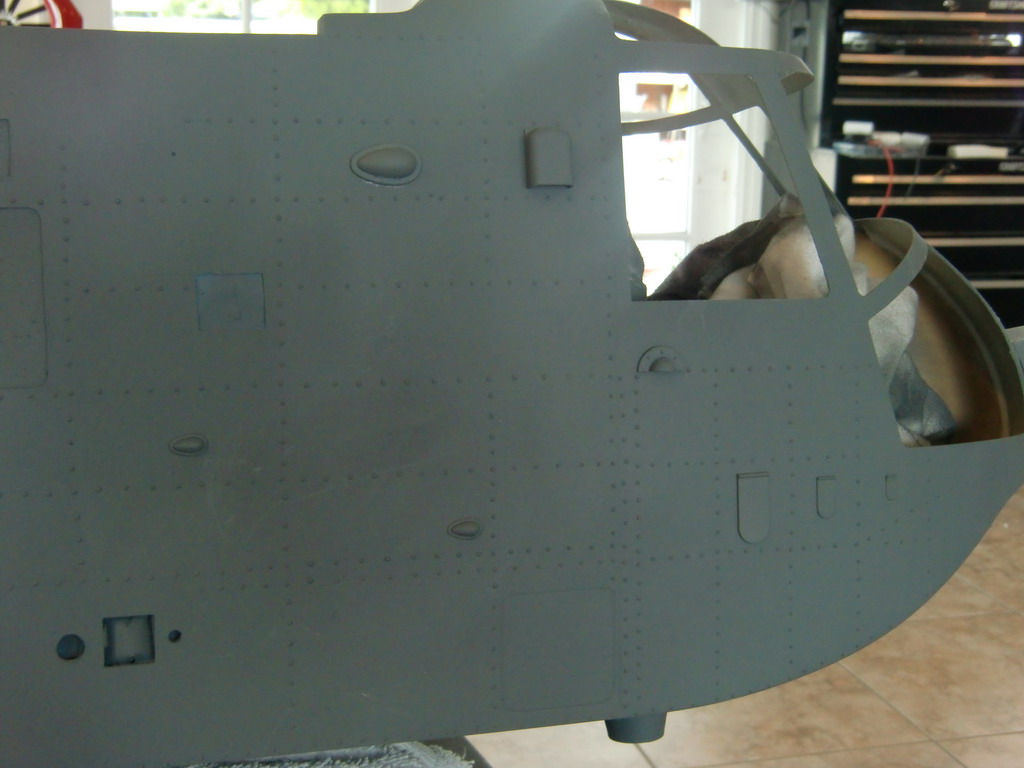
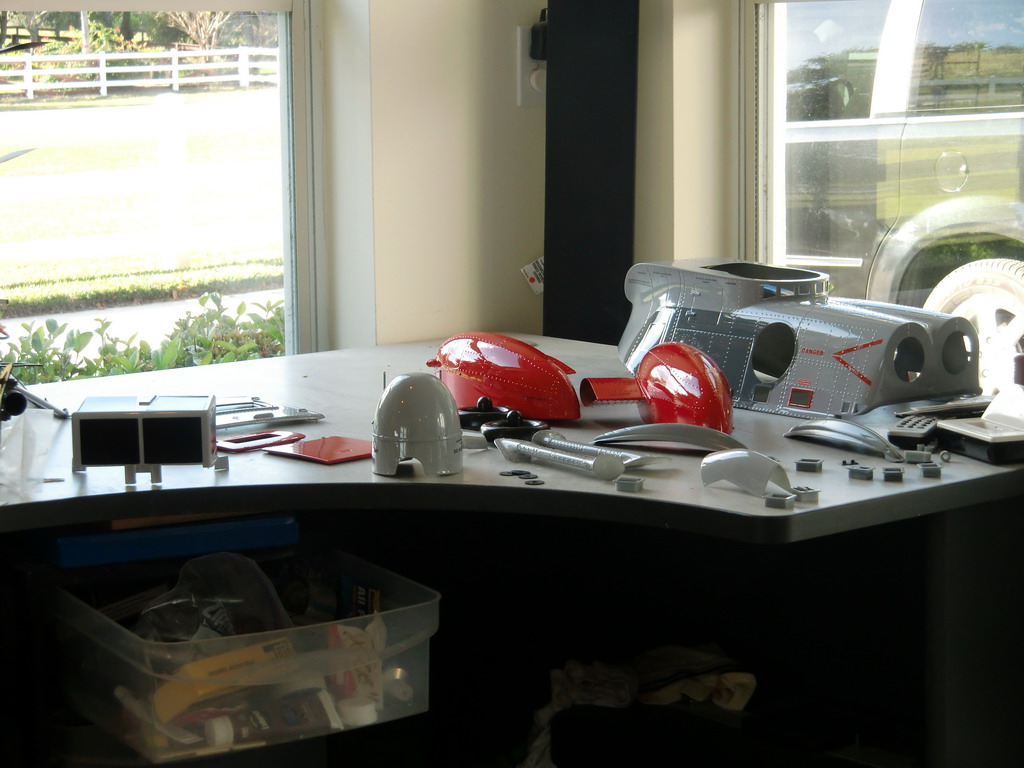
No, I haven't been slacking, I have been busy working on this thing while learning new tricks with my printer. All the little lumps and bumps on the heli have to be made as they cannot be molded in so this is what I made. All the nose bumps which were very difficult as they had different compound curves
Easier was the vent under the window and all of the blisters on the side
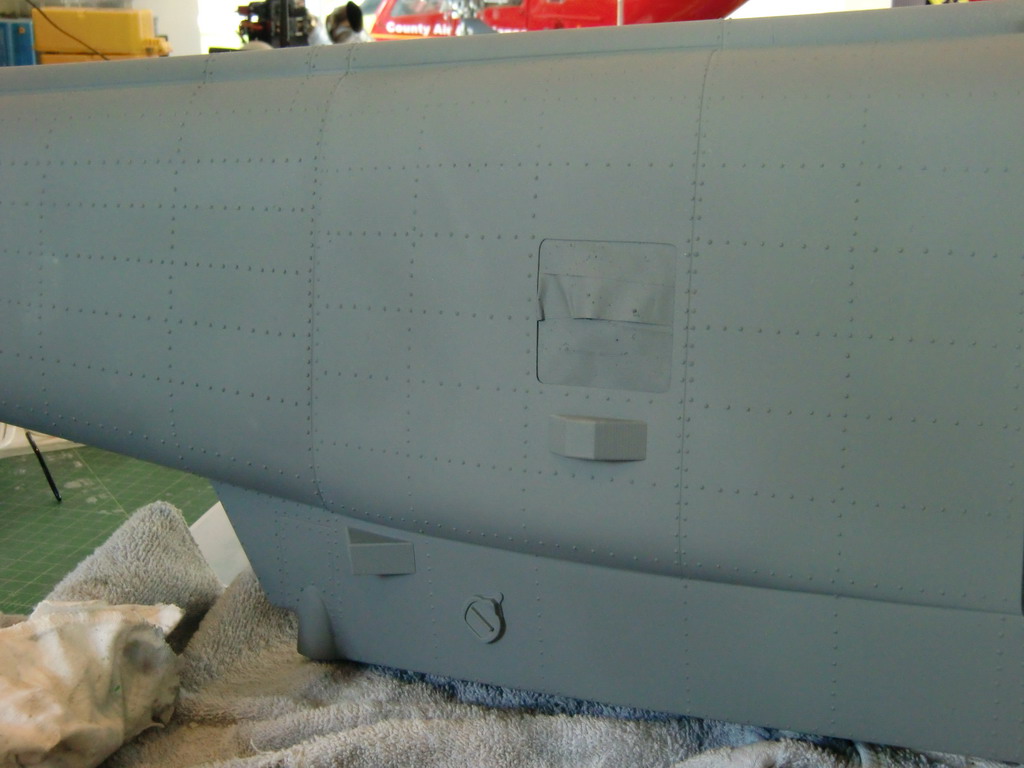
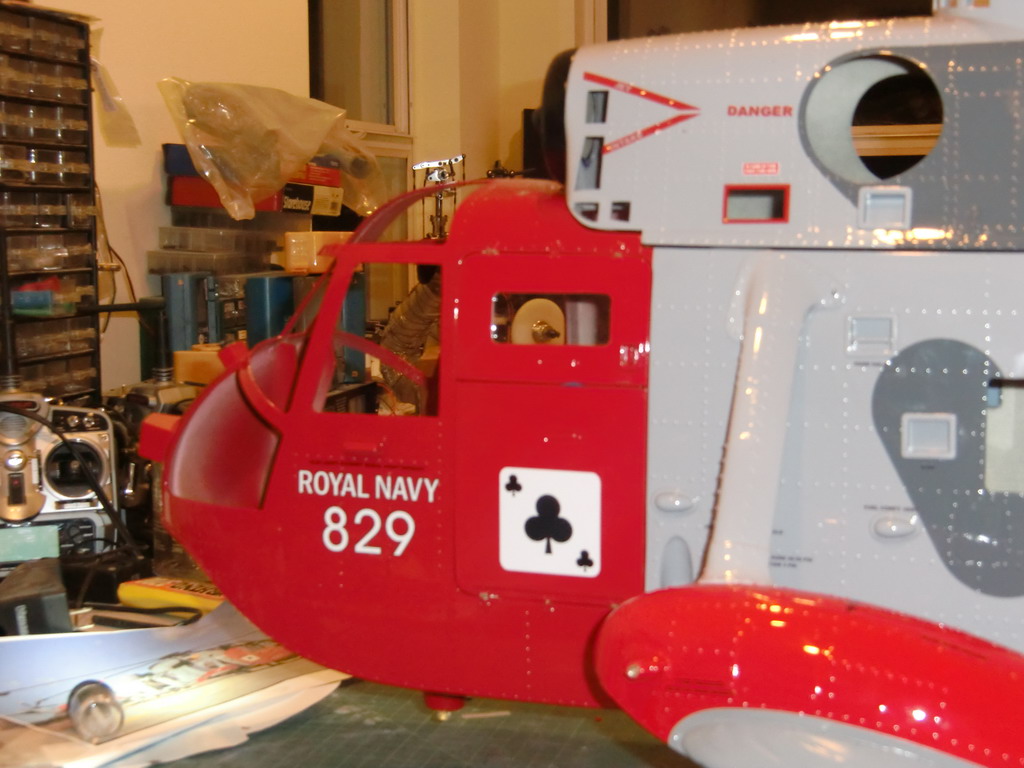
The other side had some blisters, a vent or 2 and some power cable covers. All of the square holes have steps or hand holds in them which are painted separately and will be fitted after the fuse is painted
I have no idea what the squarish looking lumps are, but they are done, as is the life raft release lever
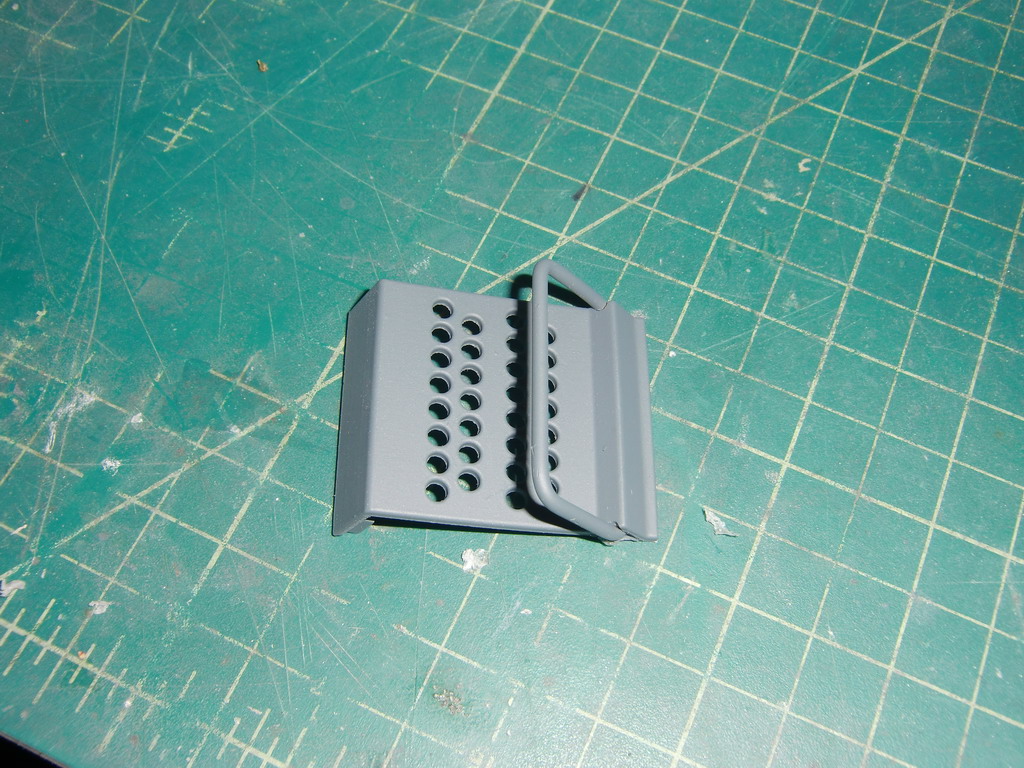
Some parts have to be fitted after painting the fuse as they show through and the paint wont go through properly. The rear door step is one such item
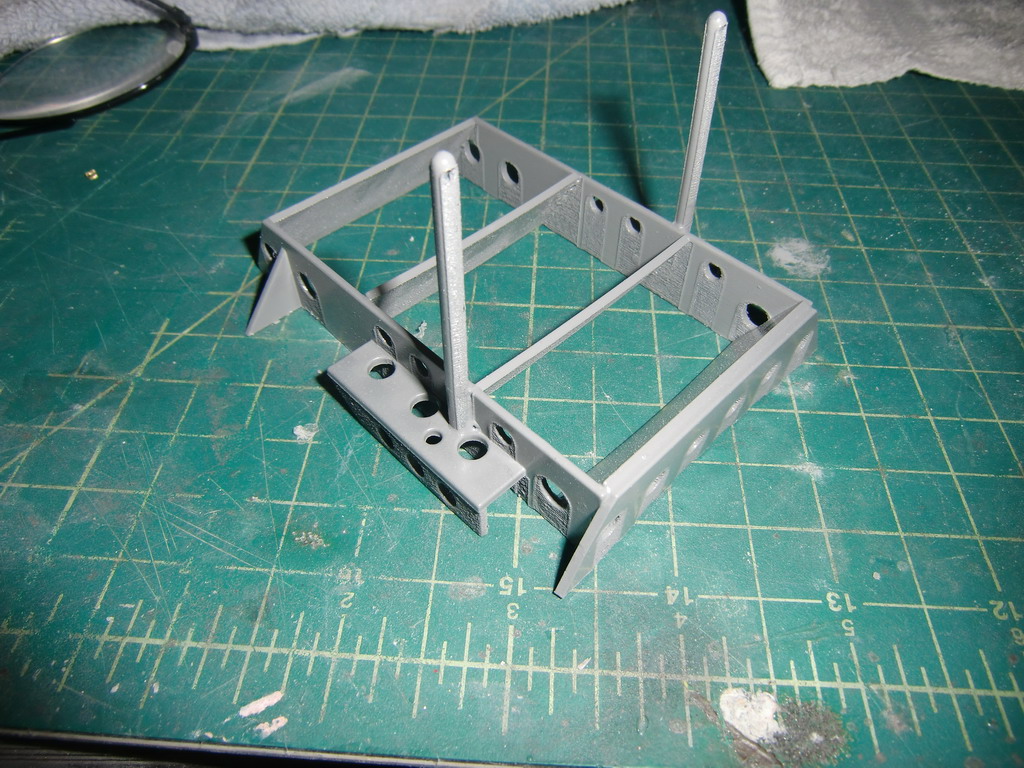
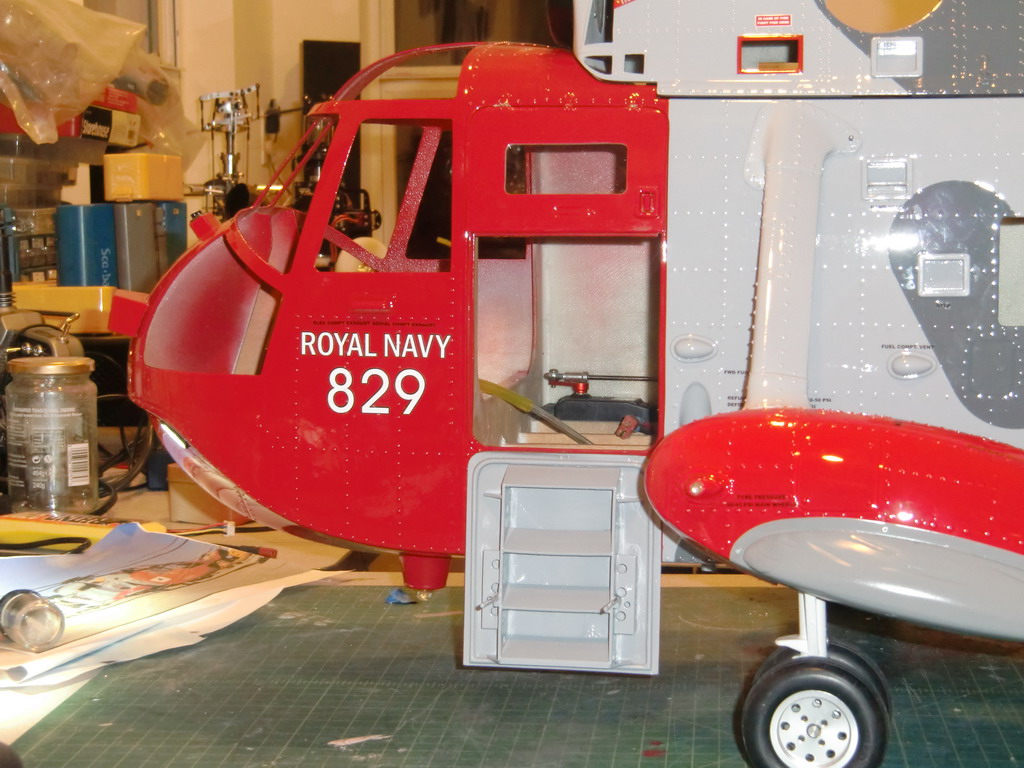
And the steps inside the front door are another
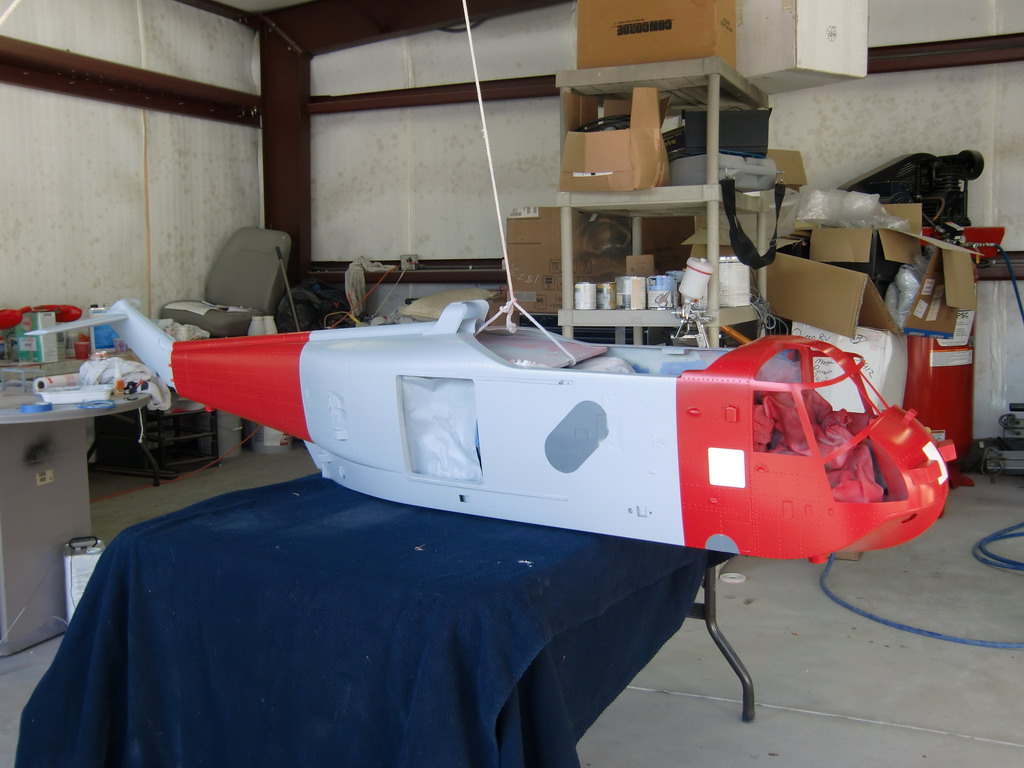
After delaying the start of painting to go to the Mulberry fun fly, I finally got stuck in and yesterday applied the first white basecoat. I had made up some stickers to mask off the primer as it is exactly the color I need for the darker grey. This morning I laid on a complete cover of light grey and then after lunch, masked it off and laid on the red.
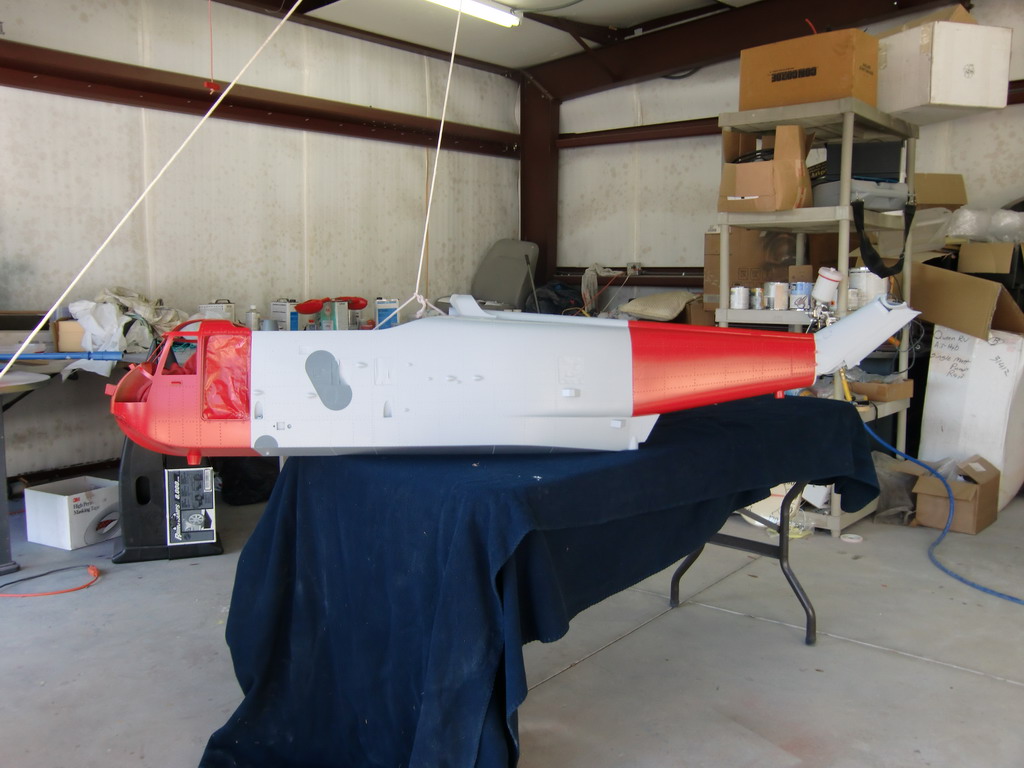
The other side. The blurry areas are where there is a window and the inside has masking tape over it which did not quite stick to the vinyl mask I made. So, there is a little over spray on the masking tape.
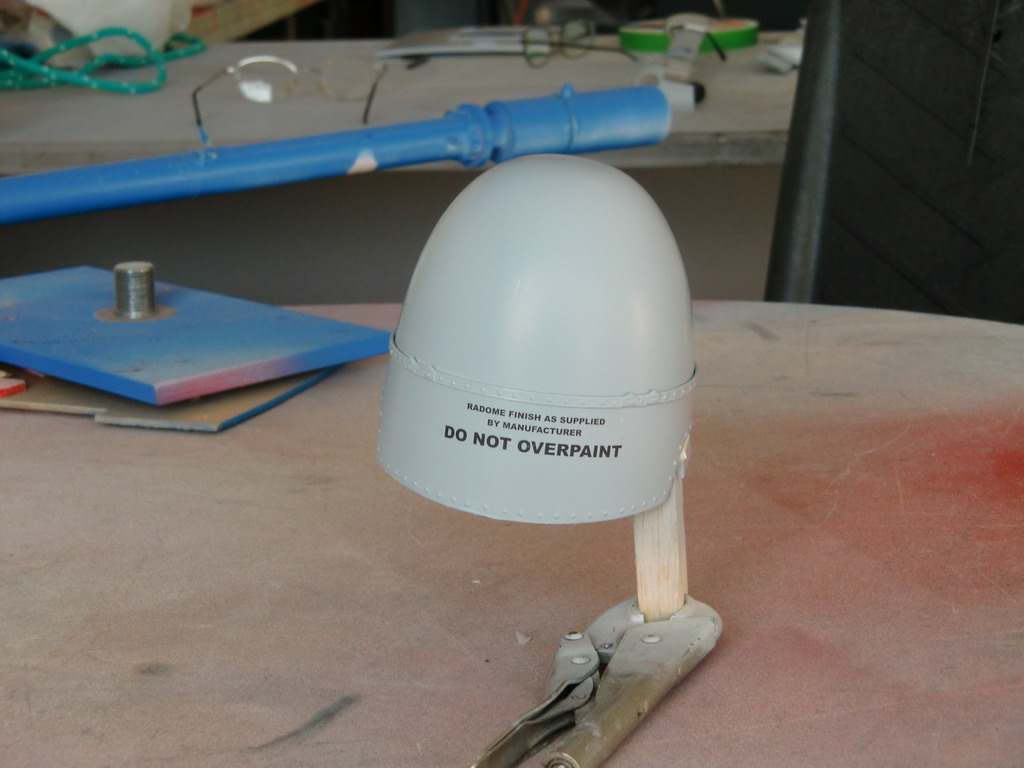
I have decided to try making my own rub on decals as there is a lot of writing on these helicopters. The first part dry enough to test was the radome
Everything is painted and clear coated now. There are a ton of parts to be fitted to the main fuse.
The parts came out a bit too glossy for a 45 year old helicopter and although there is some weathering to do I am not going to be able to make it look old
I decided to put a much thinner layer of clear on the main fuse and that has reduced to depth of shine to a more acceptable level, at the expense of some orange peel. Ah well you cant win them all. Most of the problems will be under the decals anyway so it won't matter too much. One thing which did turn out well was the lettering and there is a lot of it on the helicopter.
I love stickers, and couldn't resist checking out one side.
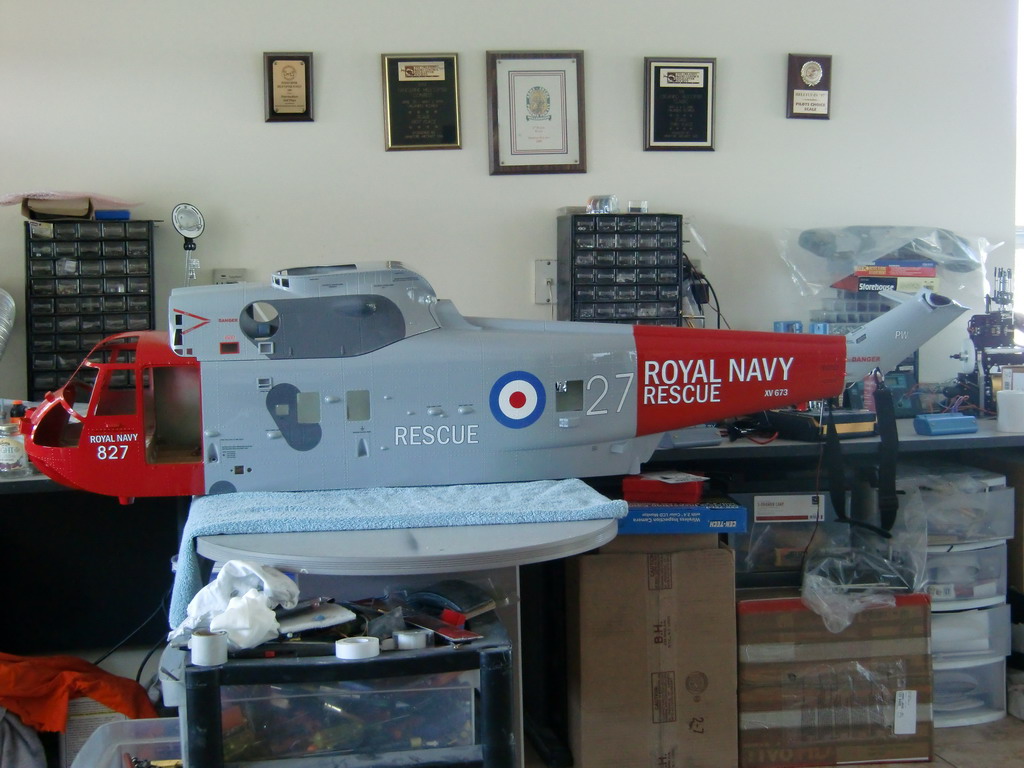
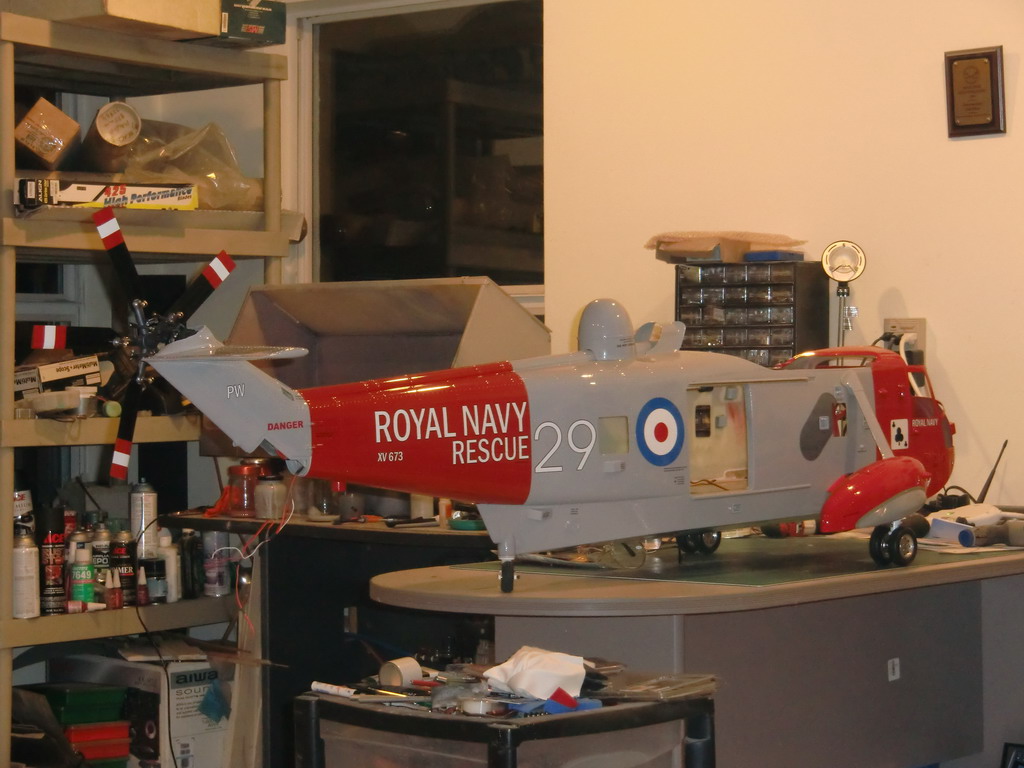
A happy day putting the landing gear on and fitting the sponsons and braces. A lot of parts are disappearing from my store of finished items ready to fit so I will be working on the cockpit soon. Notice the #27 has now changed to #29 and that feindish printer gave me a very hard time, but I will get my own back on it as I have ordered a new one.
Progess today! All the lighting wiring done with the EZ lite set from East coast. The only two LEDs I did not fit were those in the sponsons. They are inaccessible. Now, one does not work! Oh Joy! Anyway, got the sliding door on, and fitted the covers over the intermediate gearbox and the TR gearbox. Then I took a bunch of pictures trying to time it so the camera delay hit one of the strobes
And the other one underneath
I fitted the steps to the bottom door and a window in the top door and then fitted both doors on their hinges. The hinge holes needed drilling out with a 0.65mm drill!
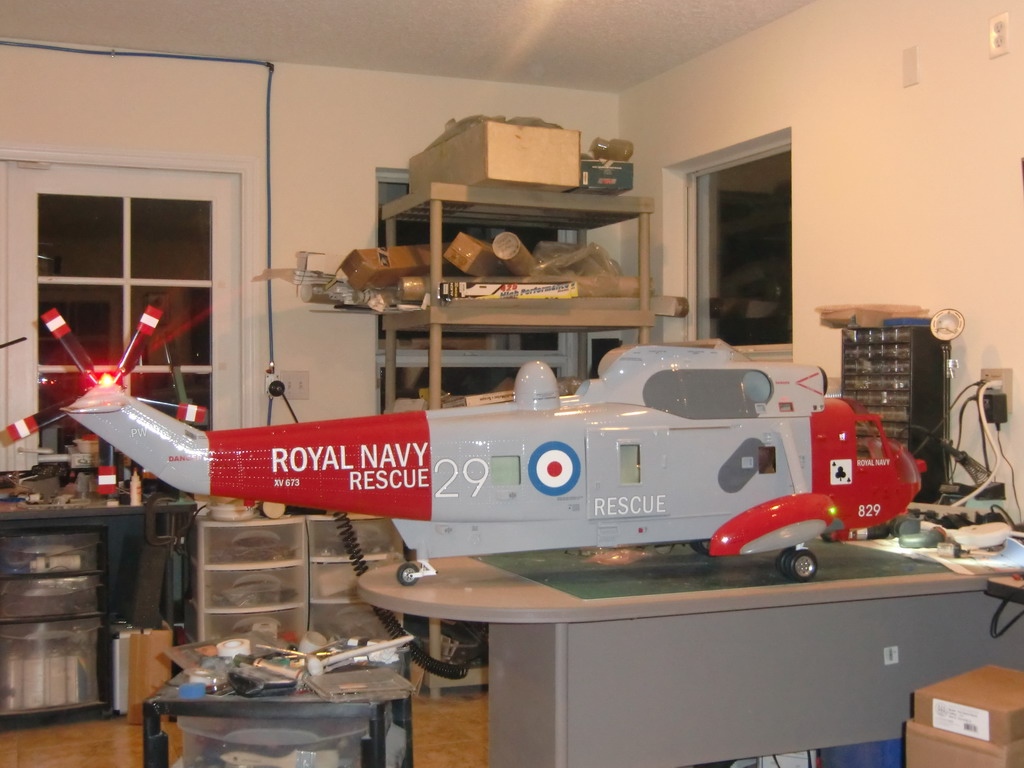
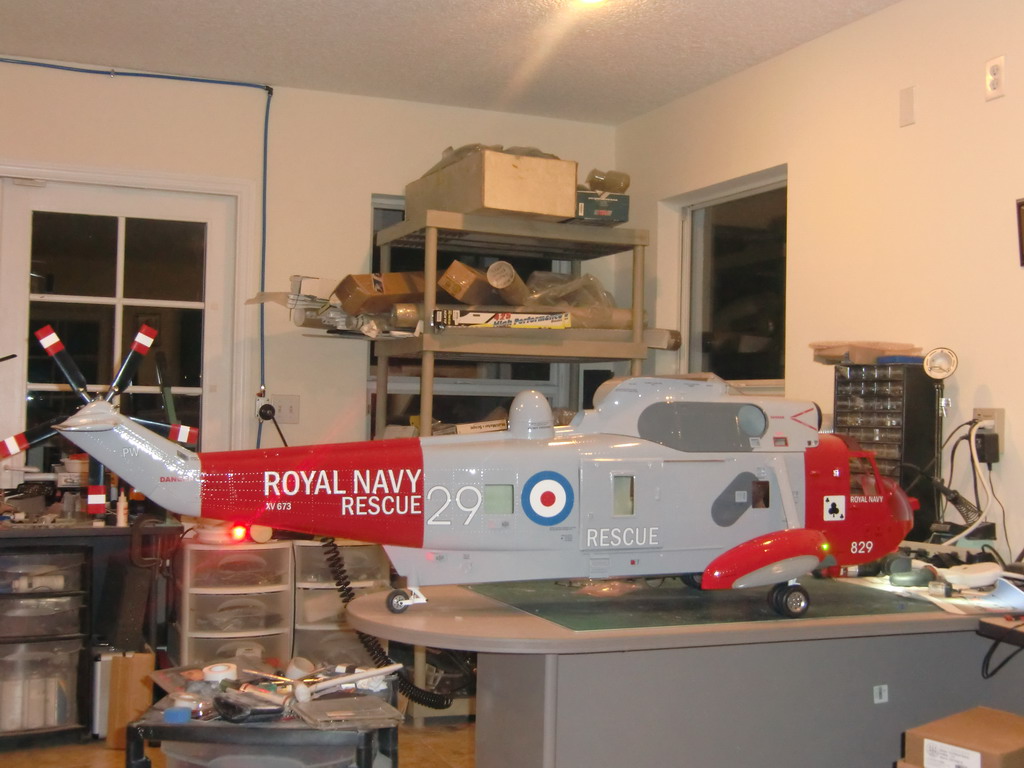
And with both doors closed.
I made up some handles and other small parts today so they will go on tomorrow when the clearcoat has set.
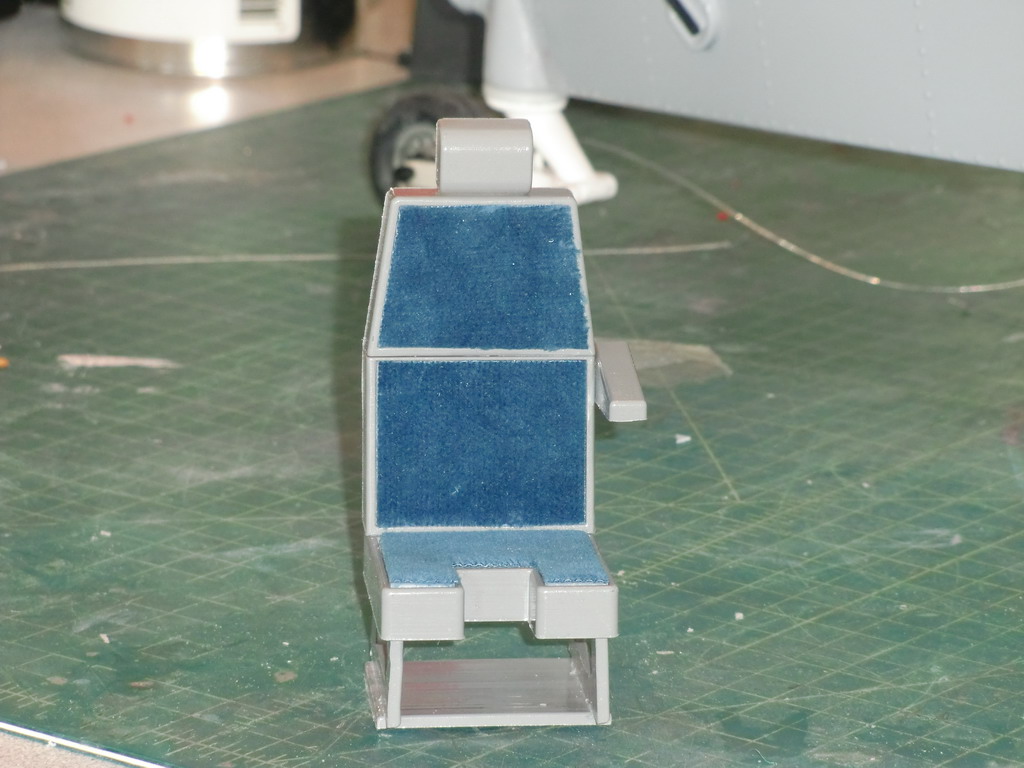
Things have slowed down again! The window set which came with the kit has the top windows missing. The front windows all fit over the front of the helicopter and need painting so I cut them out carefully to the marked line, and found the guy who cut the hole in the fuselage cut it too big and there is a gap between the window and the fuselage! I contacted Lars Zander who said he would get another set of windows pulled but the guy who does it is very slow. This could delay things for a while. Meanwhile I got the lights working. That was a problem all by itself as the E-Z lite set and the drivers I made, did not like the output from the AR9200 receiver. I ended up running an old receiver separate just for the lights with its own battery, which is probably not a bad move. Then I made a few stickers up and pottered around trying to think of things to do. I cant fit the mechanics until the cockpit is installed as they stop me getting access. One thing I really did not like with the kit was the seats so I decided to try and make my own. After a couple of tries, the first one came out satisfactorily. Note only one arm rest. Each seat has one armrest in the center of the cabin and I suppose they lean against the side of the heli if the other arm gets tired.