How to convert a Hirobo Big Lama to turbine
I did this a long time ago and don't have many pictures to explain what I did so I hope I can explain it properly. You start off with a set of mechanics. The Len Mount top mount mechanic s from Starwood Scale models work well but the ones I used a Pahl mechanics from Germany.
Most of this is mot needed so The side frames are cut down to remove the back end and the support under the layshaft. Then it looks like this

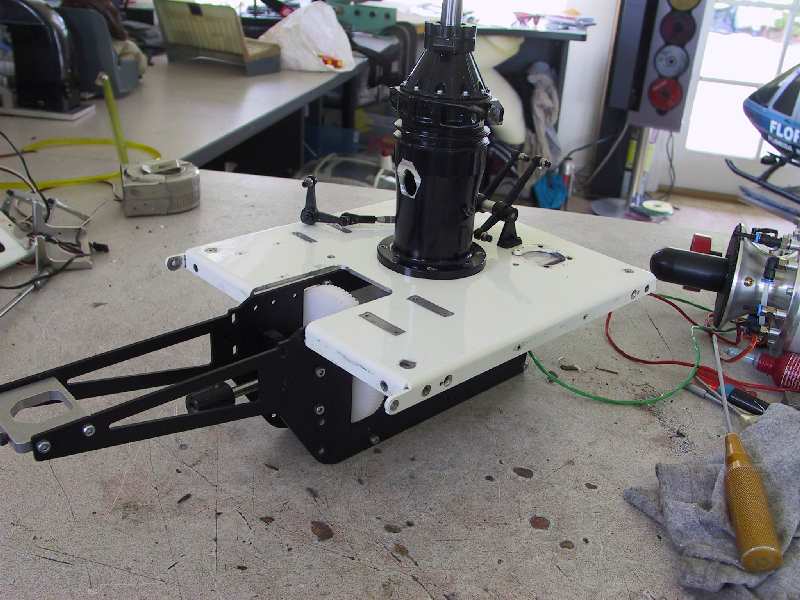
This top bearing needs to be replaced, and this is where either you or your local friendly machine shop will get to work. The bearing holder needs to remain the same but above the frames there needs to be a circle which will bolt to the underside of the mast housing. The thickness of the circle is not important, but it does define where the tail drive will come out of the rear . You will adjust the tailboom for this anyway so make the thickness about 6-7mm

Fitted, it looks like this

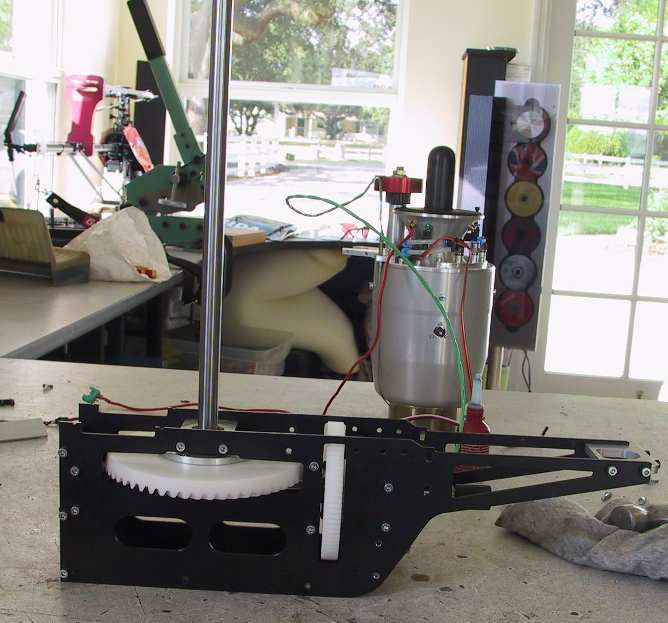
Now comes the difficult bit. I sourced these gears from a local store. I bought al they had and I have a couple of spares but thats it so you will have to search for something suitable. Mine are 0.6" diameter and 3/4" long. Very non metric! All you are trying to do with them is to raise the height of the output shaft for the tail rotor and so the size of them can be very different if you make the disk on the mainshaft bearing holder thicker. This will lower the mechanics in the chassis. I drilled and tapped a hole right through the gear to take a 4mm setscrew which you can just see at the bottom of the gear.
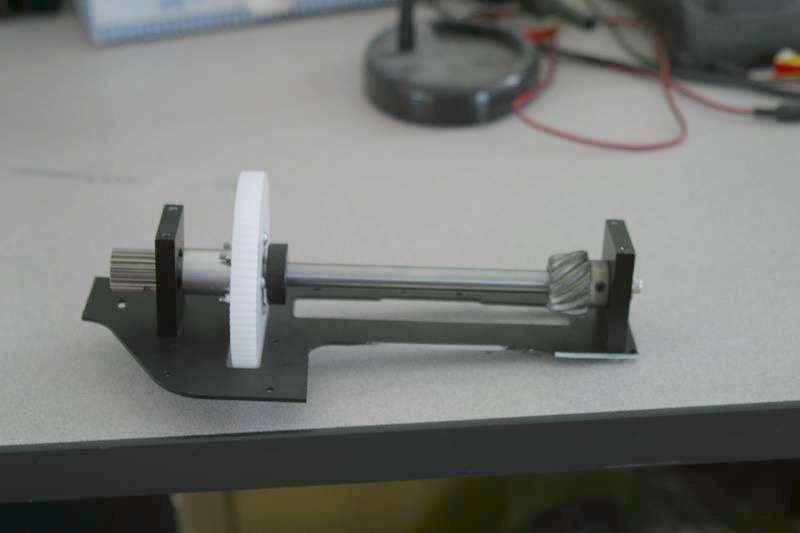
Then you take off the stock tail drive gear and add the other of thepair of gears to make the tail out put drive. Then you drill the frames so its a good fit. OK, so you make some slots so it can be adjusted!


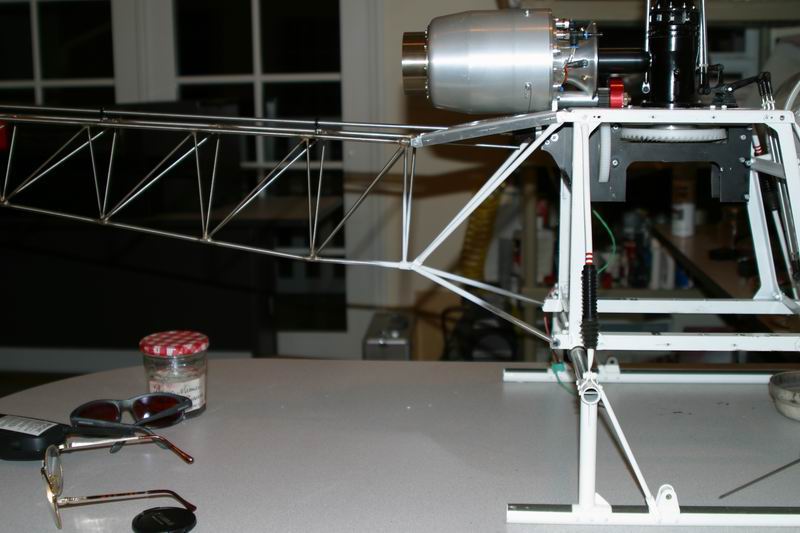
That picture shows you will need to open the Mast bearing holder a bit to clear the nose of the starter and also cut the top plate of the stock chassis to clear the turbine and the gears. It was taken early in the process so most of the frames are still there. Ignore them.
OK, almost done. All we have to do now is to line up the tailboom and this is done by shortening the two braces. The top and bottom plates are mounted to the tailboom and then the angle is adjusted until the drive lines up. That tells you how long the braces have to be. I flattened the end of mine in the vice and then just redrilled the holes in the right place.
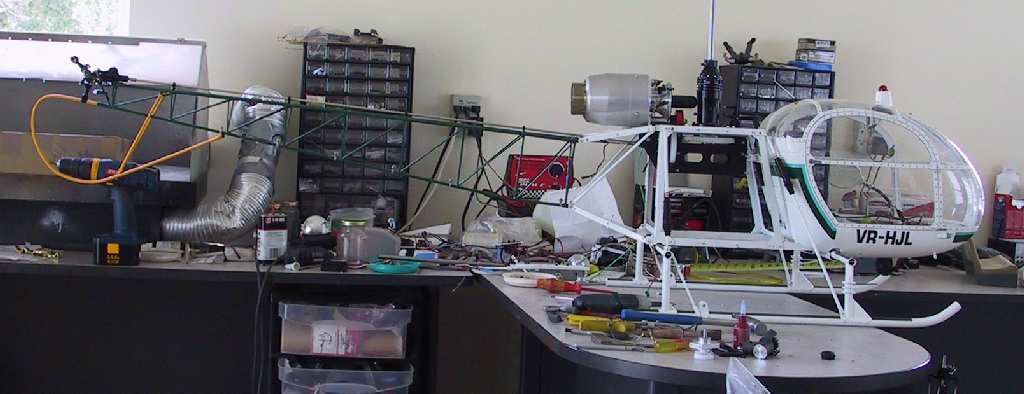
If you cant get it to line up properly due to gear sizes etc, you will have to get some stainless tubing and make your own bottom brace.
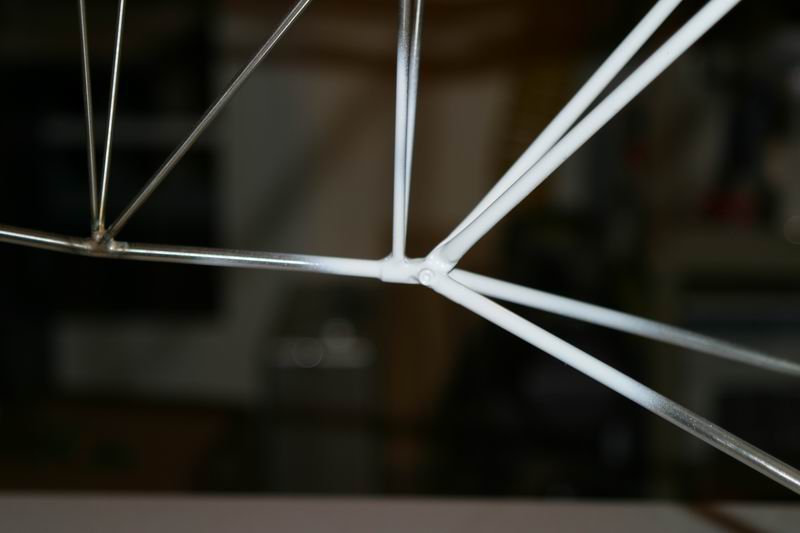
For extra rigidity, when I had done mine, I silver soldered the lot together at the bottom
I hope that gives you the answers as to how to do it. It wasn't difficult but I have a machine shop and can do these things pretty easily myself. If you have more questions, you have my e-mail. pwales@@@cfl.rr.com, without two many @'s