At Christmas, a very large box arrived for me. It was my present from me to me, an Hirobo EC120 shipped all the way from England. I had also ordered the electric conversion kit and the 3 blade head. No blades were included so I ordered a set of 3 700mm blades from SAB. The rest of the parts I hoped I had in my bottomless junk box.
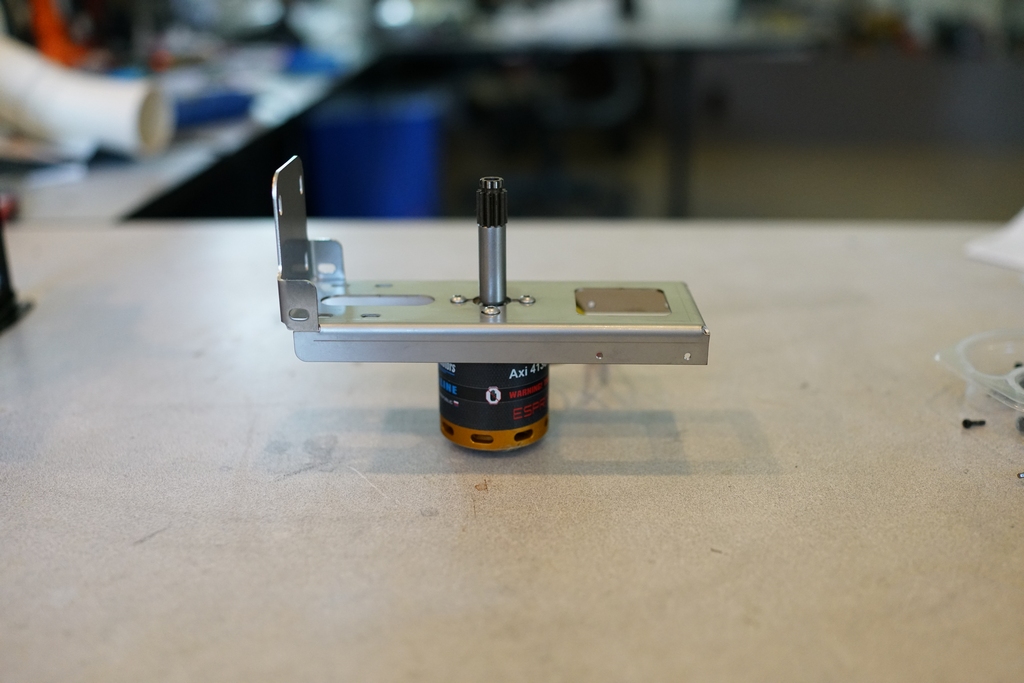
The electric conversion kit was packaged in the 3 blade head box, so I decided to start with that and immediately ran into problems. No instructions! Fortunately the German manufacturer had put some on his web site and an e-mail to the supplier in England got me a link. First job was to find the stock clutch and heat it up to release the red loctite holding the pinion in the clutch. Now I could fit the pinion into the supplied shaft and loctite it in place. That was then fixed to the motor I had found which I wanted to use in the 47G but had too high a Kv. I need some headspeed on this thing to make the fenestron work and this motor would allow me to run upto 1900 on the head. I am anticipating 1600-1700 but will try and get it lower. The motor was then fitted into the mount and that was that job done.
Next was the assembly of the frames and this was fairly straight forward ,except for 2 problems. The first was that Hirobo had assembled the tail drive gears in the gear box upside down and it took a while to figure out why everything was at a 30 degree angle. Taking a close look at the gear box soon showed me that the forward attachment bolt was not on the centerline and that told me to take the box apart and flip the gears, an easy job.
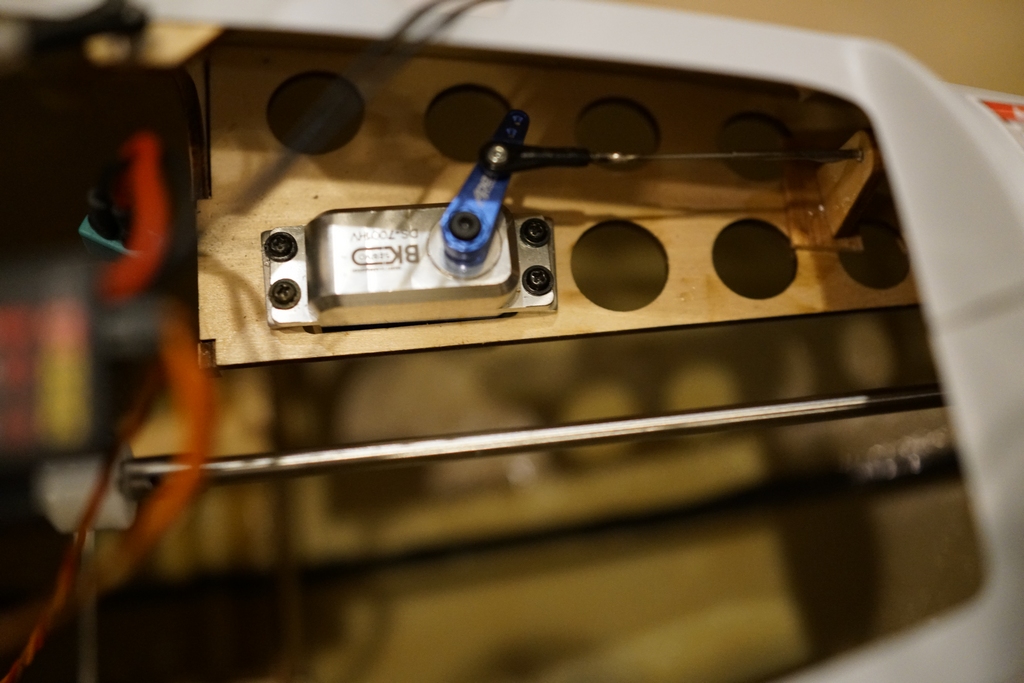
The next problem was that the servos I had selected to use were 1mm too wide to fit together in the hole. I found a set of BK servos which were 1mm smaller and they fit perfectly. The spacers on the elevator servo had to be reversed to move it further out to get the ball on the centerline. It seems servos had changed somewhat since 2003 when the manual was written.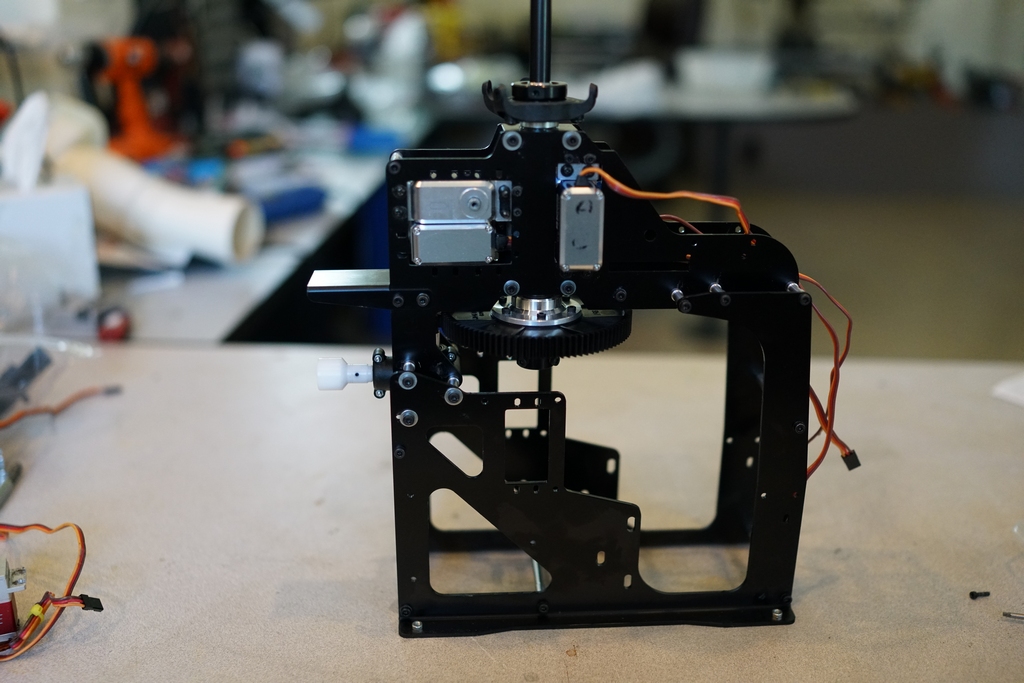
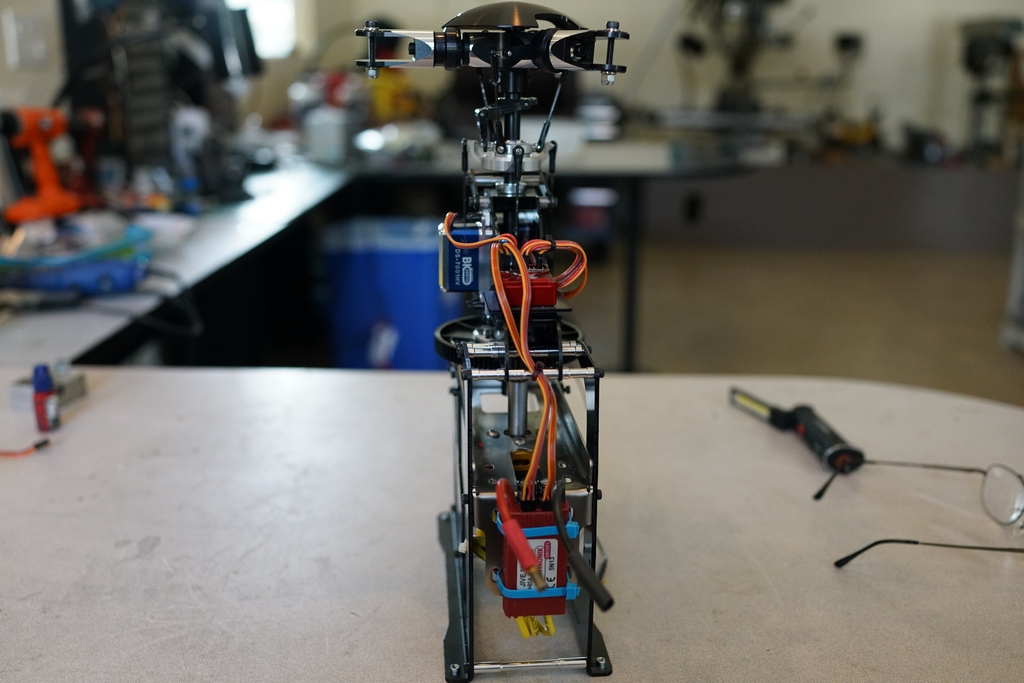
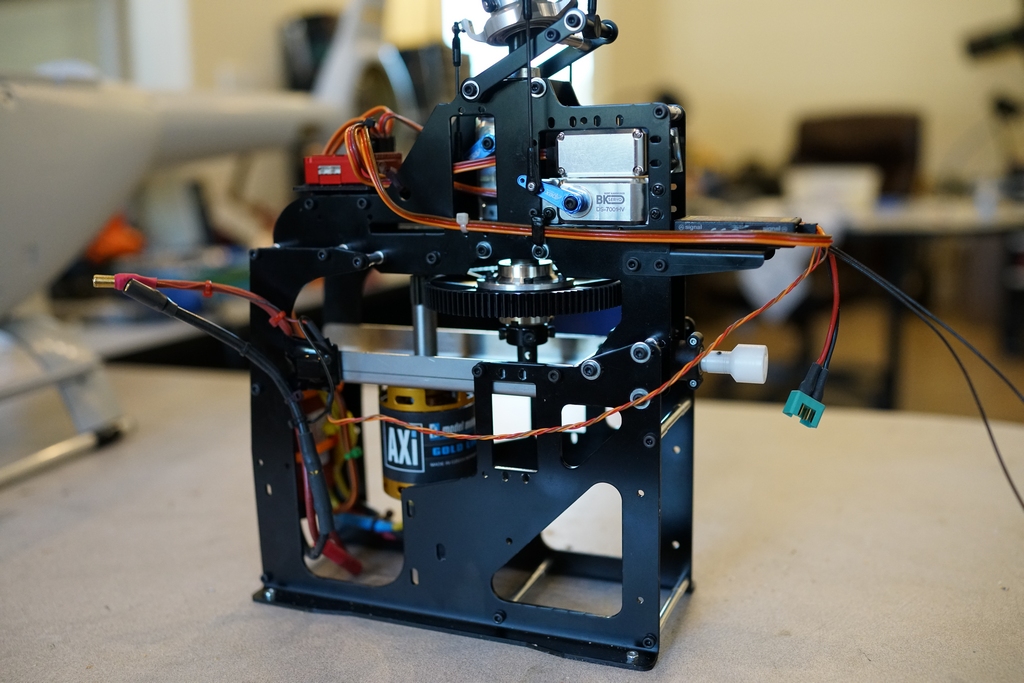
Now I could fit the motor into the frames. It looks as if the motor is not vertical, but nothing had been tightened down at that point.

Now to tidy up the wiring. I had never had much success crimping servo connectors so I figured it was about time I learned how to do it. An excellent video in you tube and a few dozen spoiled crimps later everything was neatly shortened
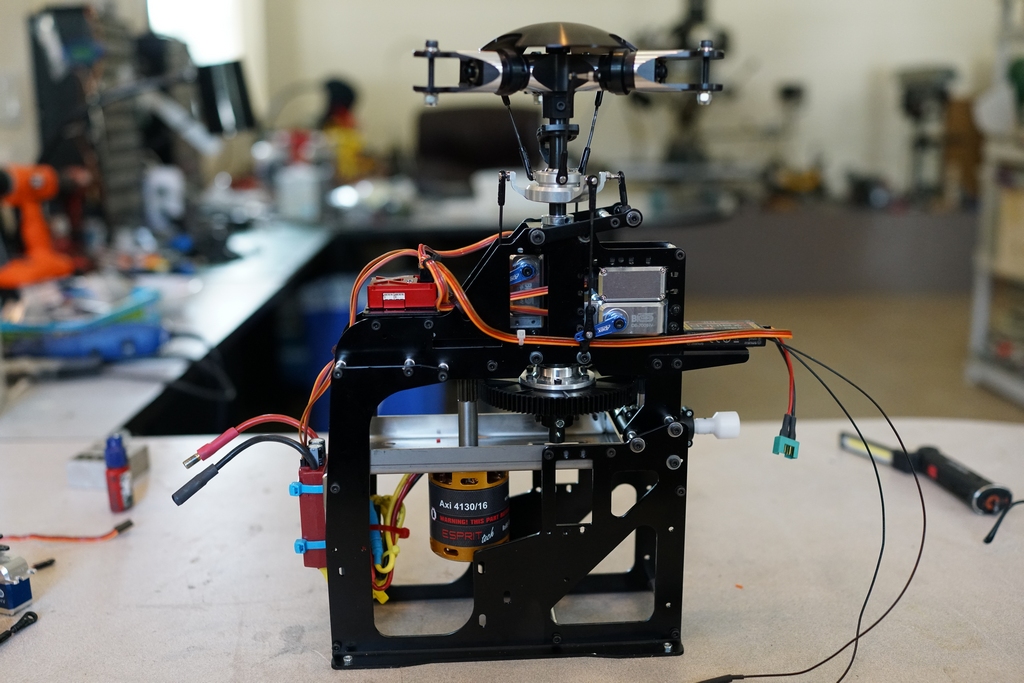
The ESC was zip tied to the front and I elected to go with a Bavarion Axon controller which I had never used before. Test flying this will be nerve wracking but everything looks good so far
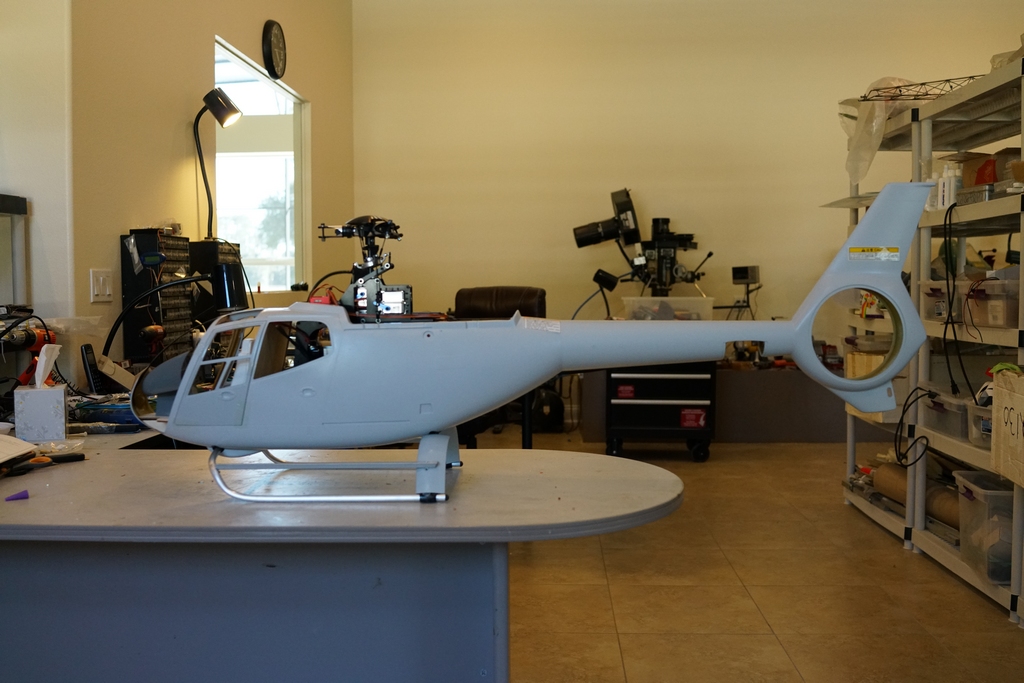
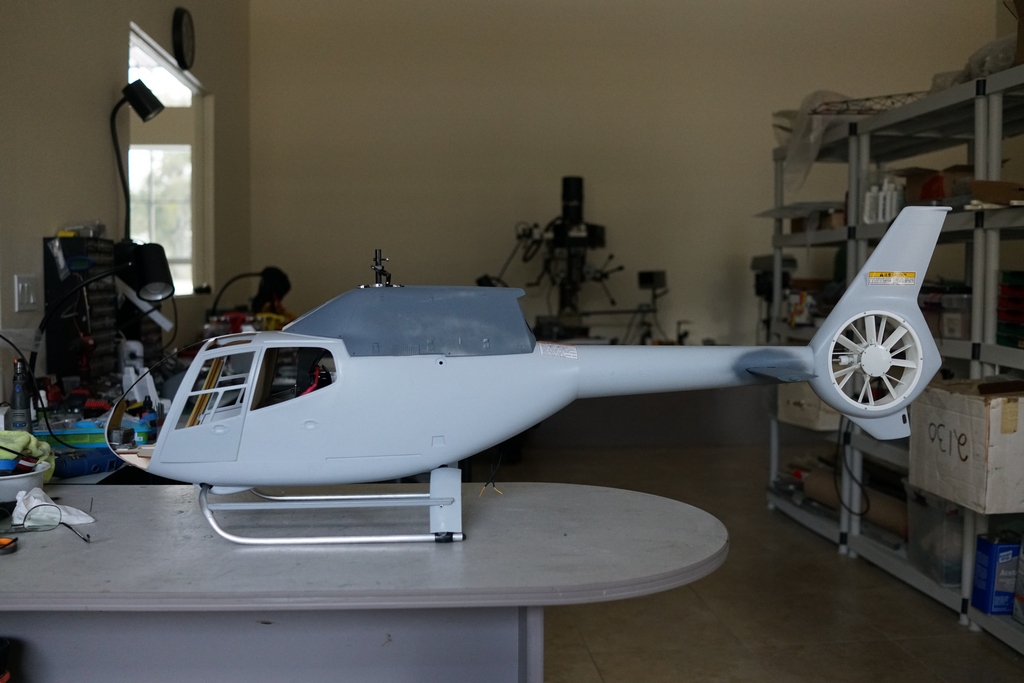
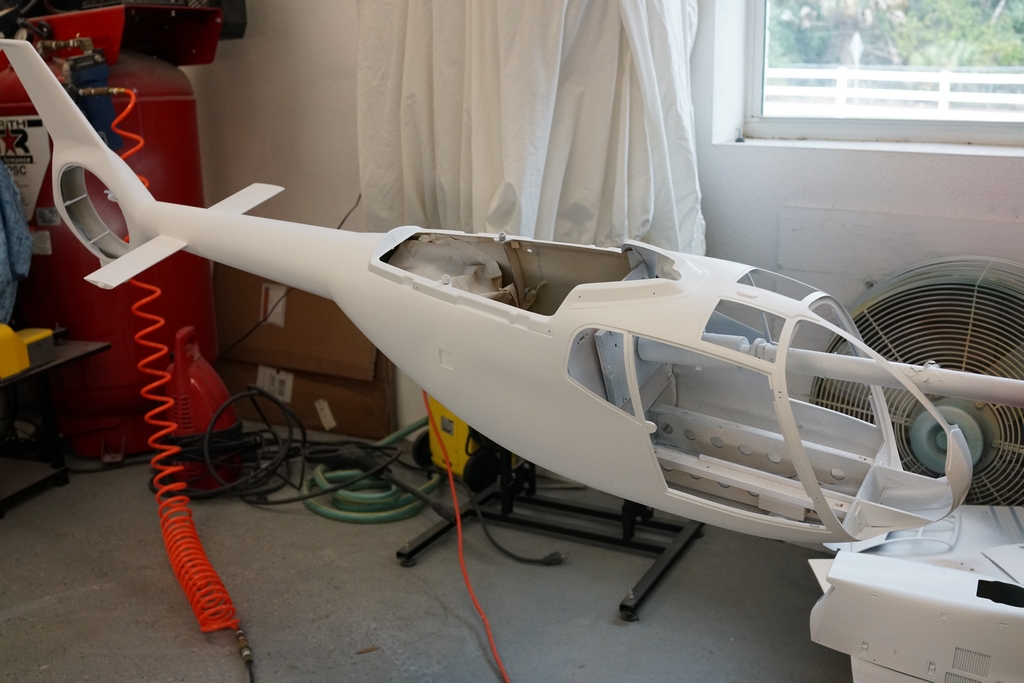
Time to start on the body and here it is sitting on the landing gear. Nothing special about the build, just follow the instructions. Landing gear spacing is not important right now as it all has to come apart for paint.
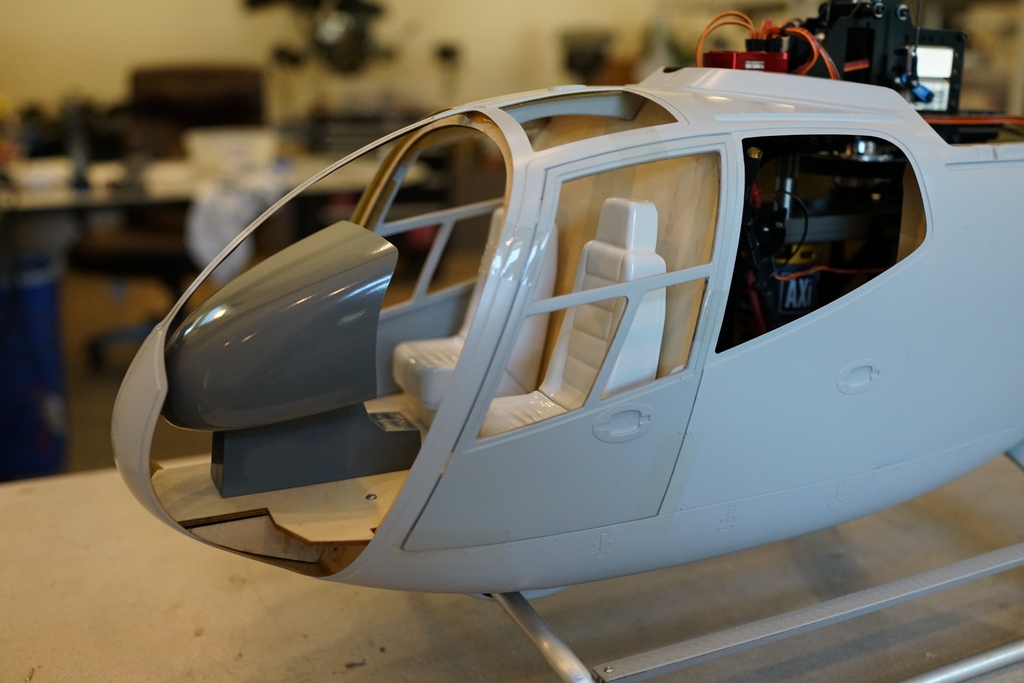
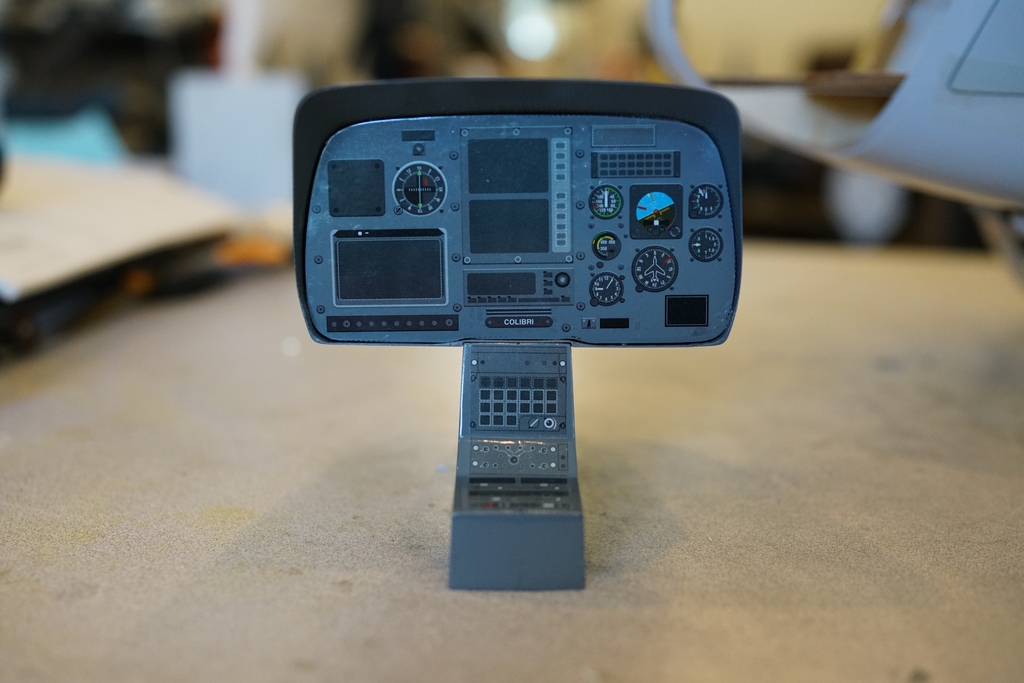
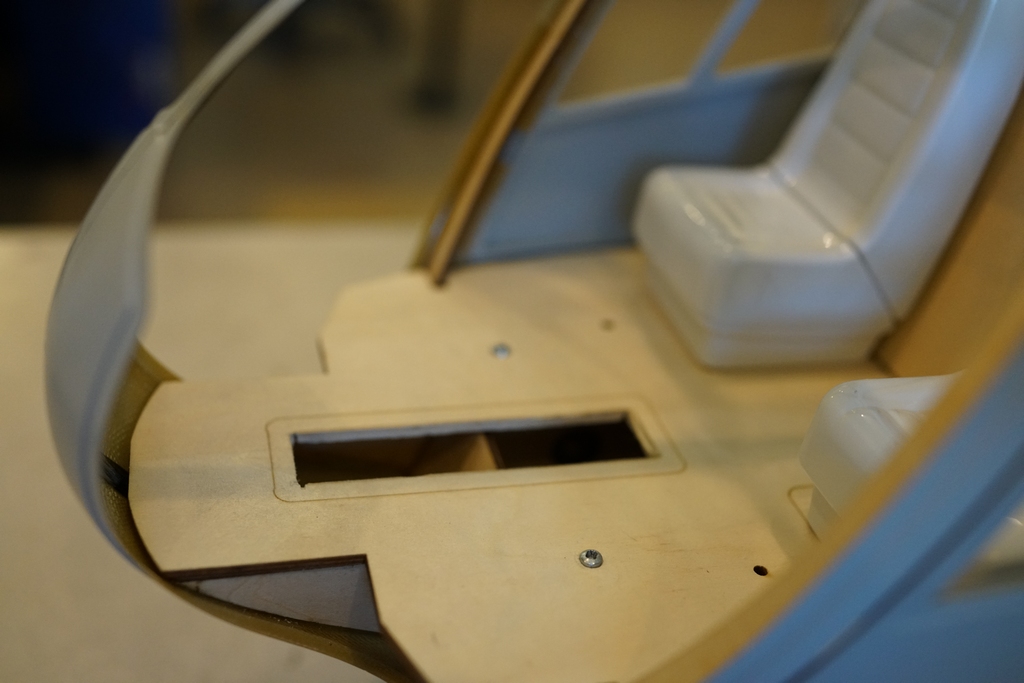
For some reason Hirobo want the cabin built up first, the reason became clear at the end, but for now I made the floor and back bulkhead, then the seats and I assembled the instrument panel.
A hole had to be cut in the floor for the batteries and ballast weight. 1984 design, but I cut it anyway, but I dont see me stuffing any lipos in there
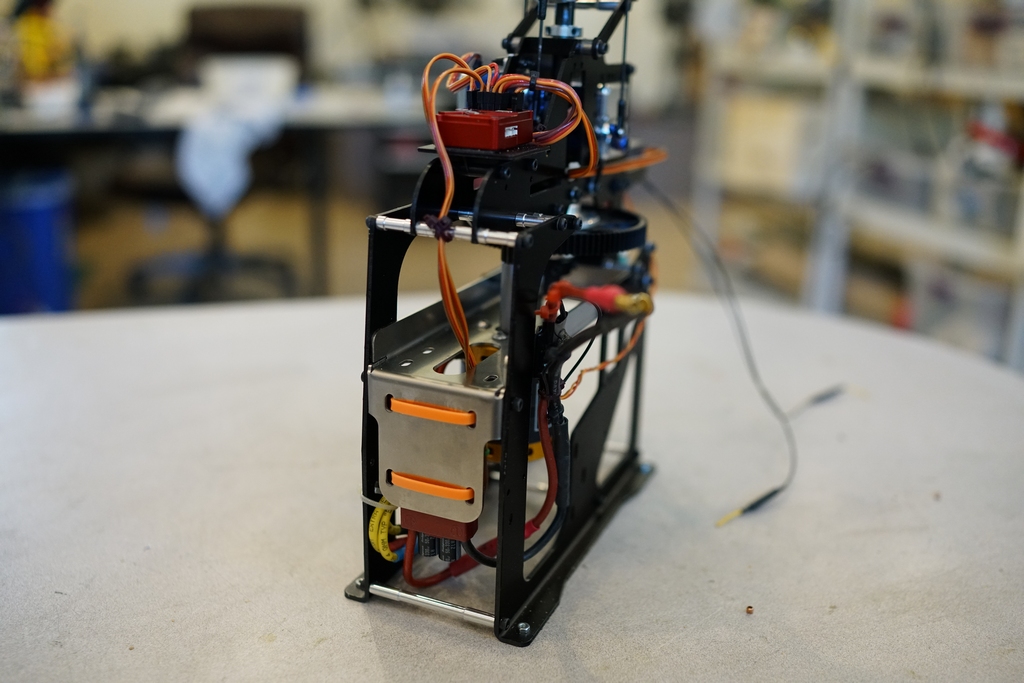
I moved the ESC to give me a little room to get some batteries in between the mechanics and the back of the rear bulkhead. While I was at it I fitted an extension to the negative lead so it came out by the positive lead, and added a MUI 75 Jeti 75 Amp power monitor. I hope it will be enough as the manual for the electric conversion asks for an 80 Amp minimum ESC
Fitting the fenestron required the mechanics in there as well for alignment and while I was gluing the torque tube in position I glued the horizontal stab and its cover in as well. They both have to be aligned so they dont touch.
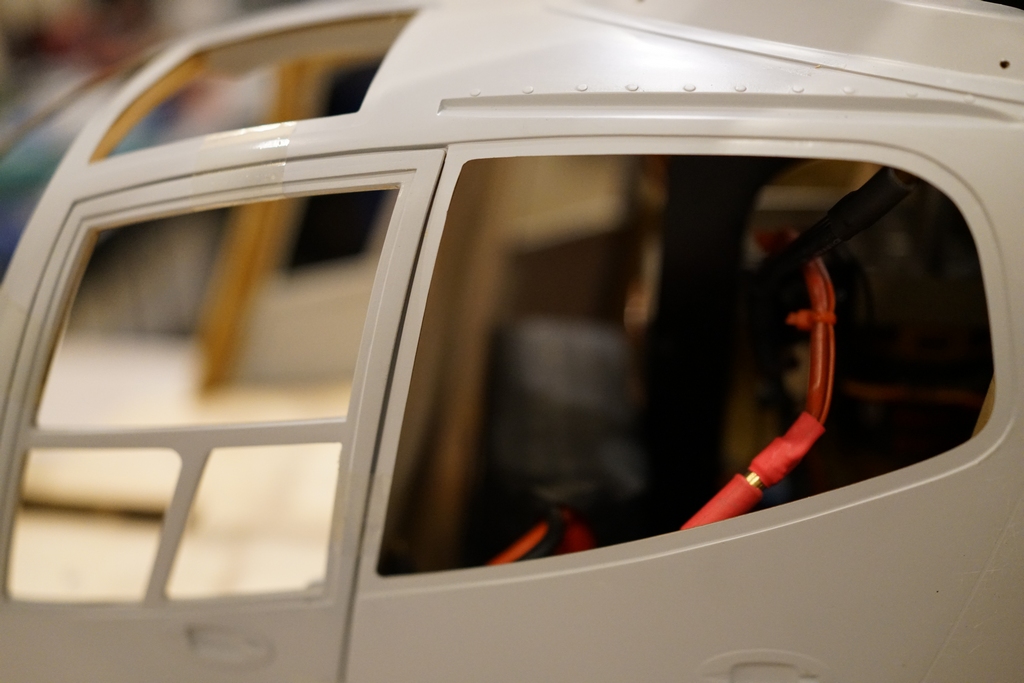
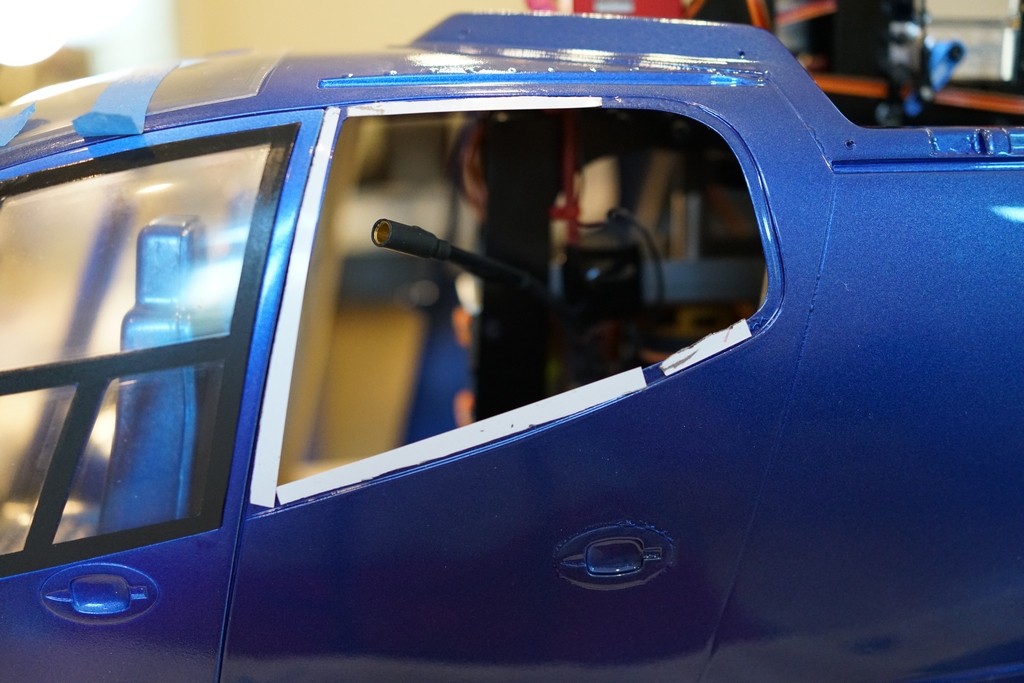
I think the batteries will be going in through this window. Obviously Hirobo made no provision for this as it is a gasser. This is why I arranged the ESC cables to come out at the top of the chassis
Tail servo fitted. Unfortunately the couplers which solder to the pushrod and screw onto the ball links were missing, so I had to make my own. Not easy drilling a 1.6mm hole in a 2mm screw. The screw was one of those which was used to couple 2 ball links together closely on the flybar model.
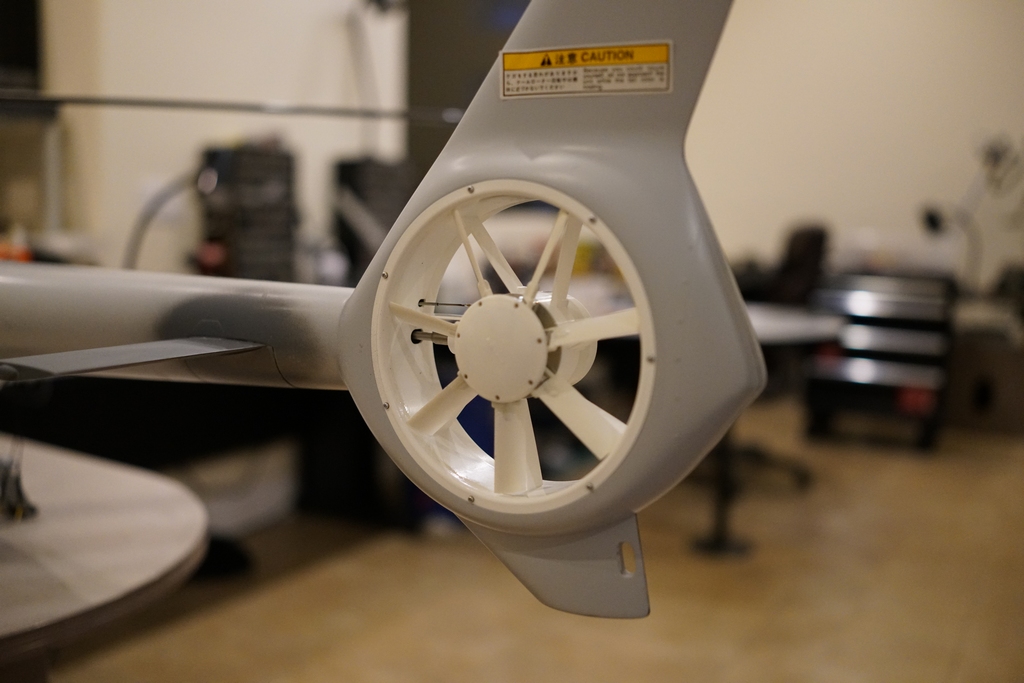
Fenestron all coupled up and you can see the massive throw available. Turns out to be way over sensitive on the rudder. Much better than not having enough.
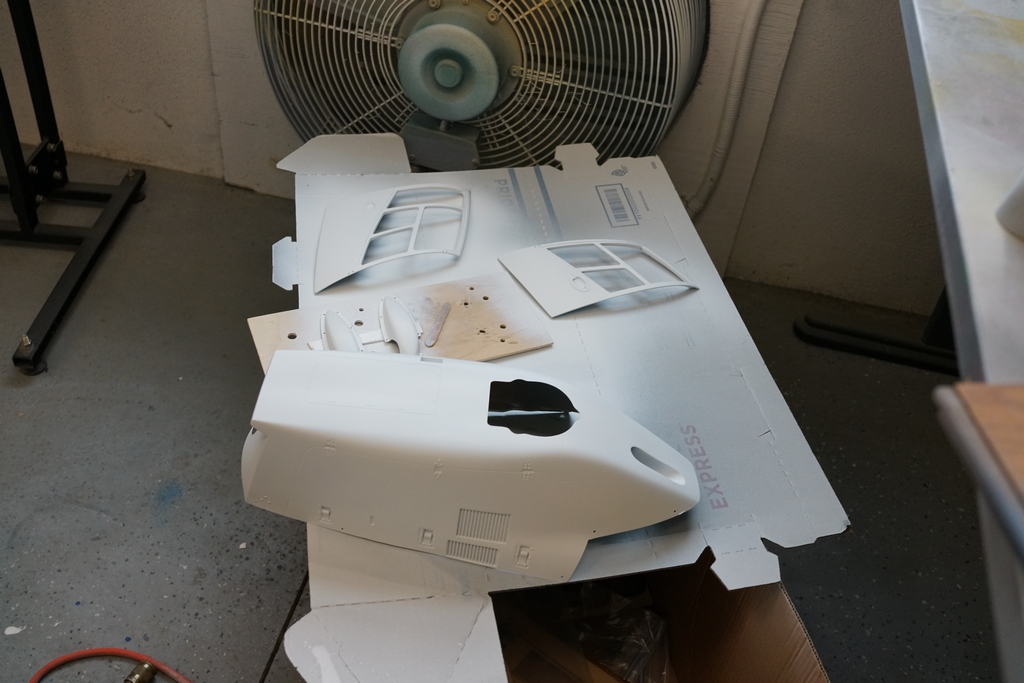
Now comes the nasty bit. Filling and sanding. I started with the doghouse and the horizontal stabs. All that primer needed to be sanded off once I had a good surface
and into the spraybooth. Several thin coats of white basecoat were needed.
The fuselage was mounted on my infamous rotary spit which turns at a heady 2rpm giving me plenty of time to check coverage.
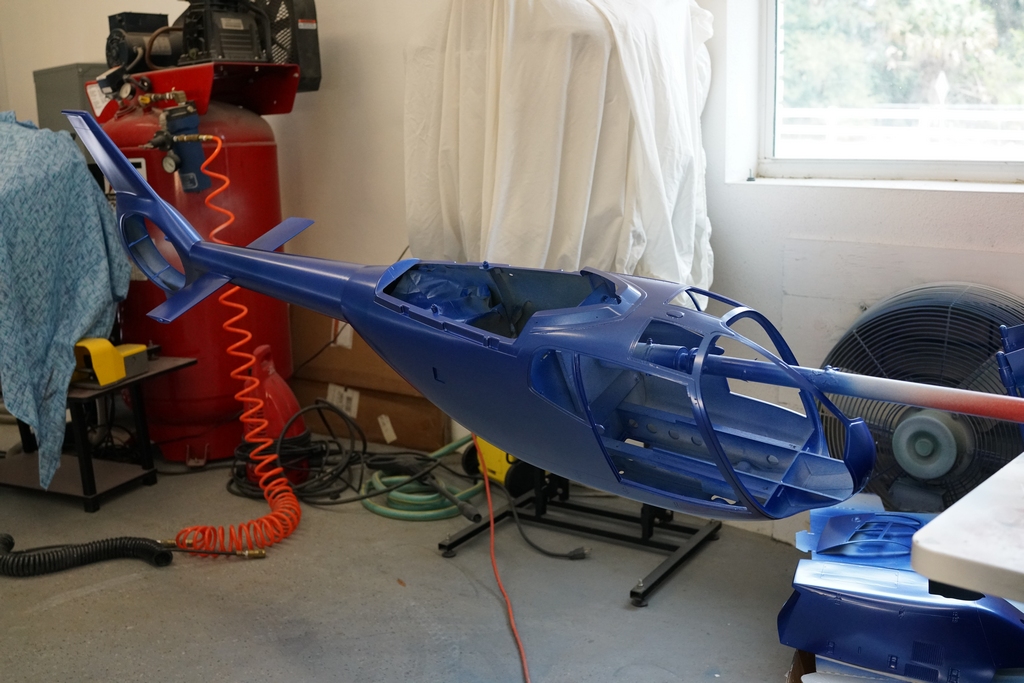
And all of a sudden the color coat was on.
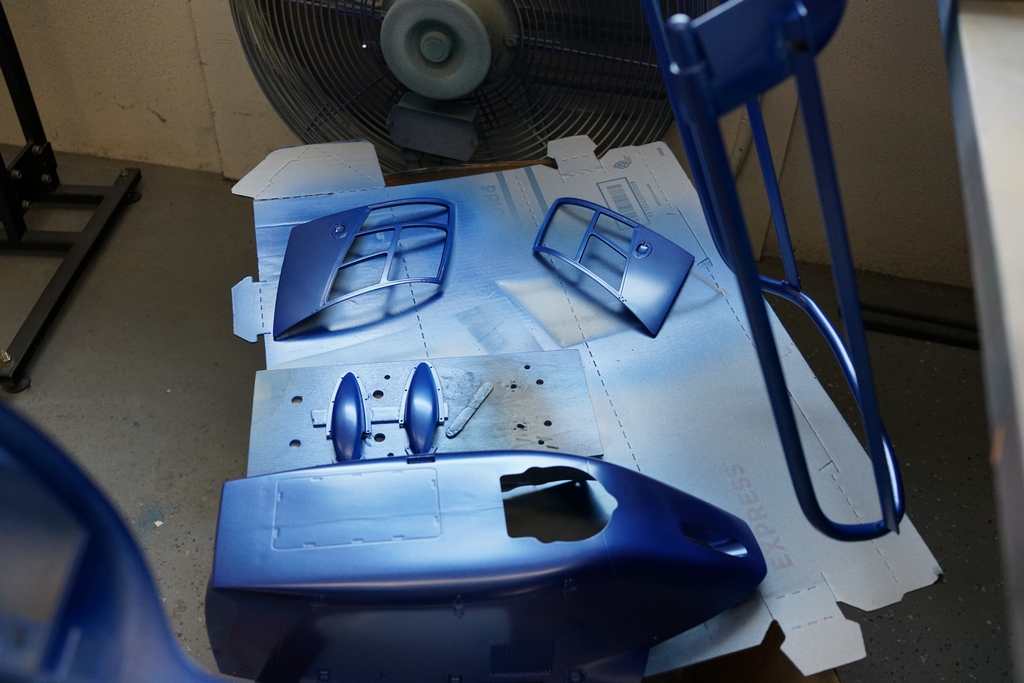
Unfortunately I was too far away from the doors and did not see what a bad job I had done. They were resprayed later and are now perfect
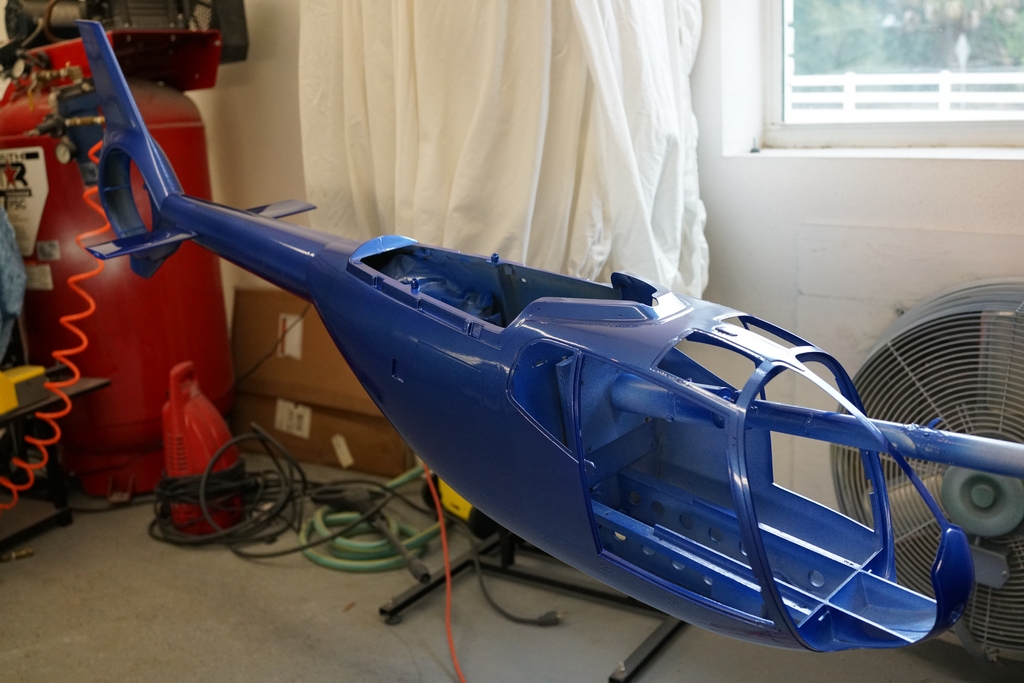
And the next day on goes the clear coat, well one of many. Clearcoats had to be thin so low solid clear was used, and to get the shine, many light coats were sprayed with one heavy finish coat. A high solid clearcoat would look all wrong on a small model like this as it would obscure all the details in the fuselage.
I wanted to put the batteries in through the window opening but not leave the window open. The white strips are thin pieces of self adhesive strips of steel. The rear has none so I can get a finger nail under the window to lift it off easily.
The window frames have to be painted and this is the front door finished. The rear window is in place and you can see the 1mm thick adhesive rubber magnets fitted round the outside.
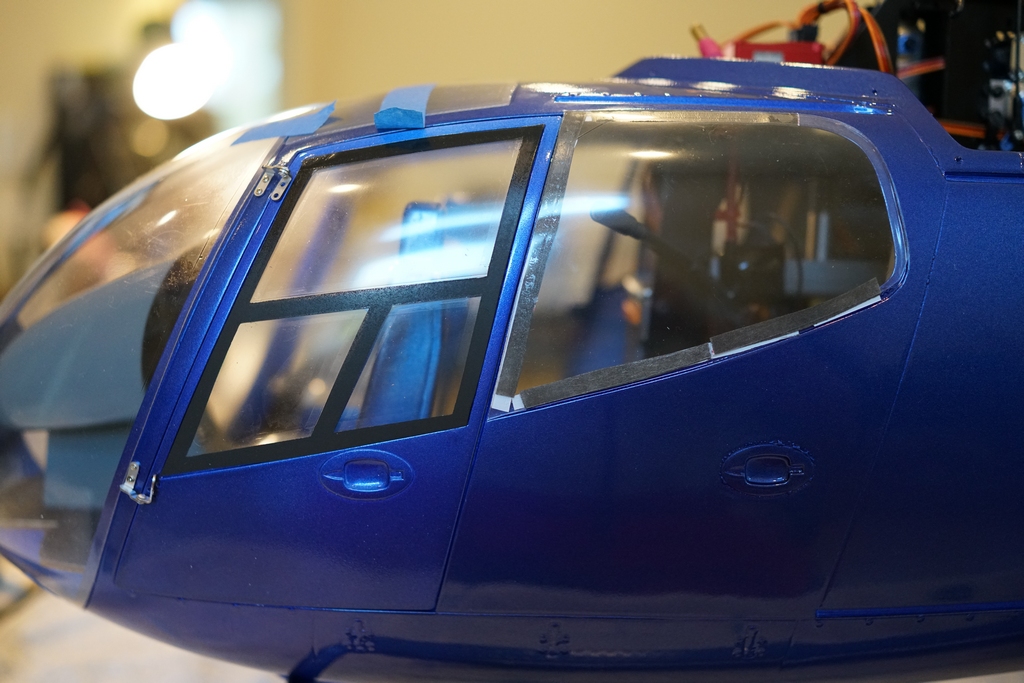
Once the rear window frame is painted the magnets disappear...almost, and the window is held on very tightly.
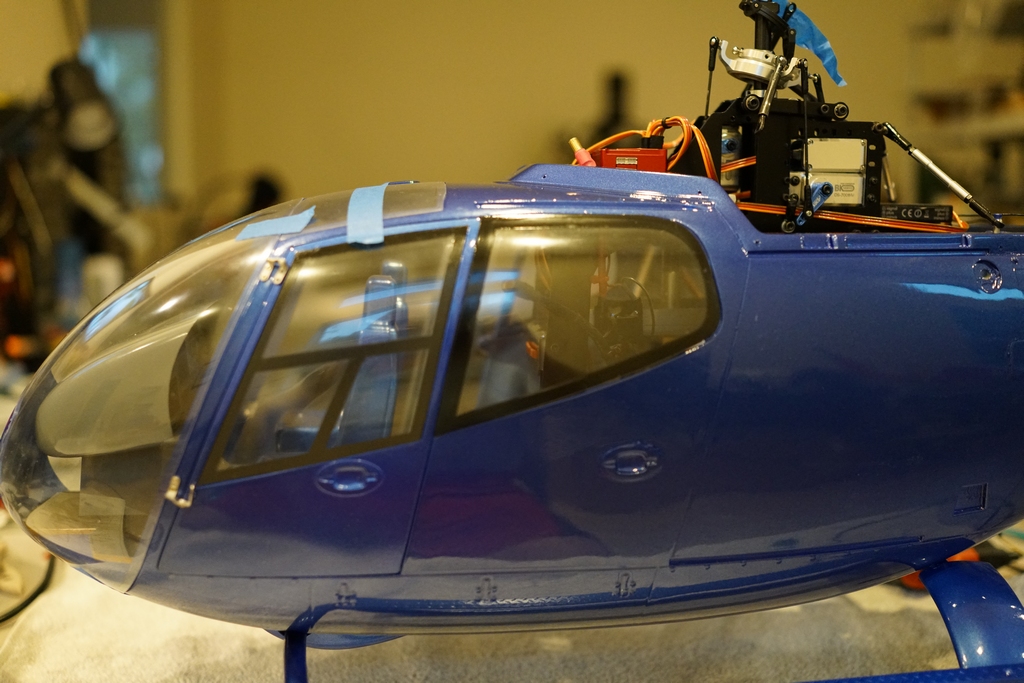
Front window glued in and a couple of decals fitted. Just one more decal, the tail boom antennas and some door handles to do
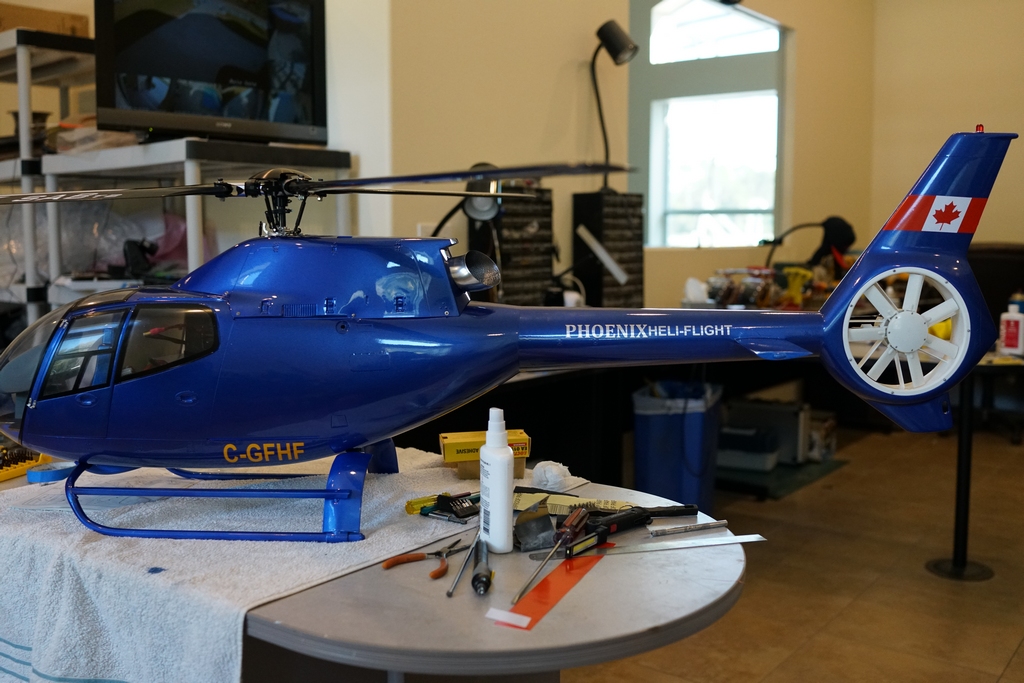
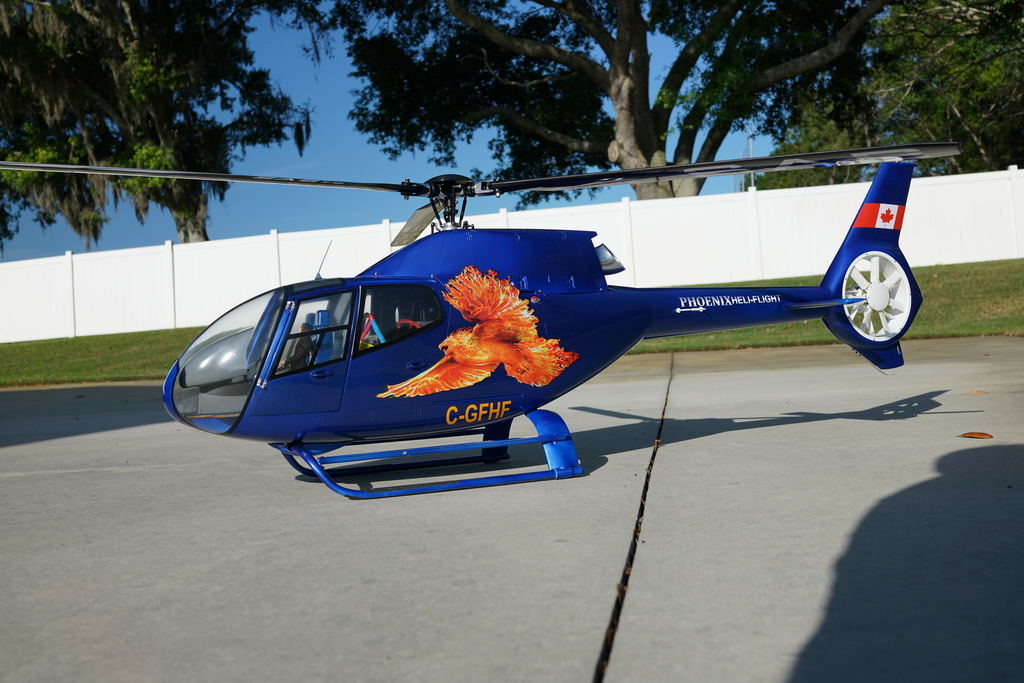
The machine I am making a model of, is not right. They put a dragon on the side instead of a phoenix bird. So I decided to do their scheme my way, which is why its blue not black. I found a picture of a phoenix on the net which I could use as a basis for what I wanted so I went to work with Corel Draw and then fed the result into my aging PC-12 printer cutter. It nearly fell on the the floor laughing at what I wanted and then threw a kniption fit tearing up ribbons and printing a real mess, so I sent it off to Callie. She threw it into her $12000 color printer cutter and and its superb.