After a 2 week break for Christmas and a week fixing and maintaining other helicopters, I am back at work. The first thing to do was to alter the servo arm on the tail rotor. The tail as very twitchy and the ATV's on the gyro were very low. This meant the arm was too long and as I intended to change the arms on the rest of the helicopter to metal ones, I put a metal one on the tail servo as well. Getting at it was a nightmare as it is inside the tailboom, however, there is a trick.
The way to get at the screw which clamps the servo in place is to use a 1/4" hex drive screwdriver bit for an electric screwdriver. This is turned by a ratchet wrench and you can get one or two clicks each try if you hold the end of the bit into the screw.
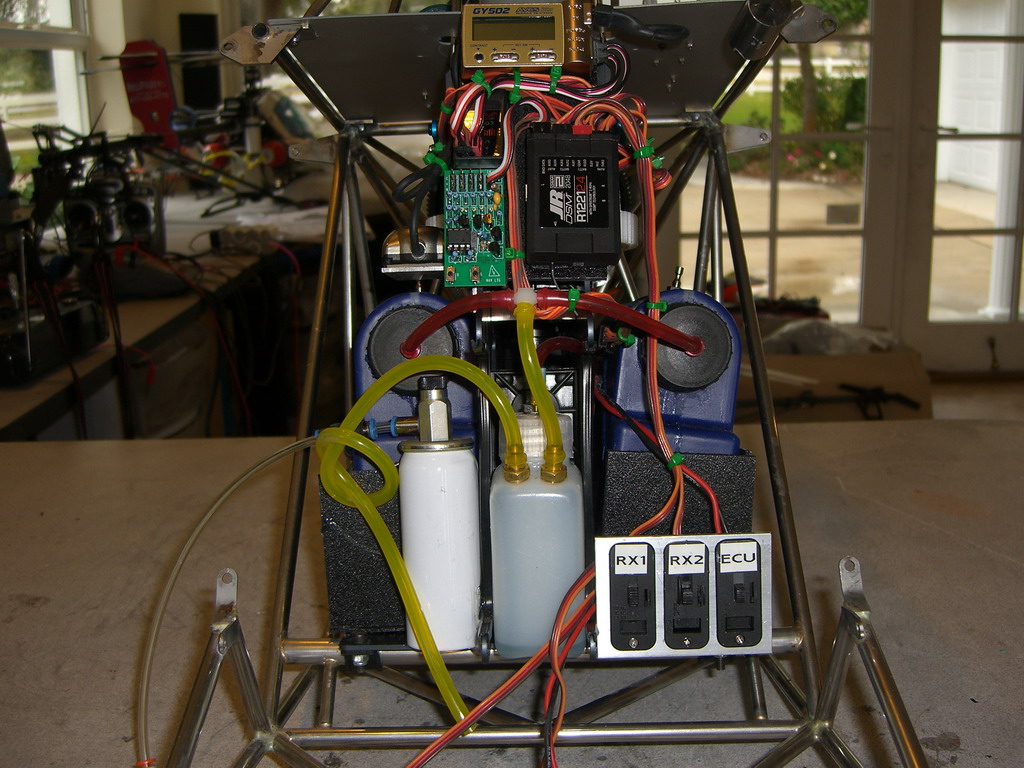
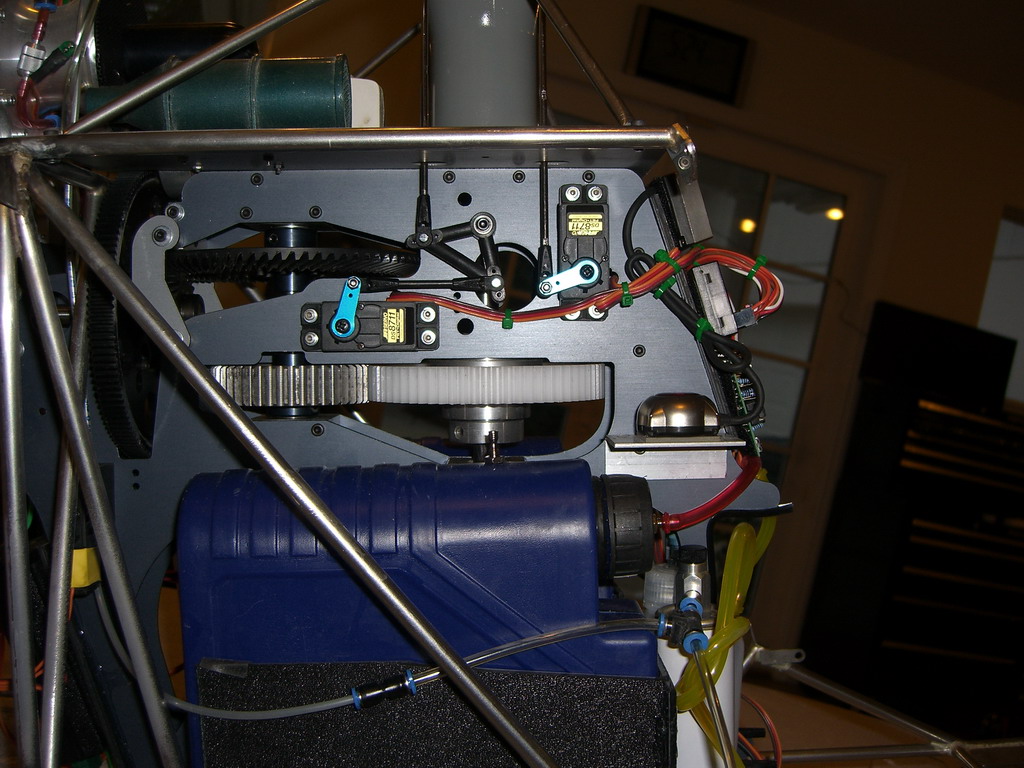
Then it was the mechanics turn for some work. First I rewired the Rx and tidied up all the wiring. I machined up a switch block for the 3 switches and mounted that on the bottom of the mechanics. It should be easy to access through the sliding door.
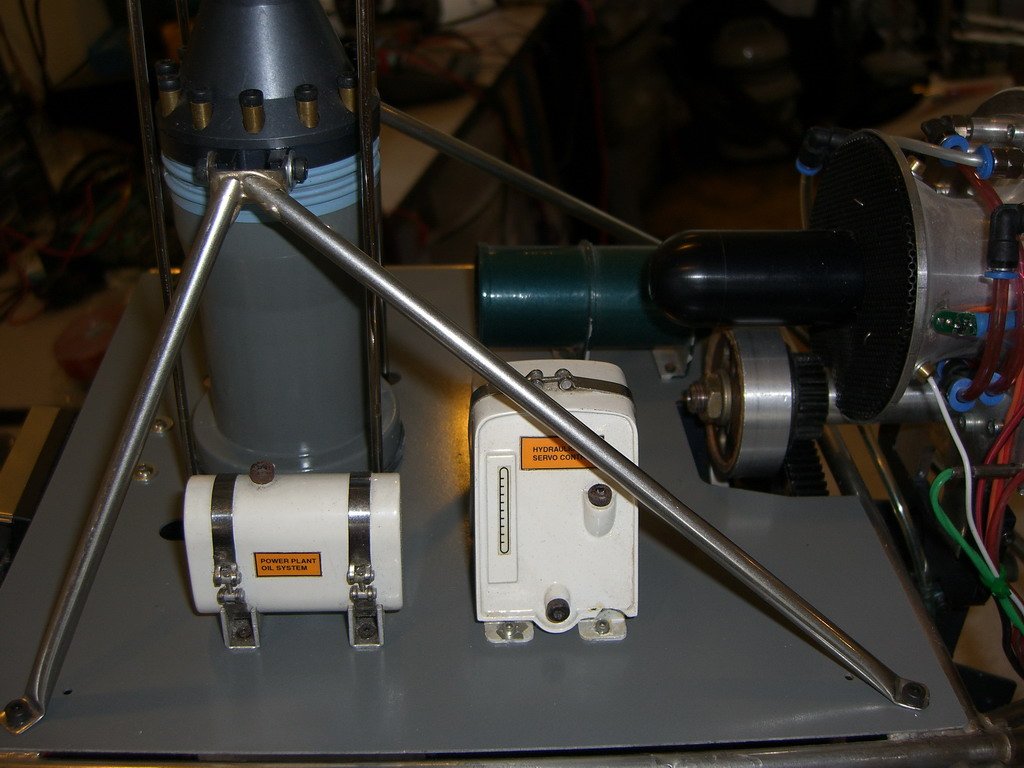
Then I pulled off the head and mast housing, and removed the top plate. The top plate was too big and was bending on the round frame members so that went into the sheet metal shear for a quick trim all round. Then it got a coat of primer and grey gloss. It will be very difficult to see this piece so I haven't spent too much time on it. Similarly the mast cover wanted to be the correct blue/grey colors and while I was at it I used some oil tanks and an air box from my Lama. As you will have to peer deep into the innards of this thing when it is finished, it was more for my own satisfaction than a real scale effort.
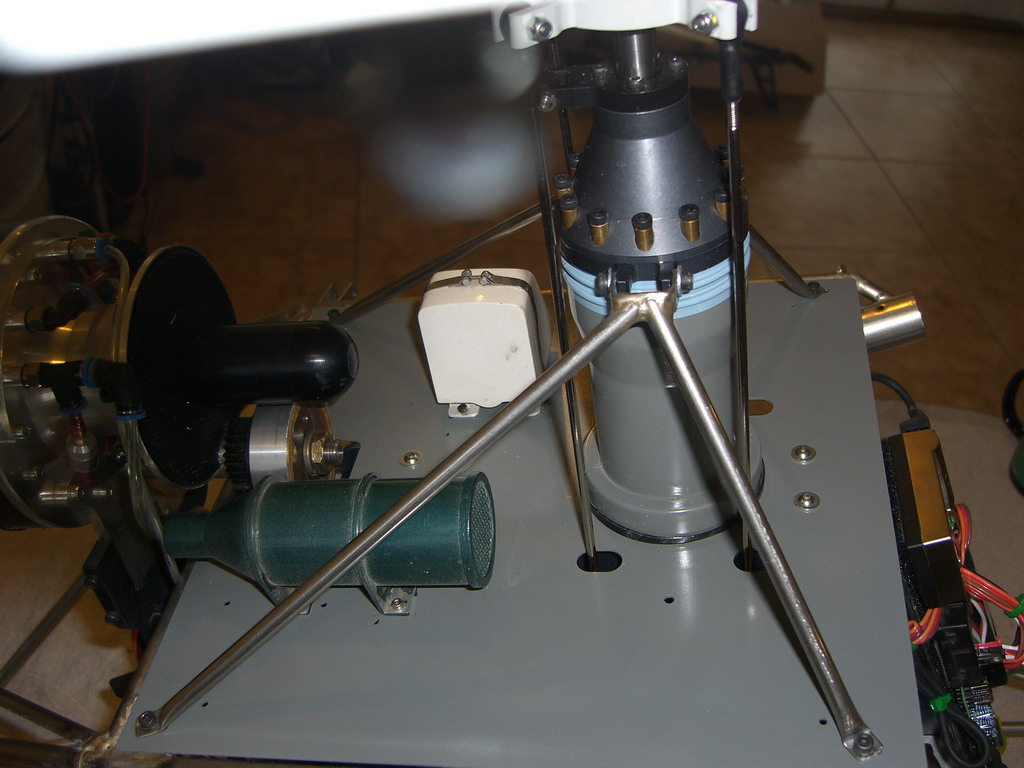
Finally, I replaced all of the plastic servo arms with metal ones, just for strength.
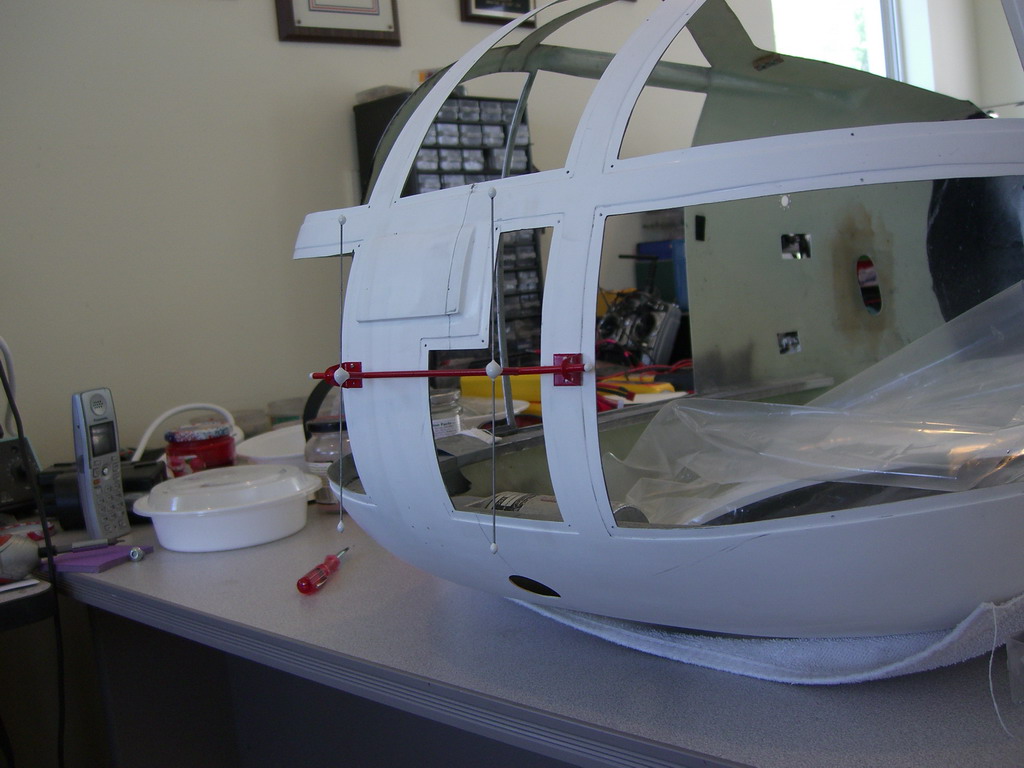
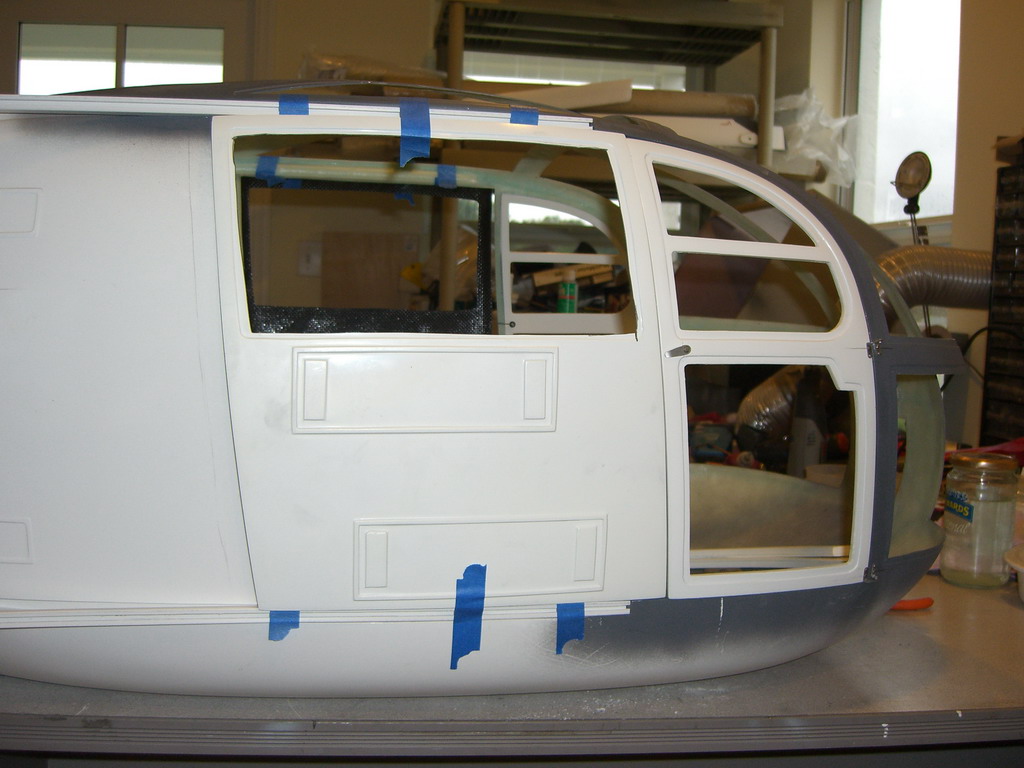
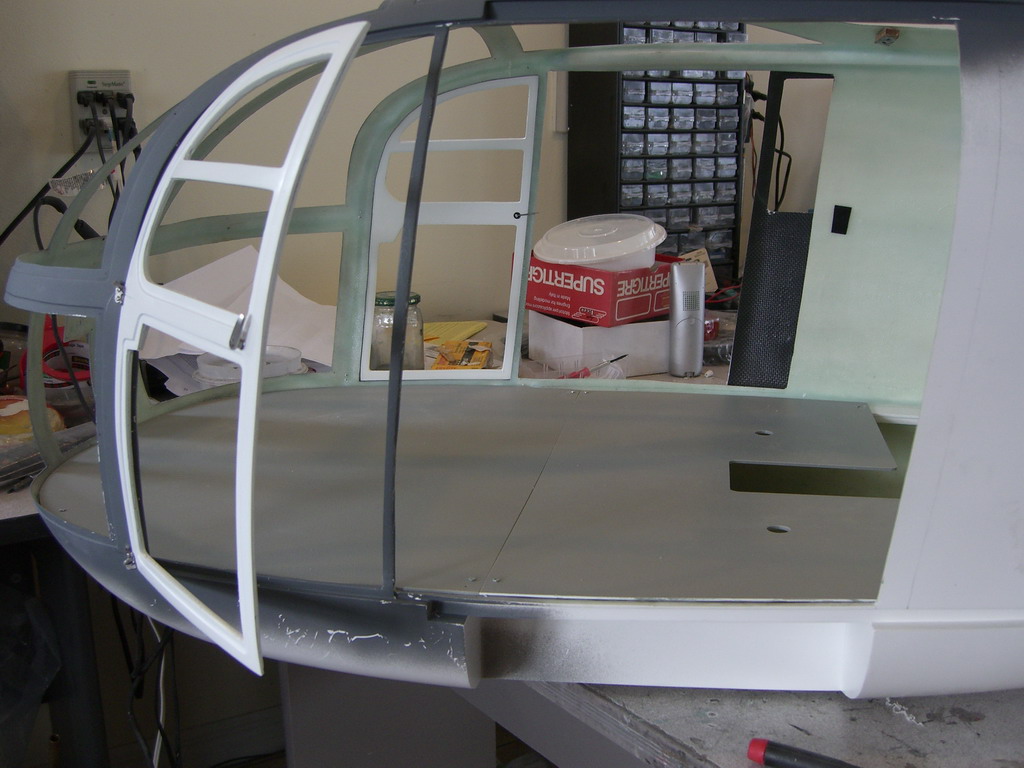
OK, on to the fuselage. The first job is to fit the doors. The fronts fitted perfectly and have a nice lining inside them which will make for a very nice picture when the doors are opened. However, Varios plastic hinges were all bent and the plastic door handles just didn't seem to be quite in keeping with this model, so I dug around in my junk box and found some nice metal offset hinges which are much more scale both in size and shape
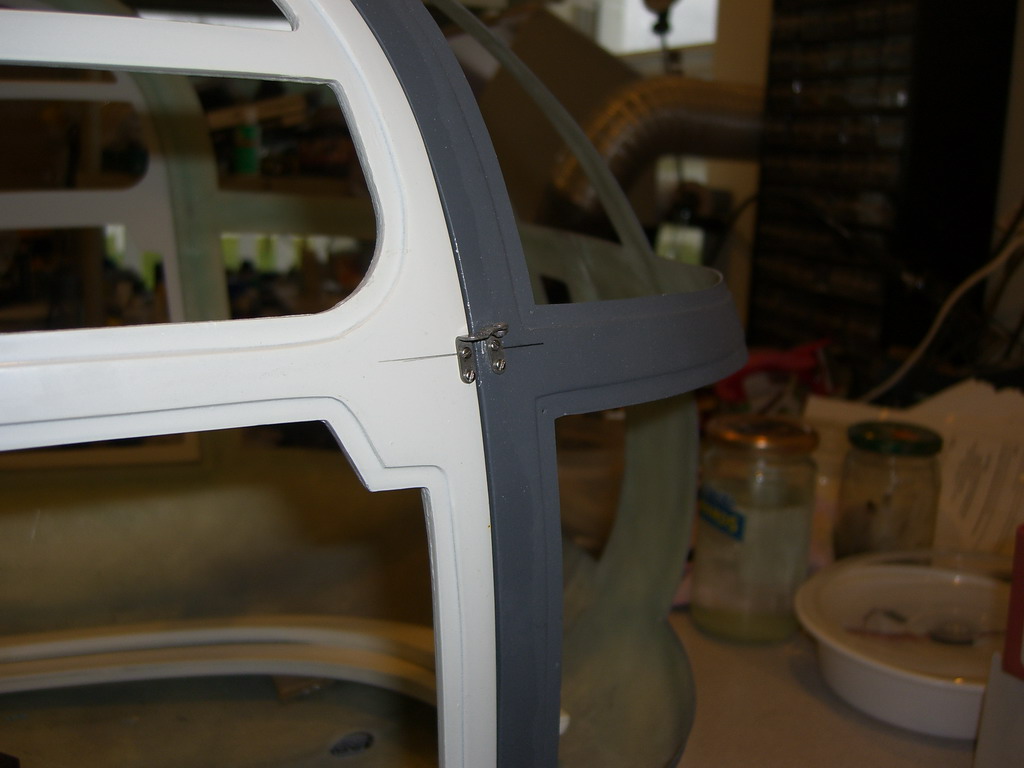
Then I found some door handles, which are a little on the small size, but I can only find one which is of the right size and getting another will take weeks. Ok, so I ordered one and it will arrive eventually and get fitted, but these will do for now.
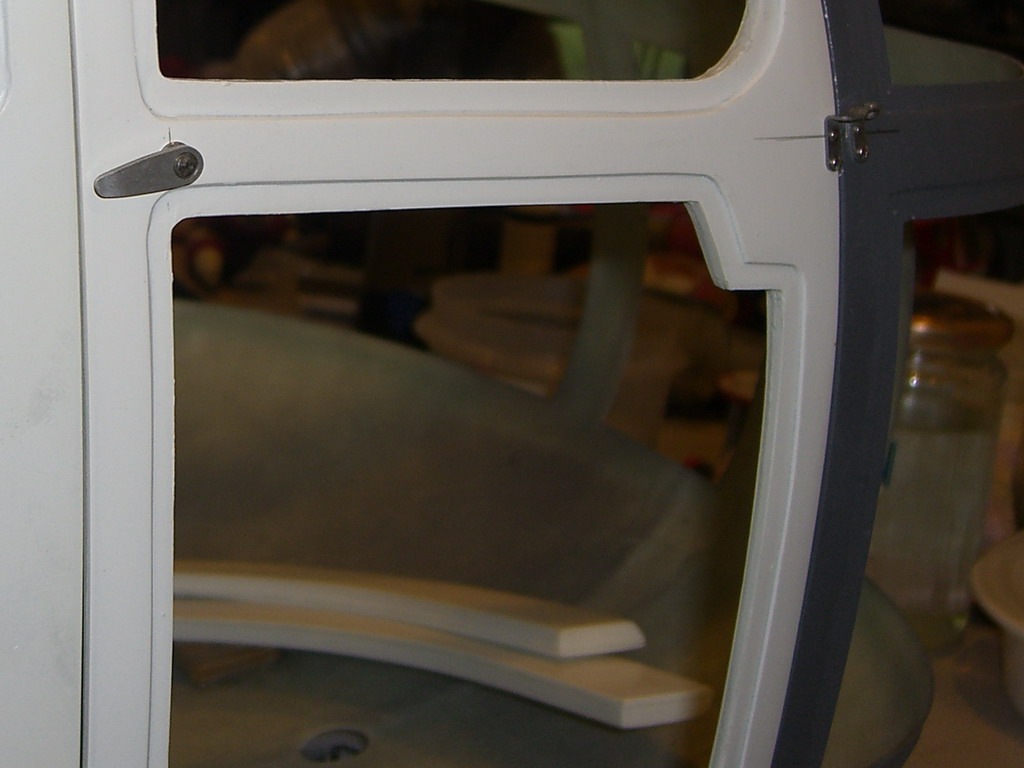
Not much to show for a days work, but I also checked into the fitting of the sliding doors. This side looks easy, but the other side has a problem, which I need to solve after a chat with Joe.
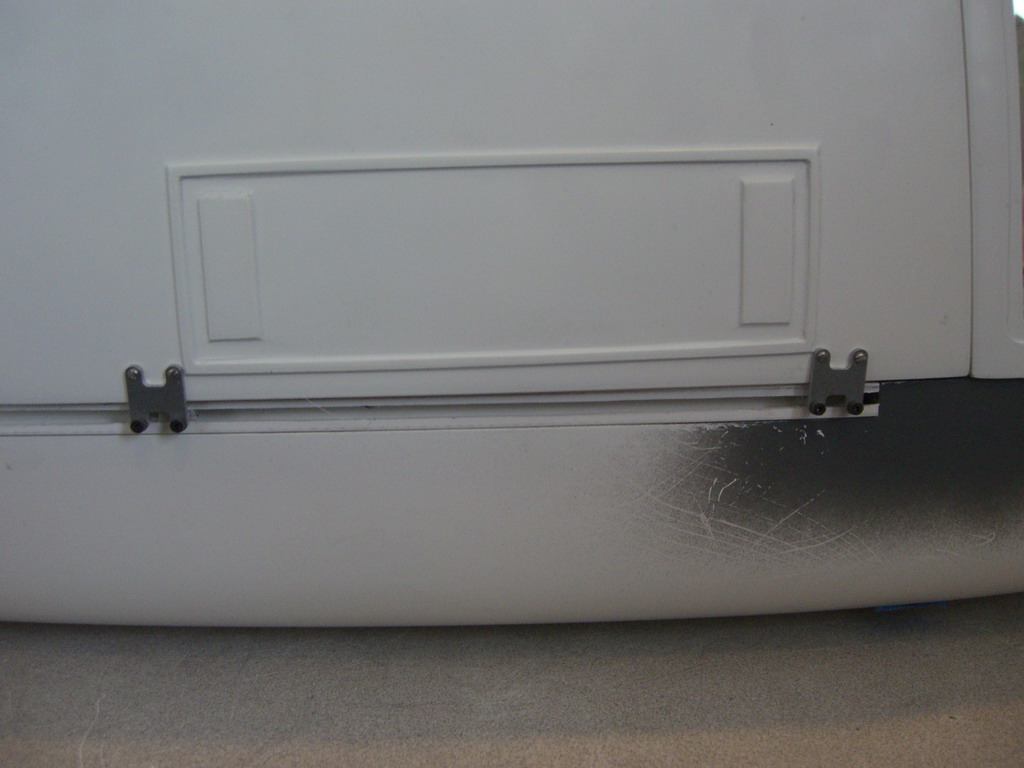
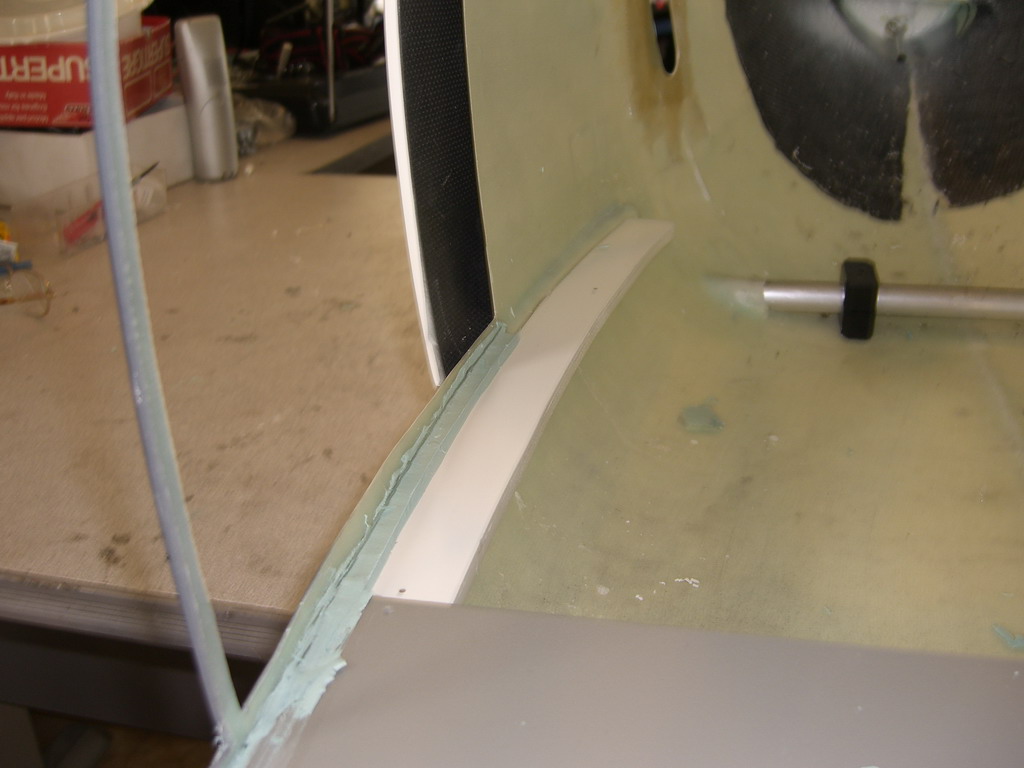
This is the door fitted. The bottom track is screwed in and the top one glued on. It took a while, but then I saw if I glued the bottom one in, I couldn't take the door off.
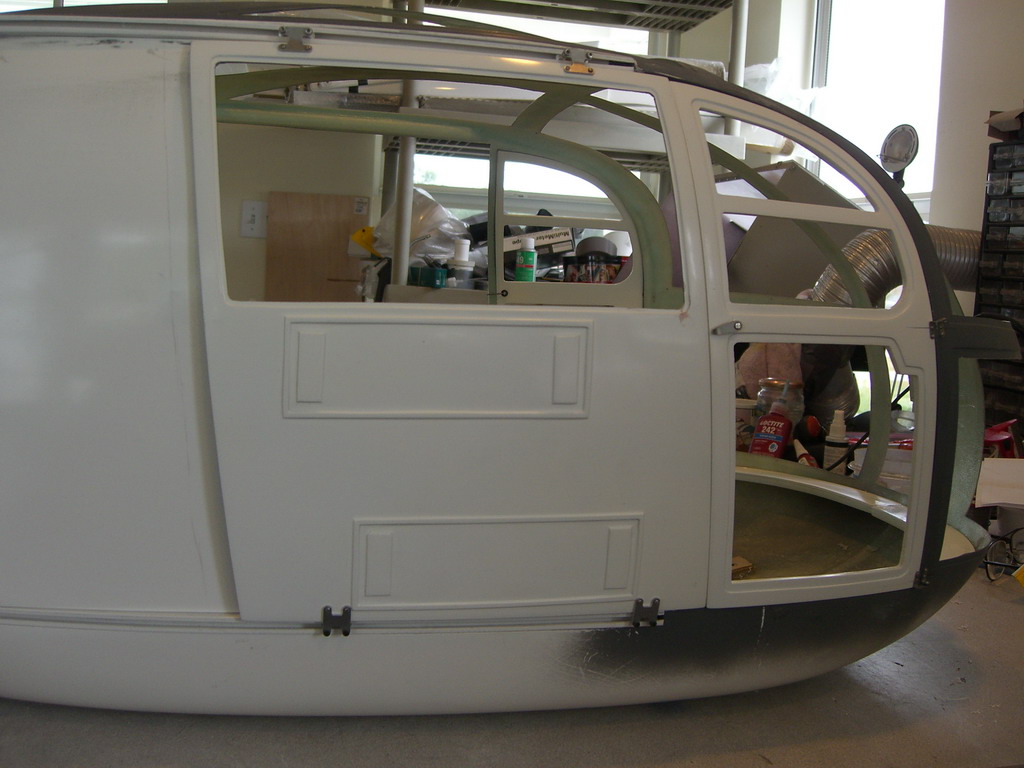
The runners are quite clever and deserve a mention. These brackets have been stamped out and two bent to align the top correctly and the other two left straight. The 2mm bolt goes through the bracket and then through a pop rivet which has no center rod. Then a 2mm locknut holds it all together. The head of the rivet is at the back and is the thing which stops the door coming off the tracks.
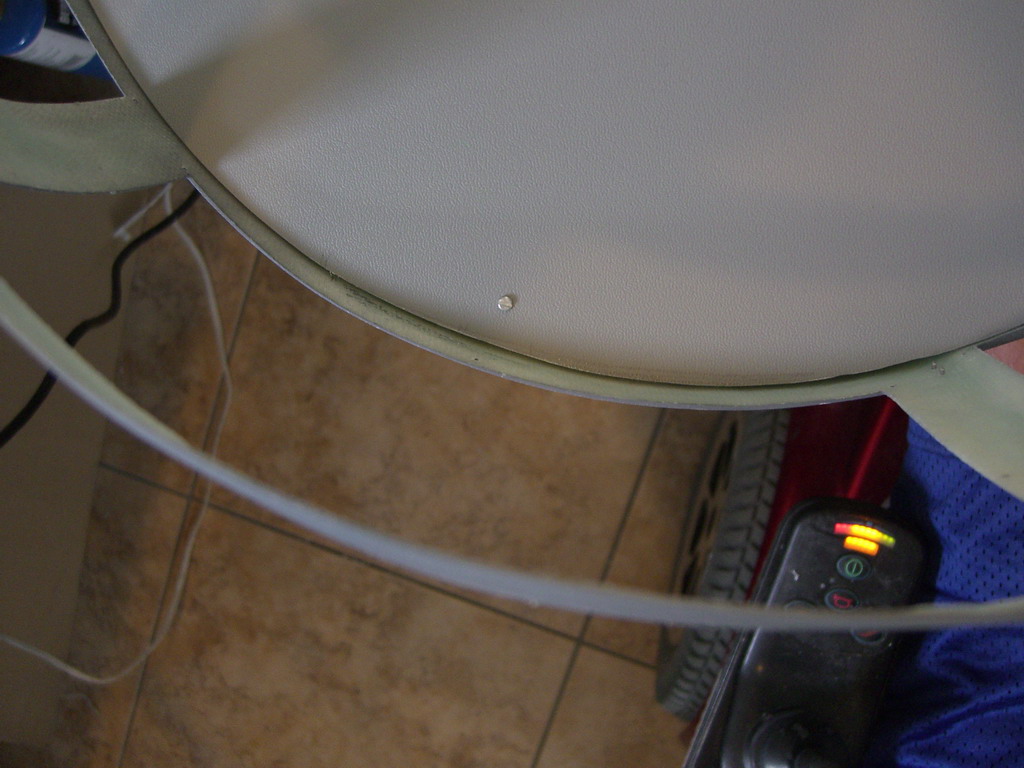
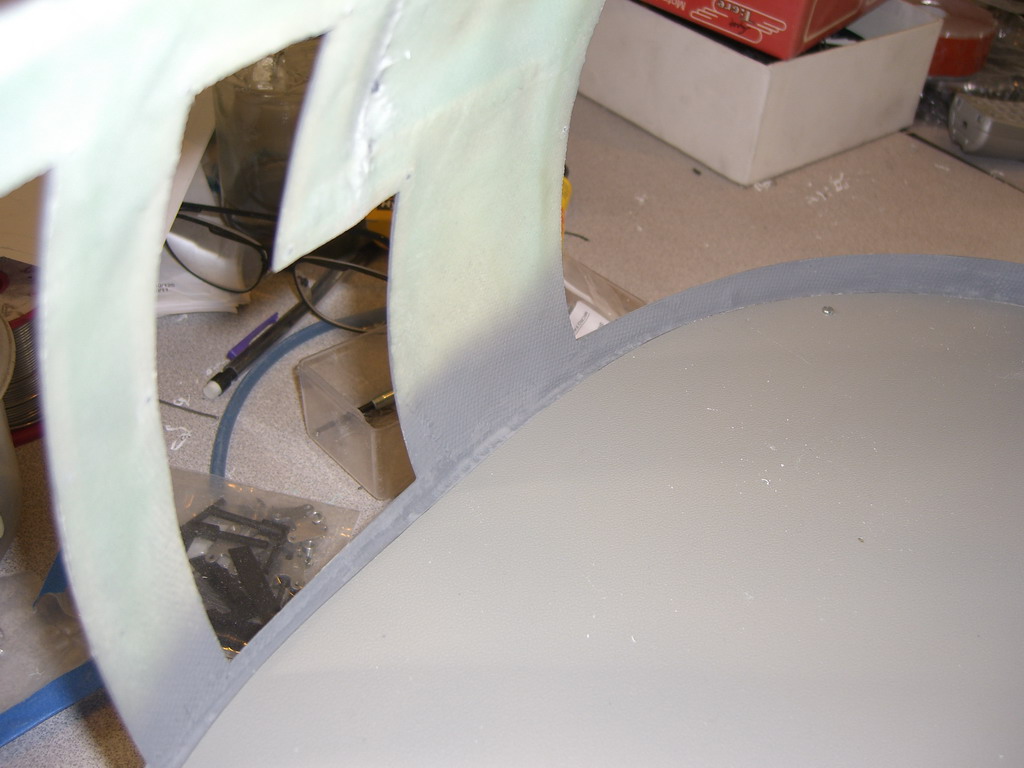
Next I glued the two hockey sticks in place. These are CF supports for the cabin floor. I used PFM for this as it is so easy to clean up if you make a mess with it and I knew aligning these two and keeping them in place was going to be messy. Once the glue had dried, they were solid as rocks. The extra glue I had smudged all over the place came off with a rub of the finger and everything was nice and clean.
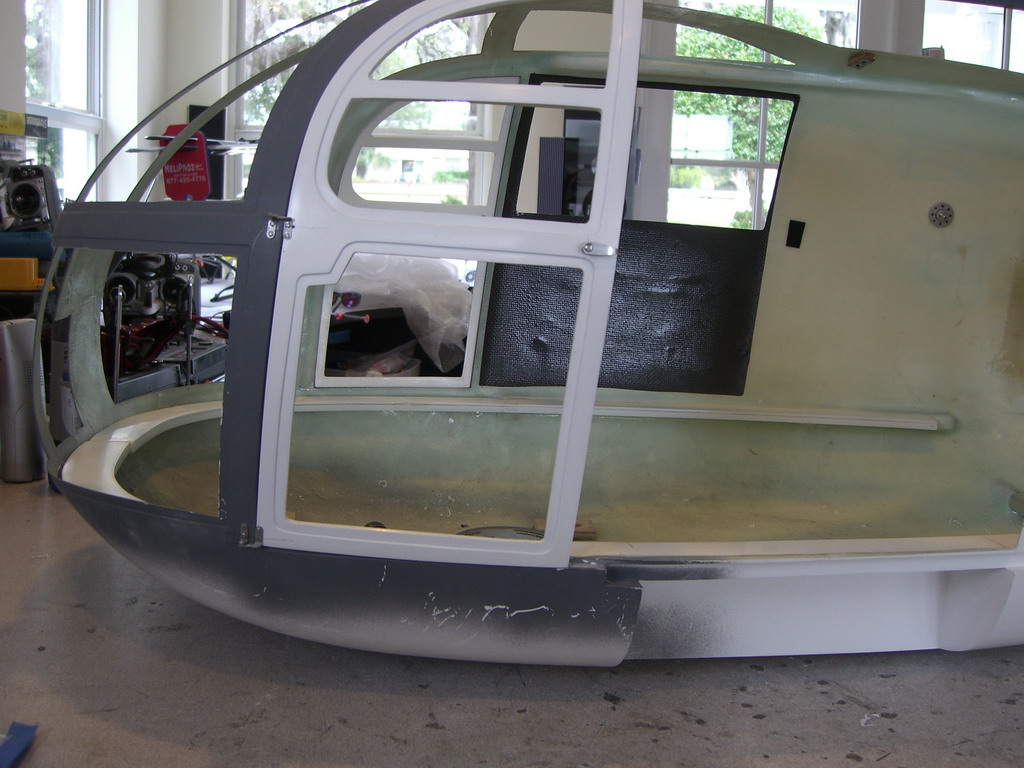
Then I fitted the floors. Its in 2 pieces and is not supported in the middle, which may change, but for now, getting them to fit roughly was a task in itself.
The problem is that although Vario make the outside of the fuselage perfect, there are all sorts of lumps and bumps on the inside. This was as good as it was going to fit.
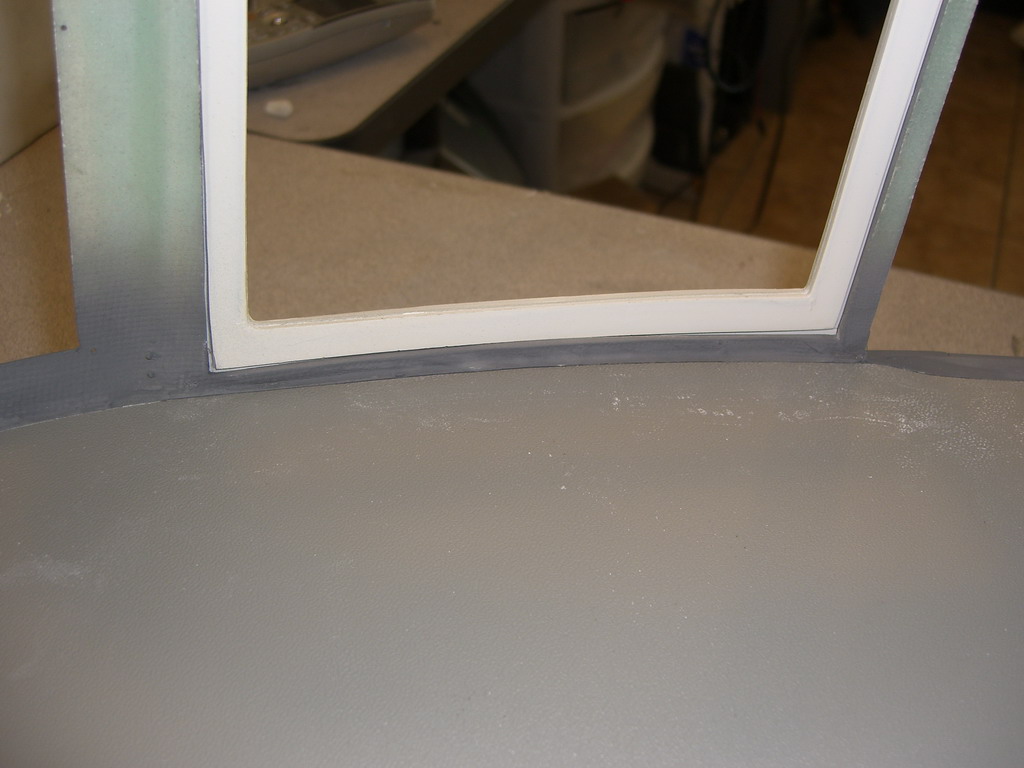
Then I got some scotch tape and went around the edge, so that I had the top and bottom covered. I put some packing tape over the top edge to keep it even cleaner and then I refitted the floors. I mixed up some Bondo and filled in the gap, using a credit card edge to keep the surface level and then I scraped as much off the inside of the fuse as I could before it set. I let it set up for an hour and then peeled away the packing tape taking a lot of the "oversprayed" Bondo with it. Then I carefully lifted the floors out, breaking the thin bond to the Scotch tape and leaving a nice edge.
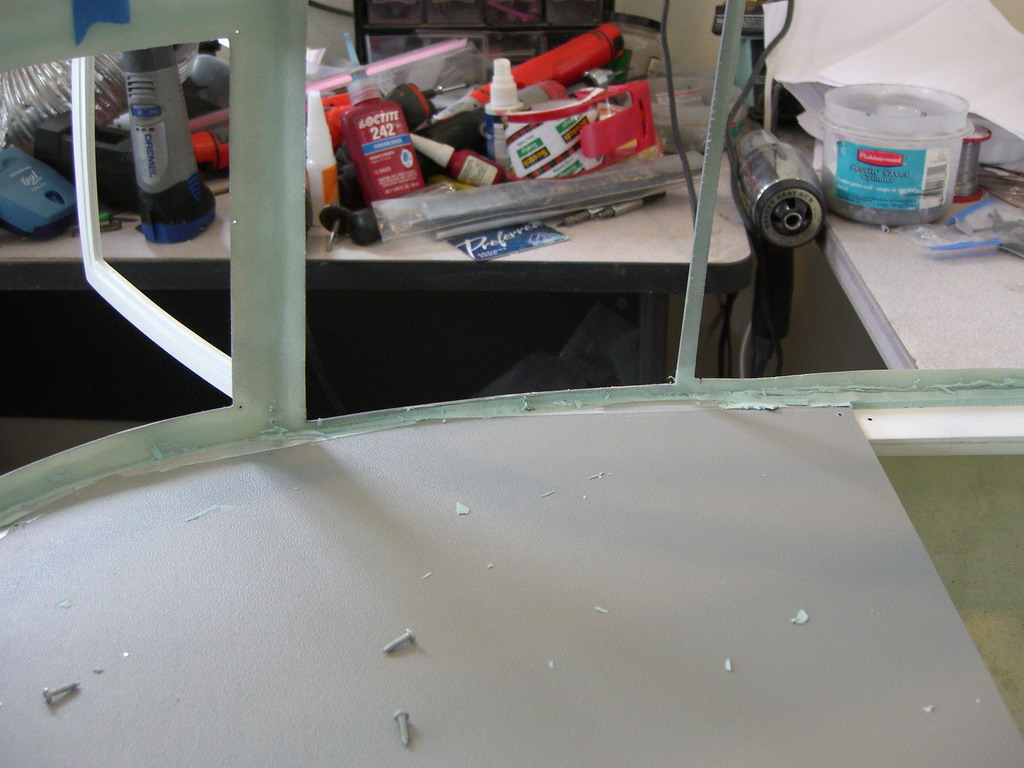
Then I peeled the Scotch tape off the floors and cleaned then up and gave the Bondo a quick sand and a squirt of primer. Here's how it turned out in several places
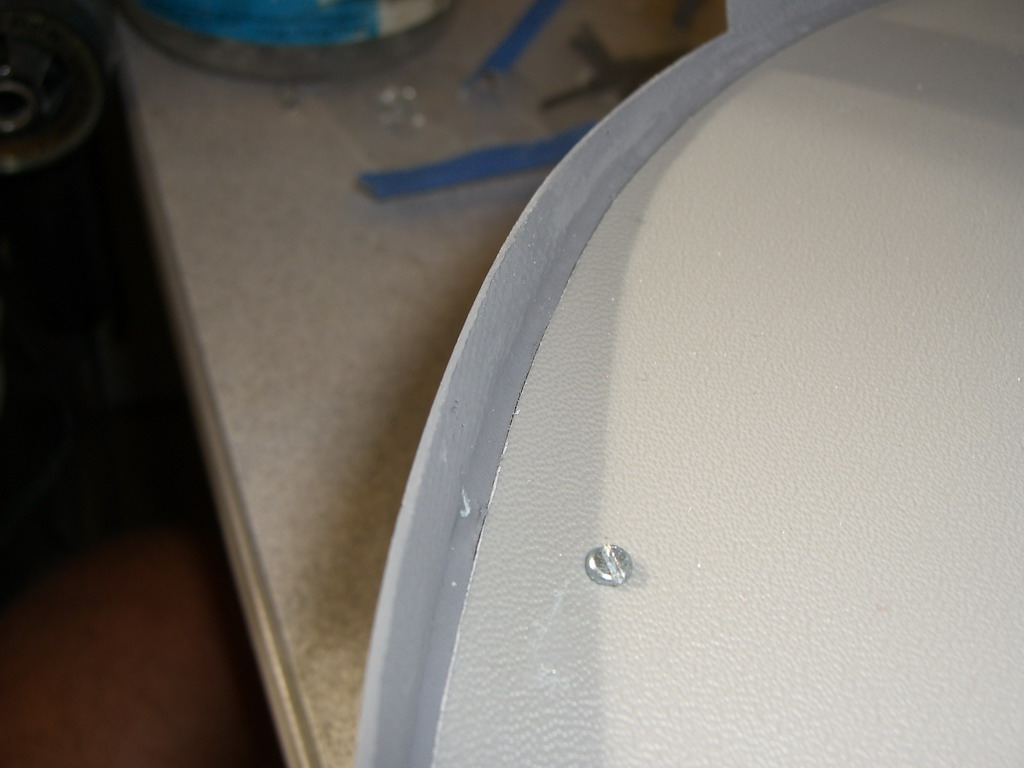
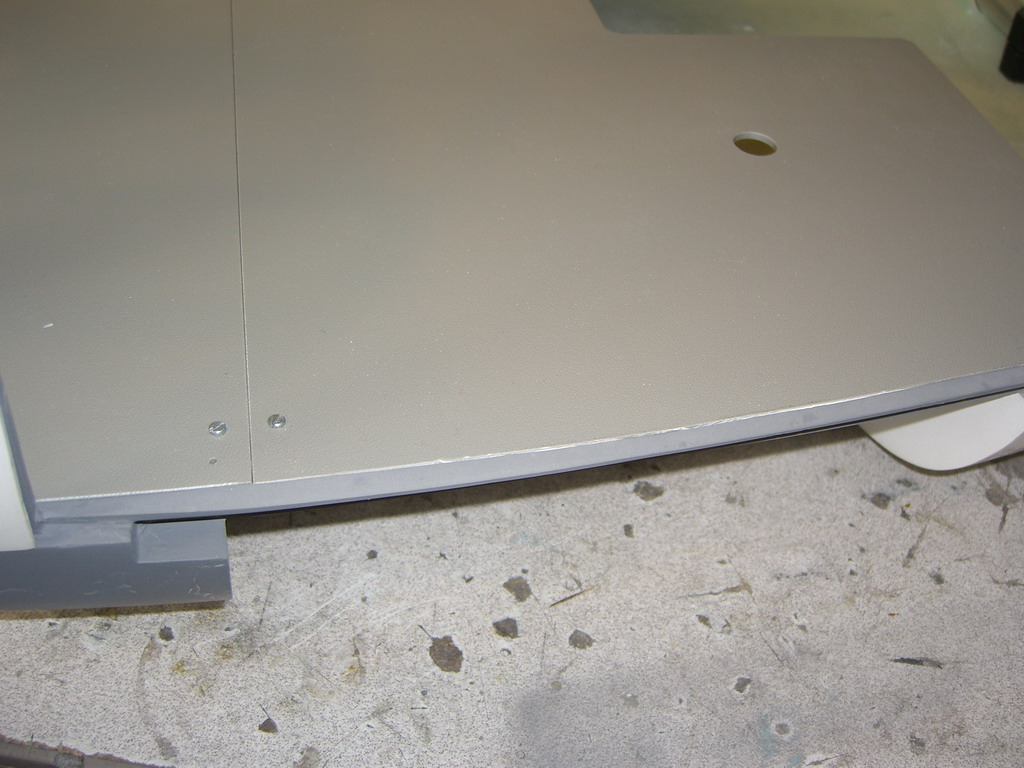
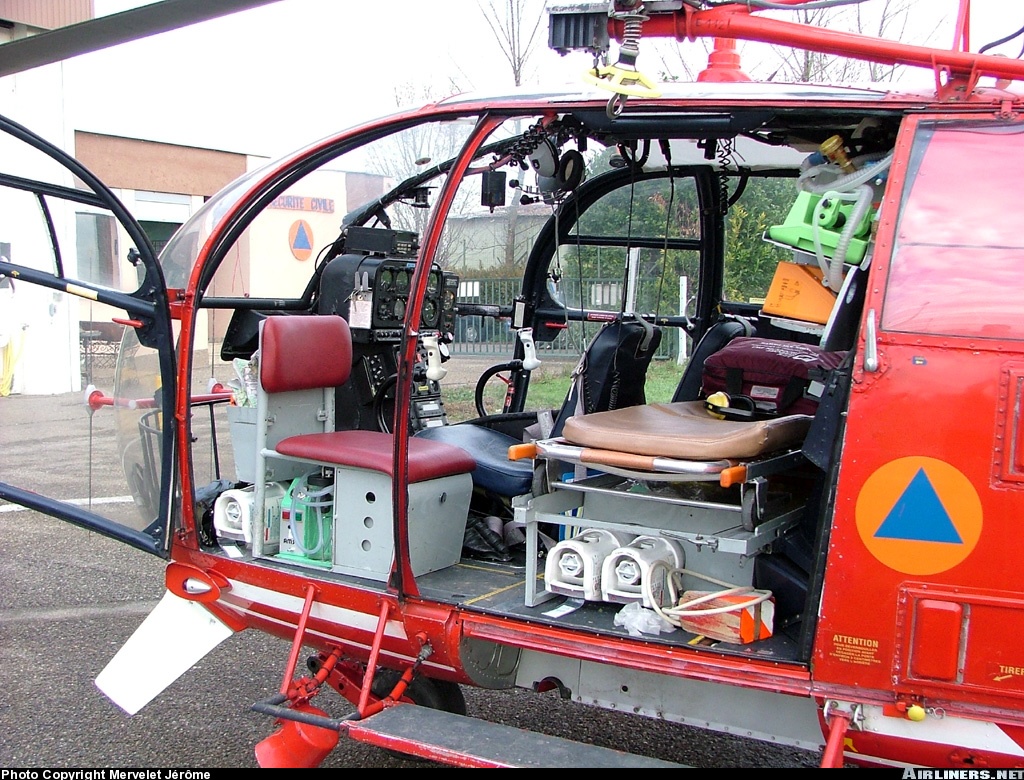
Those pan head screws will probably get to be countersunk ones so they will disappear into the floor. The floor is flat and painted light grey so its not far off right as it is, but it needs to be a little darker grey to be right. This is the full size interior. What a challenge that lot will be!
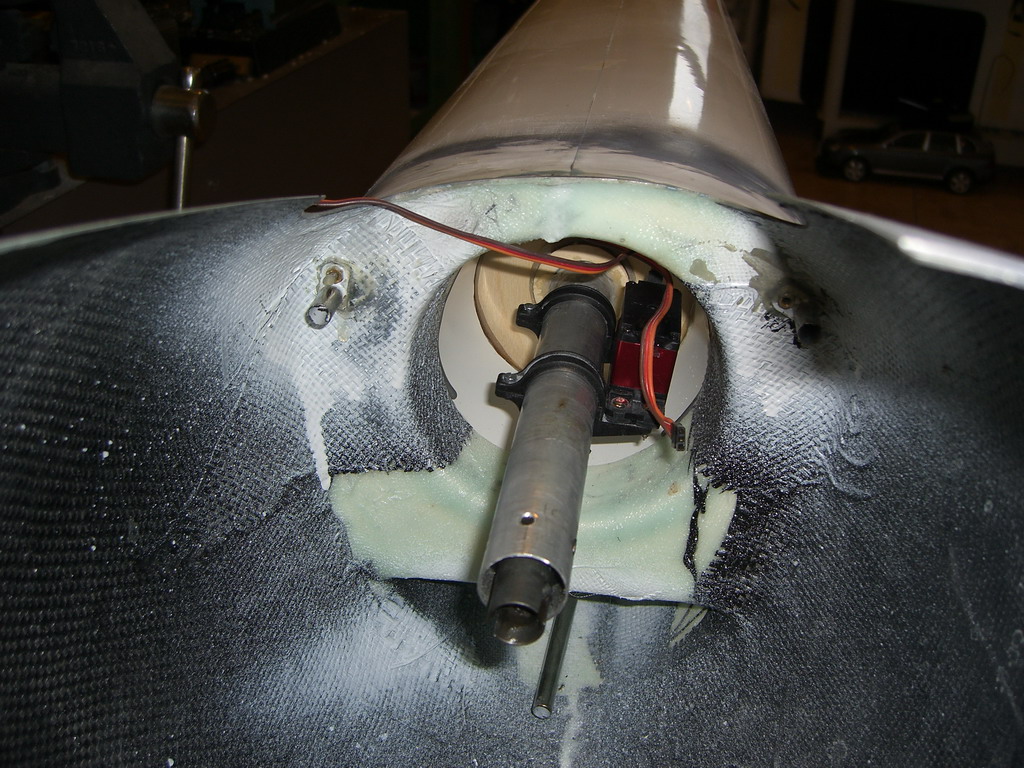
No, I haven't been slacking. I have been sanding. I noticed that there were a few chips in the primer where the mechanics had bumped the fuse and instead of scratching it, it had knocked a chip off. This is a sure fire indicator that the underneath had not been sanded enough, so I cleaned all the primer off and resanded it again. That'll teach me to do the job properly first time next time. I also taped a towel under the fuse to try and protect it as I was moving it around. Once the main fuse was done, I decided I had enough and opted to leave the tailboom to nearer time to work on it. One thing I did do was to make a decision concerning the tail skid. It fits into two holes in the tailboom and is fixed in place by some U clamps. When I moved it some time ago, it got knocked sideways which tore it out of the tail boom and left some big holes. After chatting with Joe, we decided a good idea was to cut the two locating pegs off and use the clamps to locate the skid. Then, if it does get bumped, it will tip over and wont do any damage, I can just push it back into alignment again. So, the holes got filled with epoxy and sanded down while they were relatively soft.
Back to the front end, I needed a landing light. I had bought a $3 three cell flashlight from harbor freight. It came to pieces like this.
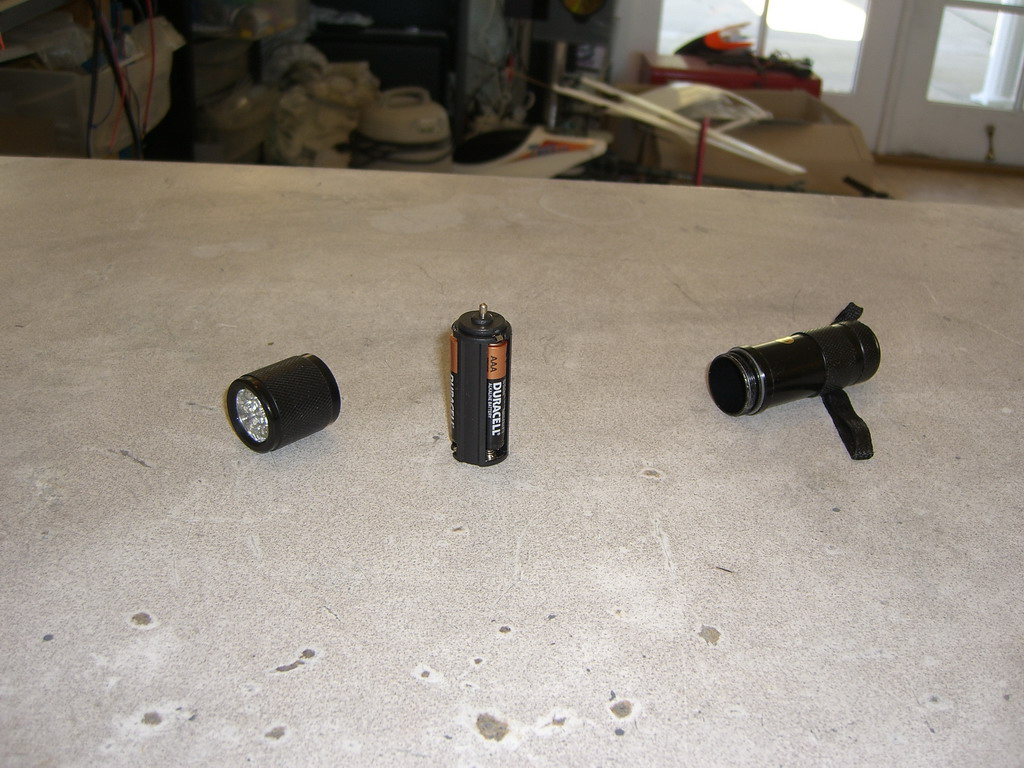
A few minutes work with the dremel and a sanding drum and it fitted like this.
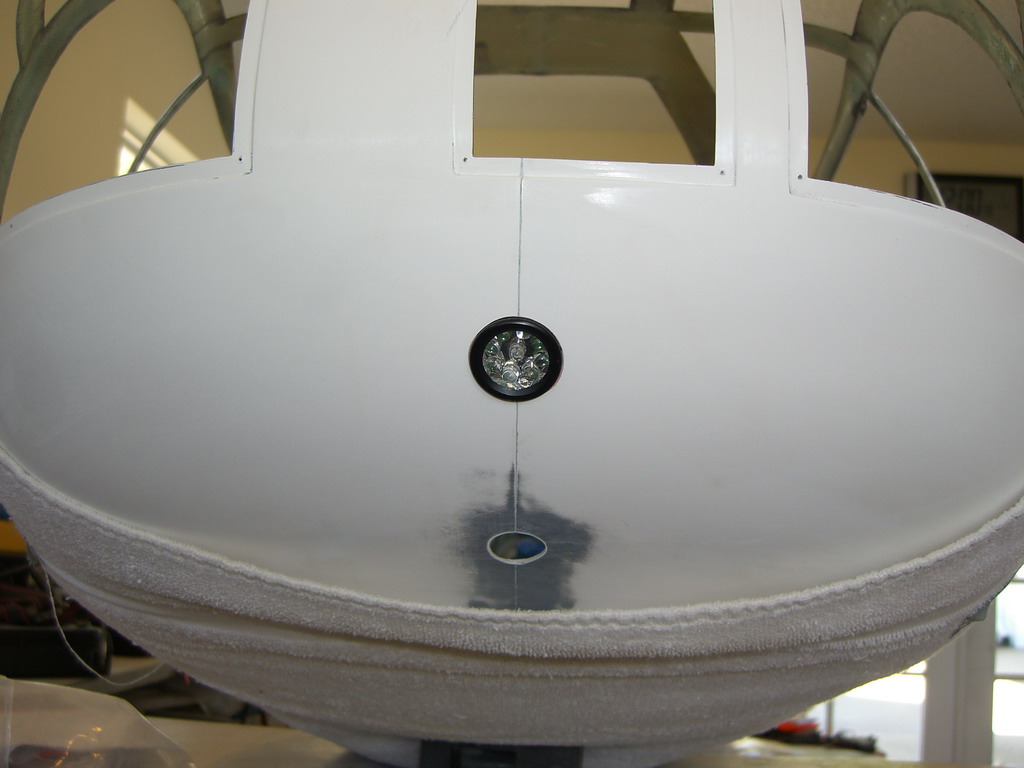
I popped it into the lathe and machined it down to the smallest it could be, then I checked on the current. With 3 alkaline cells it took 100mA. I put a 4.8V NiMH battery on it, and it took 1.5 Amps, and started to get warm. It sure was bright though. Then I put 2 A123 batteries on it though resistors and found that to get 100mA through it I needed 4.7 Ohms in series. I'll get one from Radio Shack next time I go out.
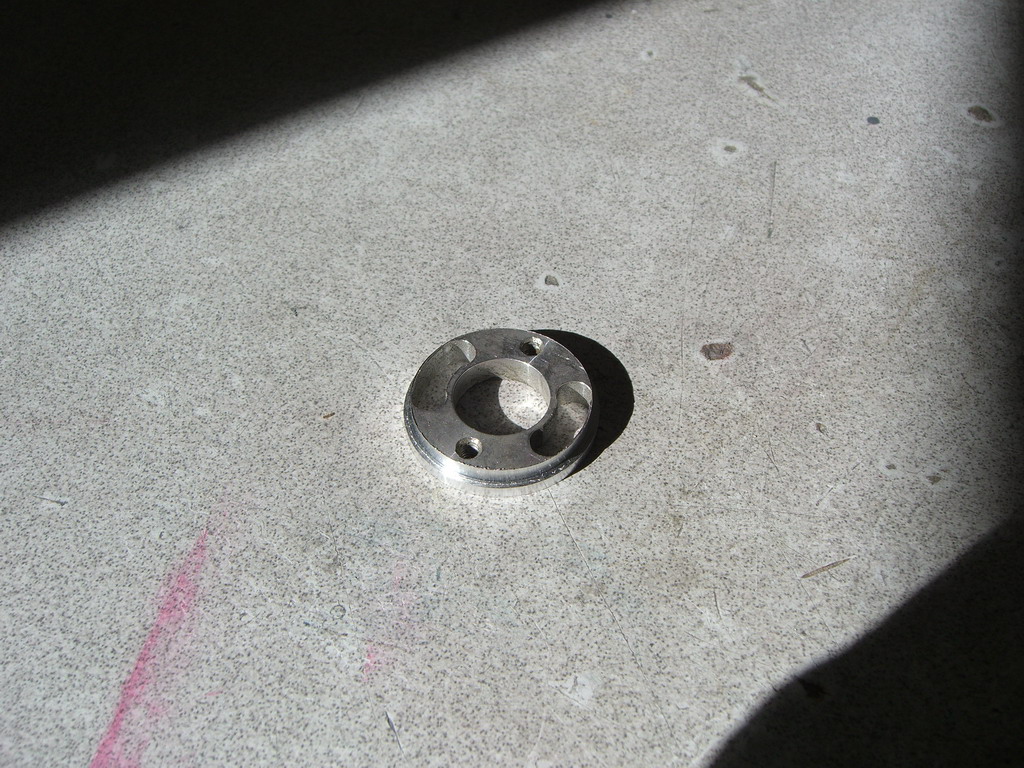
I used some side light moldings I got from Gonzalo and painted them up. They were designed for big low power LEDs. I wanted to use high brightness ones so I got some LEDs and drilled the works out of them and glued the high brightness ones inside. The clearcoat is still drying so I'll photograph those tomorrow. I also needed a top strobe. I found an old clutch mount from MA, and machined it up a little in the lathe so it looked like this.
Then I found the top off a can of some noxious chemical women put on their hair, which makes a nice dome lamp. The two fitted together like this
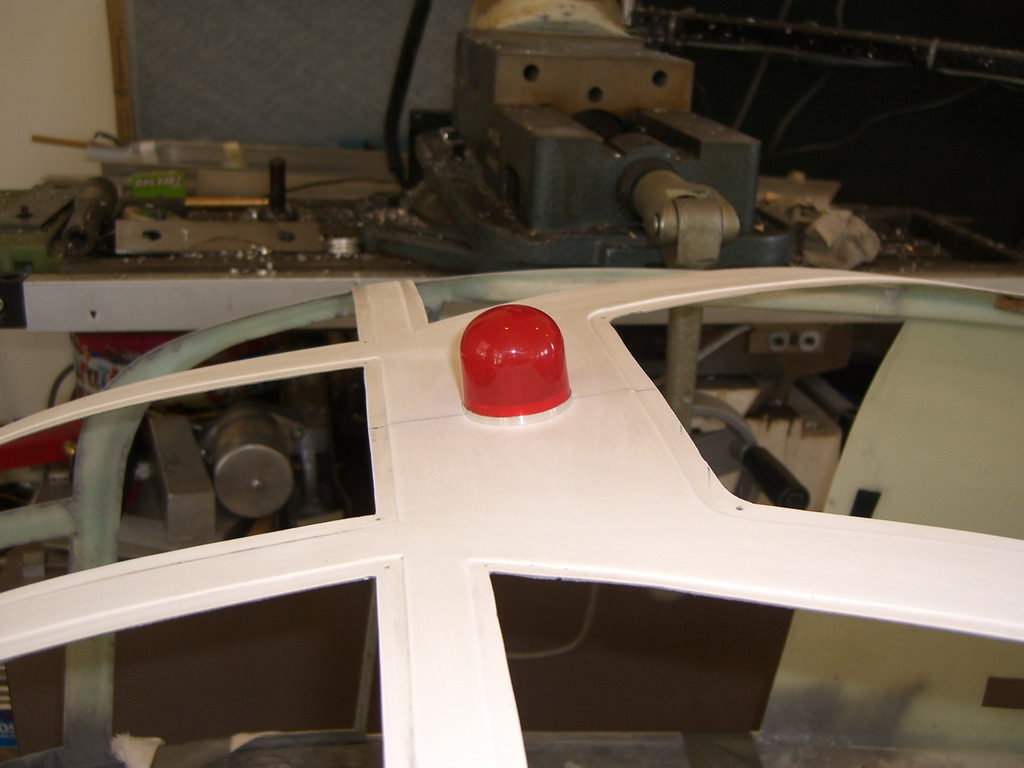
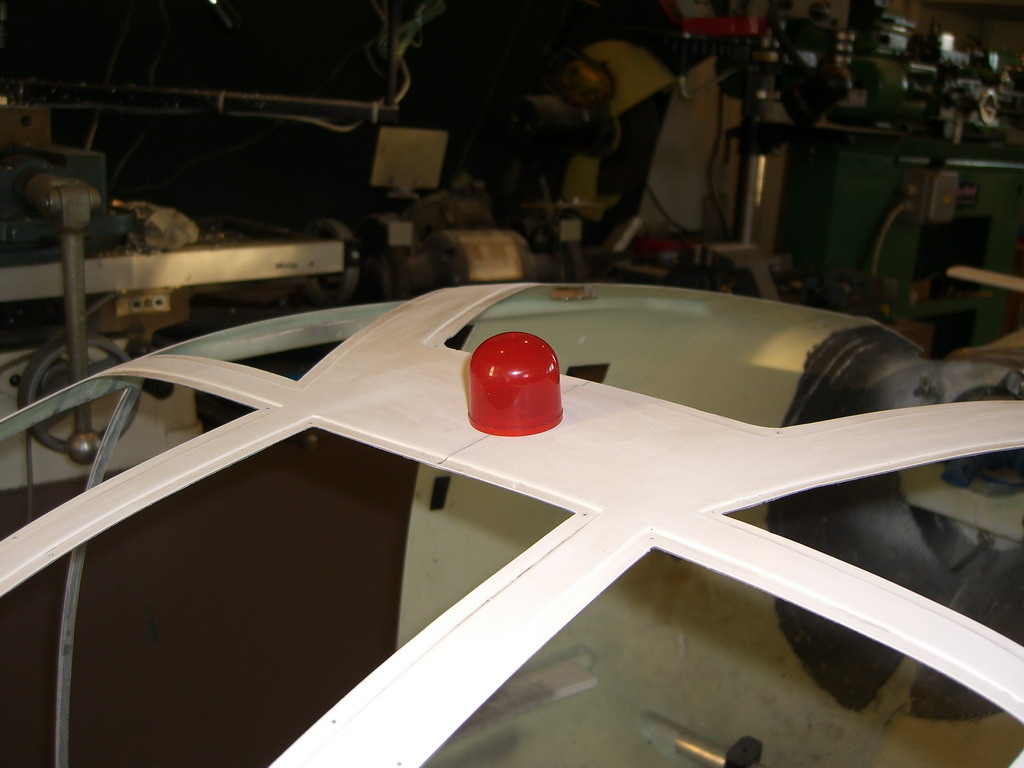
Then I gave it a coat of red and clear and fitted in place on the cabin. The switch console will cover it inside and I can run wires down the inside and hide them easily. I'll show you that bit when I get there
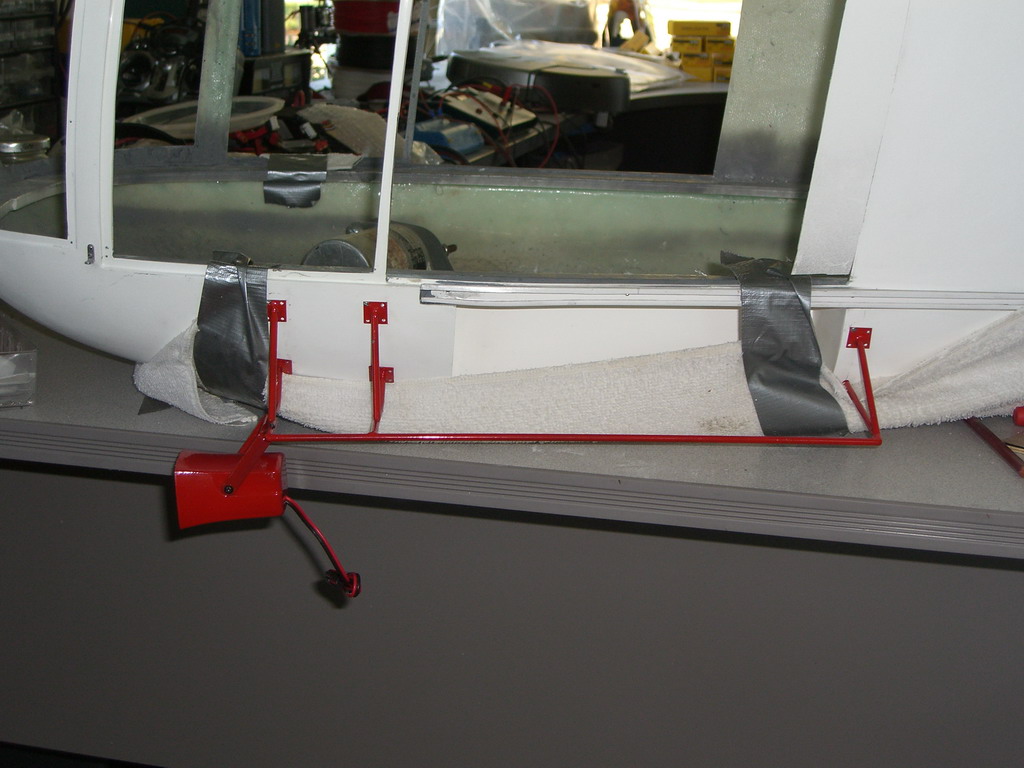
After an interesting break for a couple of weeks working on my new Kamov mechanics, I am back in the saddle. 3 days work saw these magnificent pieces.
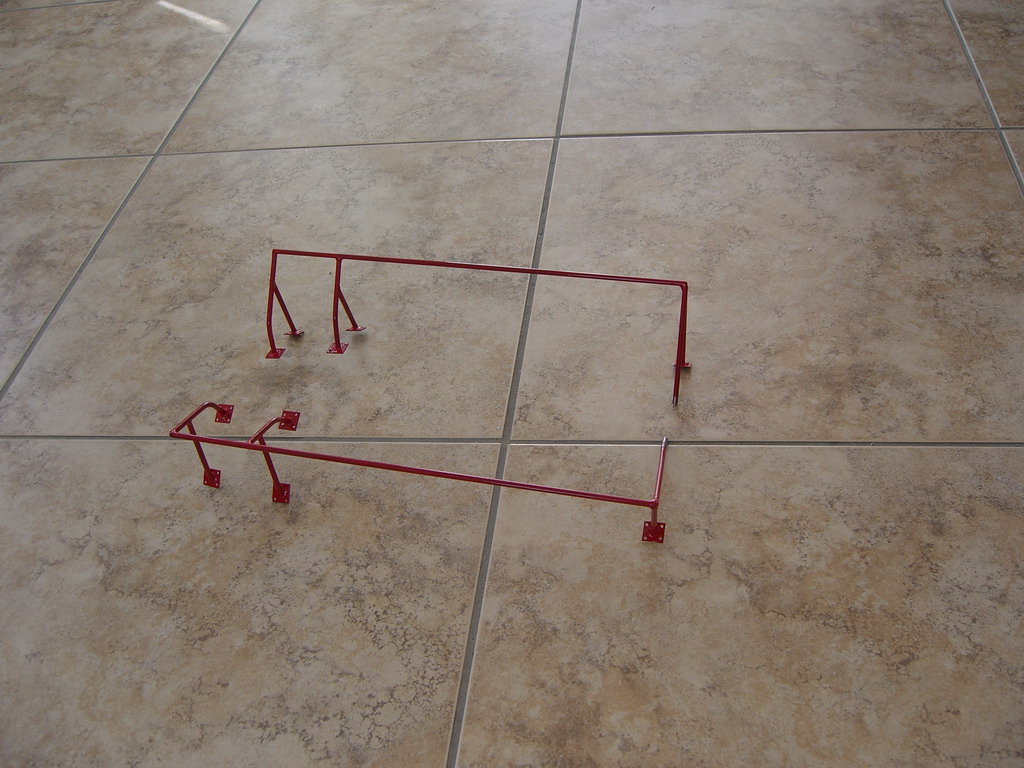
They are the steps for the sides and were an absolute pain to make as all of the angles were different. I ended up soldering parts together and then reheating them and adjusting until I got them right, then clamping them together and resoldering them as by now they were a real mess. One tip, if you do any silver soldering, keep a container of water handy. As soon as you have finished soldering, dunk it in the water and it will clean the flux off for you in a second.
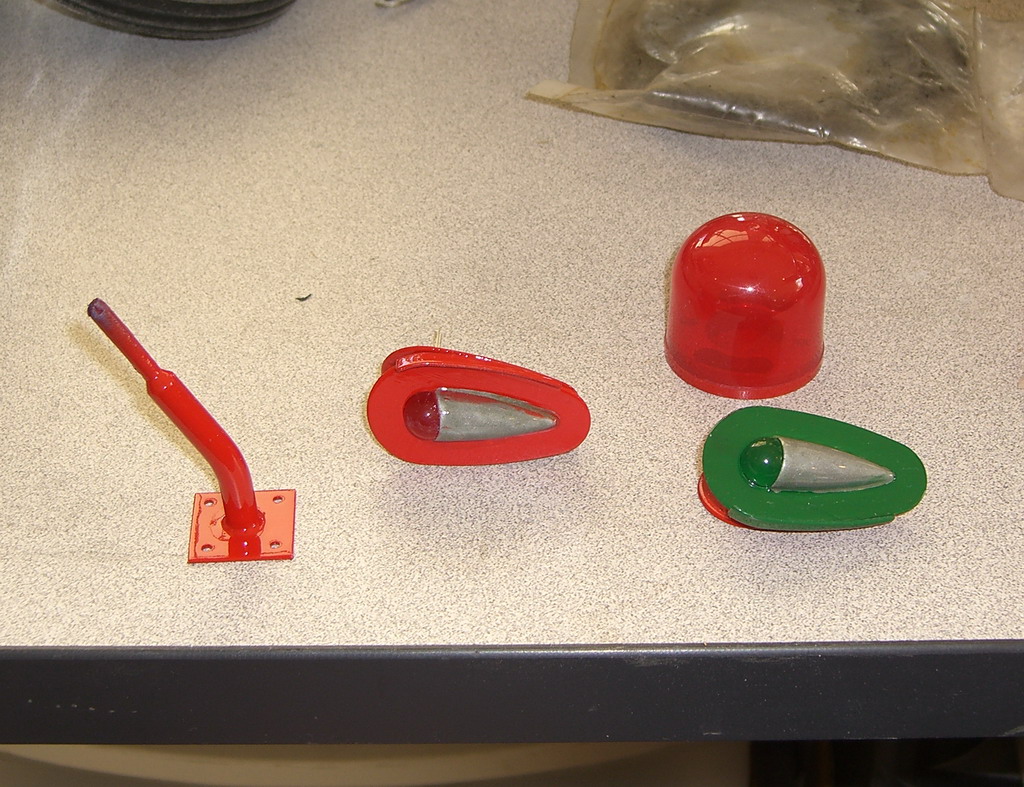
Other parts finished and painted are the lights, with high intensity LEDS in them, the Pitot tube and the beacon for the top
A Vario siren, repainted and fixed to the rail. This has taken me a while due to my accident and I have very few parts left to make before painting.
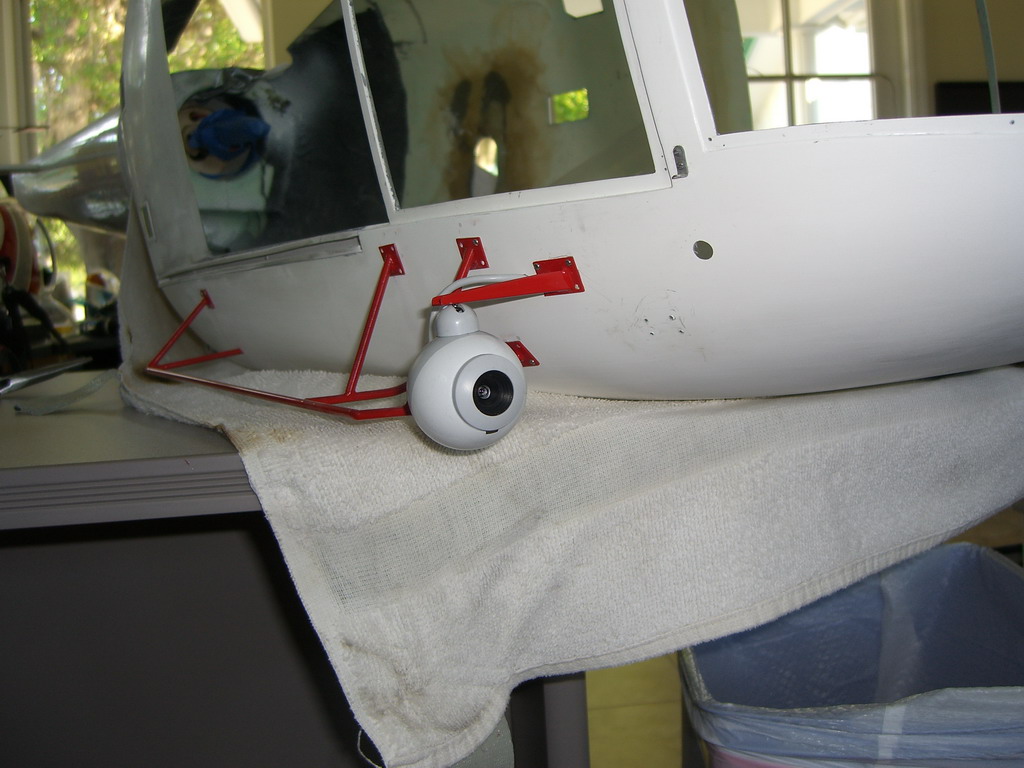
The other side has a camera system on it and the steps.
On the front goes the LF antennas. I have purposely made the "blobs" on the end bigger than scale so I dont poke myself with them....again